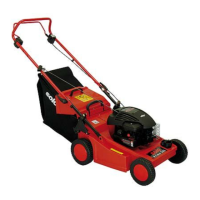
Maintenance and Care
ENGLISH 14
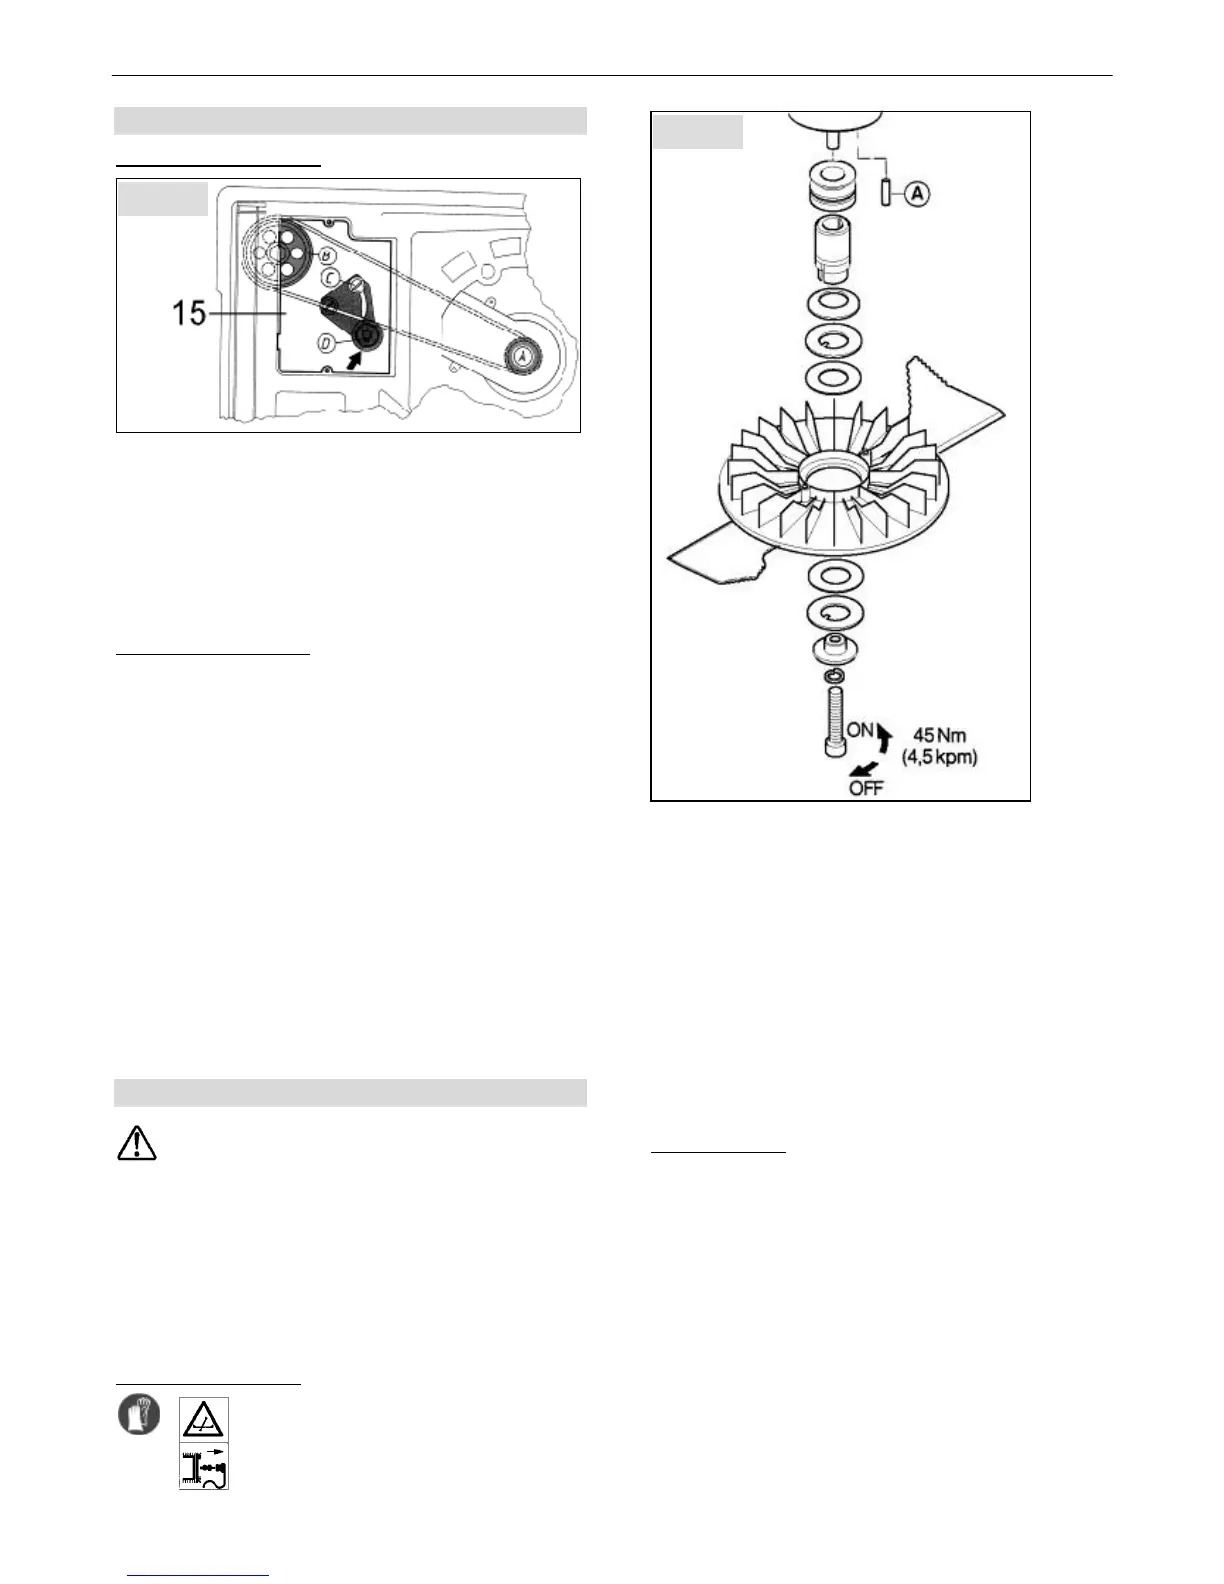
11.4 Drive belt
Tensioning the drive belt
Remove the lid from the battery/gearbox chamber (15)
after releasing both screws. Undo the fixing screw (C) of
the tensioning lever. Tension the drive belt by moving
the tensioning lever (in the direction of the arrow).
Note: Check the belt tension every 20 hours or at least
once per mowing season.
The belt is correctly tensioned of the centre can be
deflected by approx. its own thickness.
Changing the drive belt
• Position the lawn mower on its handle and discharge
deflector (Fig. 7). First pull the spark plug cap and
ensure that the fuel tank is empty.
• First remove the blade and impeller, then the old
drive belt.
• Position the new drive belt from below onto belt
pulley A and insert to the rear into the mower
chassis.
• Reposition the mower on its wheels.
• Position the drive belt onto pulley B on the gearbox
side.
• Tighten V-belt as described above.
• Screw on cap tightly.
• Assemble blower wheel and blade. Observe
sequence of assembly parts and observe the blade‘s
torque. (Fig. 11).
11.5 Mowing Blade
Special tools, such as a torque wrench for
example, are required to mount the blade to the
mower.
For safety reasons we recommend that the mowing
blade is sharpened, balanced and re-fitted by an
authorized specialist workshop only. The following
notes are therefore only intended for specialist
repair shops.
To obtain best mowing results we recommend to have
the blade sharpened / balanced or at least once every
year.
Replacement of Blade
Proper gloves are to be worn when
replacing the blade. The spark plug cap
has to be removed prior to any work.
When replacing any blade parts only SOLO spare parts
are to be used. The identification No. on the blade has
to agree with the Order No. for the replacement. Never
install a different type of blade!
Use the holding pin as a blocking device for the blade.
The blade fastening screw has a regular right-handed
thread. To remove the screw we recommend using a
socket wrench 21 mm (spark plug wrench) or hex.
wrench 8 mm, 5/16“. At re-assembly of the overload
clutch be sure and observe the sequence in which
these parts where previously assembled. The blade
screw is to be tightened with the specified torque of
45Nm (4,5mkp).
Damaged Blade
The engine needs to be shut off and the spark plug cap
has to be removed if the blade has come in contact with
a foreign object or other obstacle. After the blade stops,
tilt the mower and check the blade for damage.
Deformed or bent blades are not to be re-aligned.
Damaged parts are to be replaced immediately. If the
mower has been driven over a notable obstacle, the
mower needs to be checked by an authorized Service
Center. Prior to use make certain that blade and blade
fastening parts are not damaged. If necessary, parts
need to be checked or replaced. Never operate mower
with an unbalanced blade - this would cause vibration
and additional damage.
Fig. 10
Fig. 11