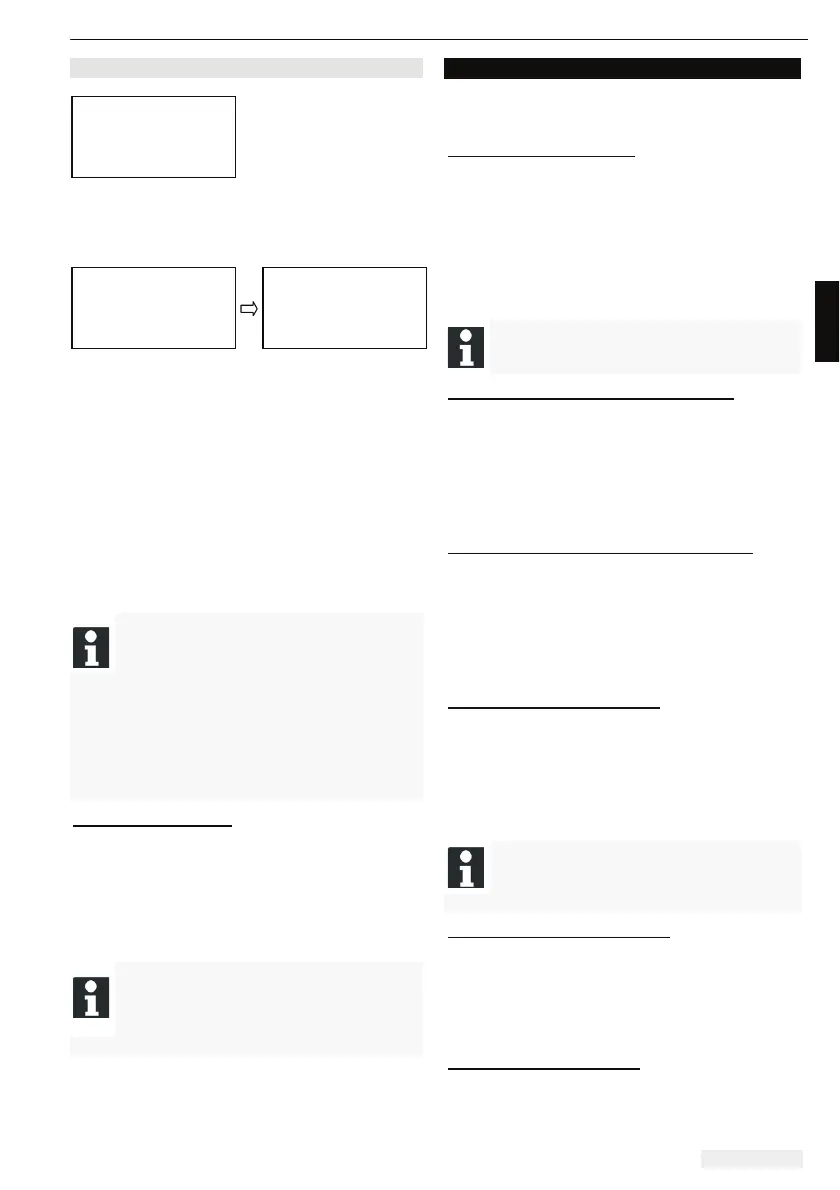
10.1 Setting entry points
x Use the [up arrow key] or the [down arrow key]
to select the [Programs] menu item until the star
symbol appears to the left of the menu item.
x Confirm with the [multifunction key right].
x Use the [up arrow key] or the [down arrow key]
to select the [Entry points] menu item until the
star symbol appears to the left of the menu
item.
x Confirm with the [multifunction key right].
x Use the [up arrow key] or the [down arrow key]
to select the [Point X*] menu item until the star
symbol appears to the left of the menu item.
x Set the required distances and set additional
entry points if necessary.
x Confirm with the [multifunction key right].
x Press the [menu key] again to return to the
main menu
x By default, the first entry point is always
1 m to the right of the base station, and
cannot be changed.
x By default, another 9 entry points are
distributed along the overall length of the
boundary cable (after the 1st edge mowing or
complete loop movement).
x These entry points can be changed and
programmed according to the size and
composition of the mowing area.
Learning entry points
x Press the [START/PAUSE key] to start the
procedure.
Follow the instructions on the display. [Learn
entry points]
x Set entry point X.
x Position: Set Y with the [multifunction key right].
x No entry point is set: Î
The loop length is measured and the
start points are automatically distributed
evenly over the length.
x The entry points can be adapted manually.
11. SETTING MENU
Set the data, time, language and recalibrate, see
start-up.
Setting the cutting height
x Select [Setting the cutting height].
x Select [Cutting height] with the [arrow keys] in 5
mm steps and confirm with the [multifunction
key right]
x Confirm the selection with the [menu key] and
return to the main menu.
The blade plate does not move to the set cutting
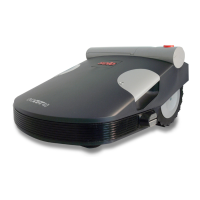
height until the evoCUT 4.0 starts to mow.
The cutting height varies in the range from 3
- 6 cm lawn height. It can be adjusted in five
steps of 5 mm each
Activate or deactivate the button tones
x Select [button tones].
x Confirm with the [multifunction key right]
x Activate or deactivate the button tones with the
[multifunction key right]
x Confirm the corresponding selection with the
[menu key]
Activating or deactivating the rain sensor
x In the Settings sub-menu, select [Rain sensor].
x Confirm with the [multifunction key right].
x Activate or deactivate the rain sensor with the
[multifunction key right].
x Confirm the selection with the [menu button]
and return to the main menu.
Setting the rain sensor delay
x In the Settings sub-menu, select [Rain sensor
delay].
x Confirm with the [multifunction key right].
x Set the [Rain sensor delay].
x Confirm the selection with the [menu button]
and return to the main menu.
The purpose of the [Rain sensor delay]
function is to instruct the evoCUT 4.0 to
move back out of the base station after a
time delay, after it has returned to the base station.
Changing the display contrast
x Select [Display contrast].
x Select [Display contrast] with the [arrow keys]
and confirm with the [multifunction key right].
x Confirm the selection with the [menu key] and
return to the main menu.
Restoring factory settings
x Select [Factory settings].
x Enter the PIN code again and confirm.


 To Next Page