ILCE-7M3
4-732-950-11(1)
GB
3
C:\4732950111\4732950111ILCE7M3UC2\01GB-ILCE7M3UC2\010BEF.indd
DTP data saved: 2017/11/01 09:29
PDF file created: 2017/11/01 09:36
Table of contents
Check out the Help Guide! ....................................................... 2
Notes on using your camera.................................................... 6
Preparations for shooting
Checking the camera and the supplied items ....................... 11
Identifying parts ......................................................................12
Front side .......................................................................12
Rear side ........................................................................13
Top side/Side view ........................................................15
Bottom ...........................................................................18
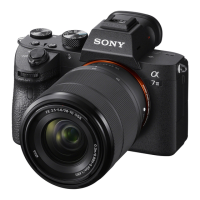
Lens FE 28-70 mm F3.5-5.6 OSS
(Supplied with ILCE-7M3K) ........................................19
Basic operations .....................................................................20
Using the control wheel ............................................... 20
Using the multi-selector ................................................ 21
Using the Fn (Function) button .....................................21
How to use the Quick Navi screen ............................... 22
Startup guide ......................................................................... 25
Step 1: Inserting the battery pack into the camera ..... 25
Step 2: Charging the battery pack while it is inserted in
the camera ............................................................... 26
Step 3: Inserting a memory card ...................................27
Step 4: Attaching a lens ............................................... 29
Step 5: Setting the language and the clock ..................31
Step 6: Shooting images in auto mode ....................... 32