5-49
DCR-TRV240/TRV340
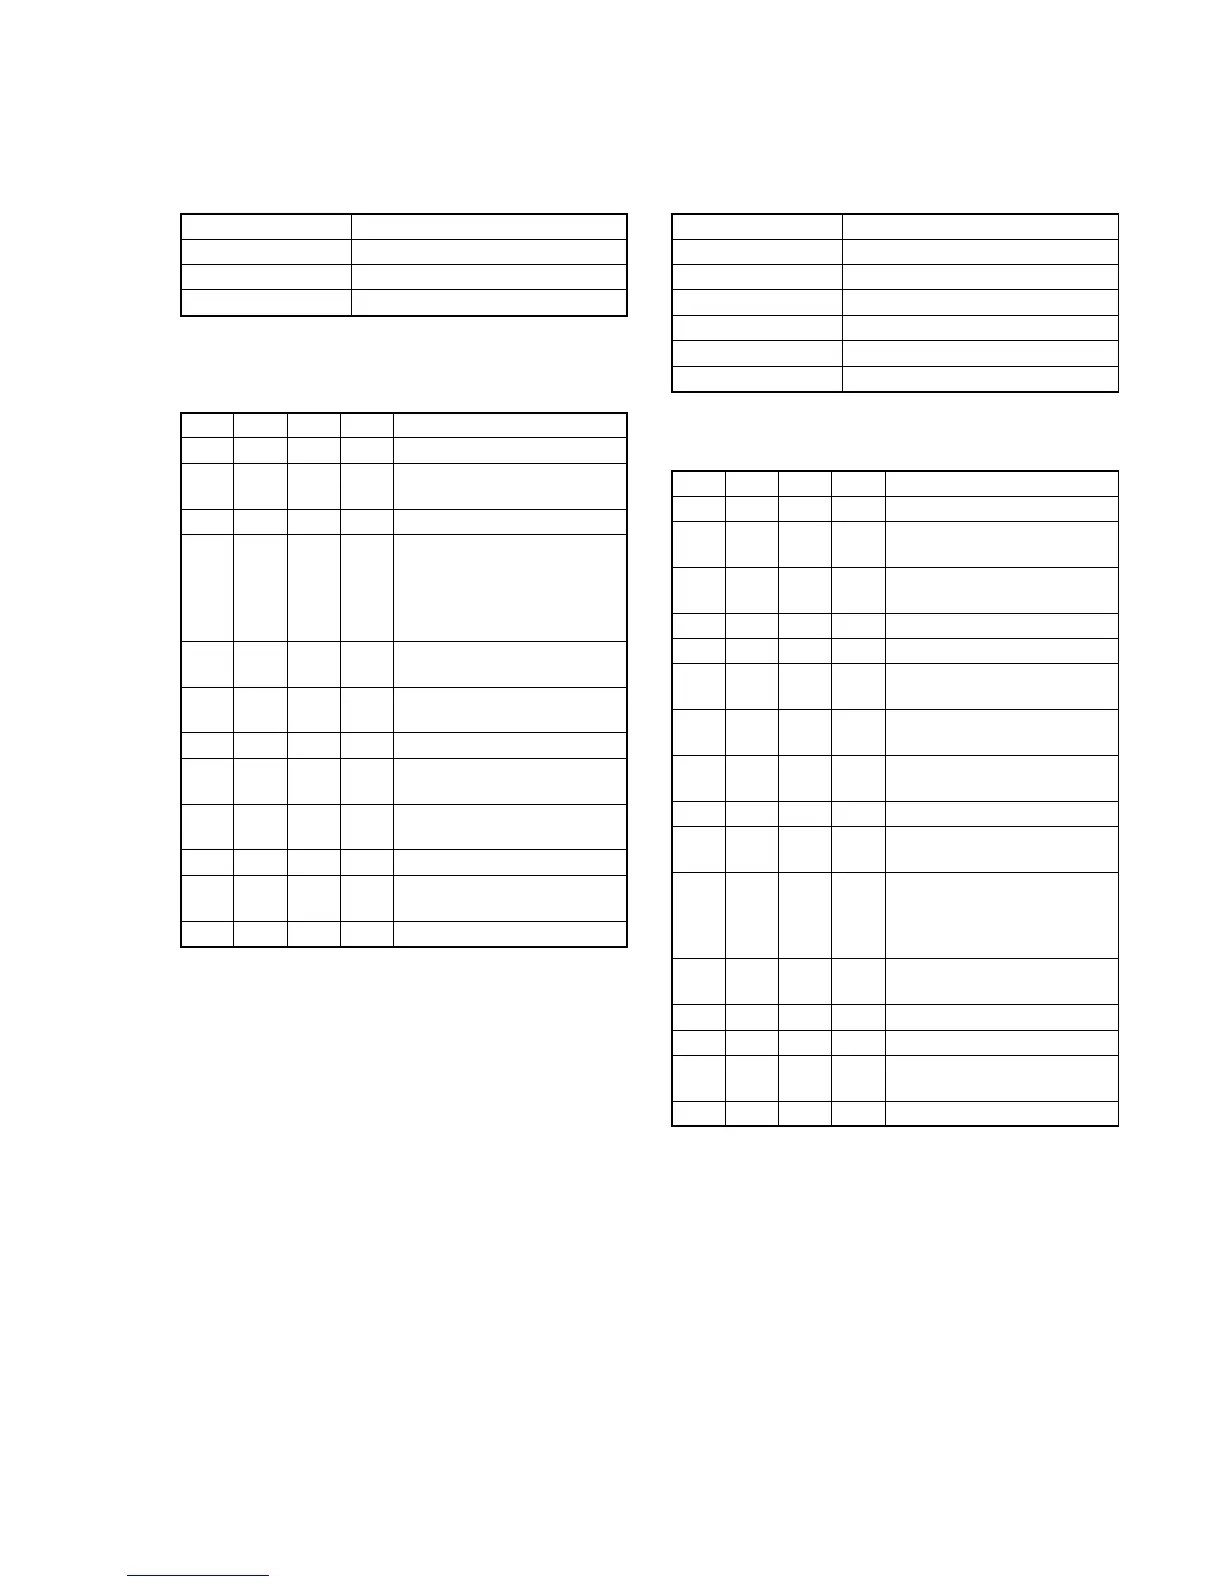
5. Hi8/Standard8 Y/C Output Level Setting
(VC-276 board)
Set the Y/C signal output level during the Hi8/Standard8 playback
mode.
Mode VTR stop
Signal No signal
Adjustment Page C
Adjustment Address 44, 45
Note1: Perform this adjustment when IC2201 is replaced.
Note2: The data of page: 0, address: 10 must be “00”.
Adjusting method:
Order Page
Address
Data Procedure
1 0 01 01 Set the data.
2 D 10 02 Set the data, and press PAUSE
button.
3 3 9E 01 Set the data.
4 3 A4 Check that the data.
When the data is “53”, proceed
to step 5.
When the data is “03”, proceed
to step 8.
5 C 44 69 Set the data, and press PAUSE
button.
6 C 45 64 Set the data, and press PAUSE
button.
7 Proceed to step 10.
8 C 44 A0 Set the data, and press PAUSE
button.
9 C 45 AA Set the data, and press PAUSE
button.
10 3 9E 00 Set the data.
11 D 10 00 Set the data, and press PAUSE
button.
12 0 01 00 Set the data.
6. Hi8/standard 8mm AFC fo Adjustment
(VC-276 board)
Adjust the pull-in range of the clock generator (IC2201) for A/D
conversion during Hi8/standard 8mm playback.
Mode VTR stop
Signal No signal
Measurement Point Display data of page: 3, address: 9D
Measuring Instrument Adjustment remote commander
Adjustment Page C
Adjustment Address 43
Specified Value 7C to 84
Note: The data of page: 0, address: 10 must be “00”.
Adjusting method:
Order Page
Address
Data Procedure
1 0 01 01 Set the data.
2 D 10 02 Set the data, and press PAUSE
button.
3 3 0D 04 Set the data, and press PAUSE
button.
4 3 93 04 Set the data.
5 3 9E 01 Set the data.
6 C 43 50 Set the data, and press PAUSE
button.
7 3 01 60 Set the data, and press PAUSE
button.
8 3 02 Check that the data changes from
“60” to “00”.
9 3 03 Check that the data is “00”.
10 3 01 00 Set the data, and press PAUSE
button.
11 3 9D Check that the data satisfies the
specifies value.
When the data doesn’t satisfy the
specified value, return to step 6.
12 3 0D 00 Set the data, and press PAUSE
button.
13 3 93 00 Set the data.
14 3 9E 00 Set the data.
15 D 10 00 Set the data, and press PAUSE
button.
16 0 01 00 Set the data.
RadarWRadarWRadarW
RadarWRadarWRadarW
 Loading...