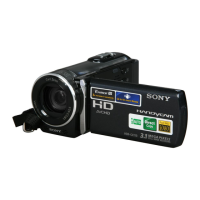
Do you have a question about the Sony Handycam HDR-SR11E and is the answer not in the manual?
General instructions before operating the camcorder.
Advice on preventing hazards like fire, shock, and hearing loss.
Plug compliance, disposal, and EMC info for European users.
Electromagnetic fields may influence picture and sound.
Static electricity may cause data transfer failure; restart application.
Product must not be treated as household waste for recycling.
Proper disposal methods for batteries to protect the environment.
Manufacturer and representative details for EU compliance.
Contact details for US customers.
FCC compliance and Declaration of Conformity for models.
Warnings about modifications and device operation.
Equipment tested for FCC Class B digital device limits.
FCC rules apply to the battery pack.
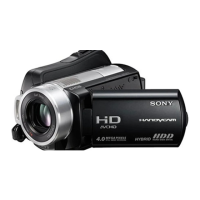
List of included accessories and general usage advice.
Proper connection of cables to the Handycam Station.
Guidance on operating conditions and avoiding damage.
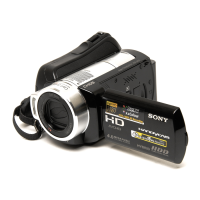
How to adjust the LCD and notes on pixel quality.
Before recording, compensation, TV compatibility, and copyright.
AVCHD and High Profile compatibility for playback.
Importance of saving data to external media.
Warning against formatting the camcorder's hard disk via computer.
Detailed instructions for charging the battery.
Procedure for safely detaching the battery.
Charging the battery directly via the AC adaptor.
Table showing charging and playback times.
Safety and usage tips for the AC adaptor.
Turning on the camcorder and setting the date/time.
How to select the on-screen display language.
Choosing between internal hard disk and Memory Stick.
Specific steps for setting media for photos.
Viewing the current media configuration.
Instructions for inserting the memory card.
Detailed steps for inserting the Memory Stick PRO Duo.
Procedure for safely removing the Memory Stick.
Important considerations and warnings for Memory Stick use.
How to begin recording video.
How to take still photos during recording.
Checking capacity and continuous recording limits.
Accessing and initiating playback.
Controls and methods for playing movies.
Controls and methods for viewing photos.
How to control audio levels during playback.
Steps for viewing content on a television.
Specifics about A/V cables and potential interference.
Using the zoom lever and viewfinder.
Functionality of the sleep mode button.
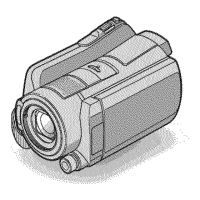
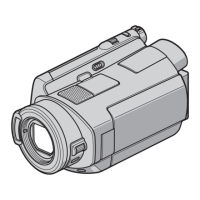
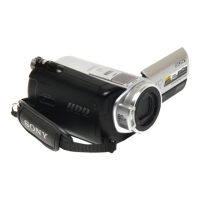
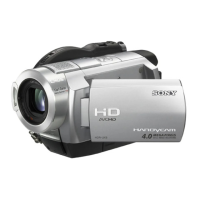
Indicators and physical features.
Using zoom controls and resetting settings.
Using the EASY button and checking battery status.
Description of microphone, headphone, HDMI, A/V, and USB jacks.
Icons and information during movie recording.
Icons and information during still image recording.
Icons and information during movie playback.
Icons and information during still image playback.
Indicators for FADER, LCD backlight, and other adjustments.
Meaning of AUDIO MODE, Self-timer, Flash, MIC settings.
Meaning of IMAGE SIZE, Slide show, NightShot, etc.
Meaning of Face Index, FACE DETECTION, Digital effect, etc.
Accessing and utilizing the main menu systems.
How to get explanations within the HOME menu.
Adjusting settings via the HOME menu.
Accessing current situation-specific settings.
Settings related to camera functions.
Settings for media management and formatting.
Options for browsing recorded images.
Other operations like deleting, copying, and editing.
Configuration for audio and screen display.
TV output and language selection.
Various general settings like demo mode and quick on.
Settings exclusive to the OPTION menu.
Methods for saving image data to external media.
Saving images via Picture Motion Browser.
Saving directly to a disc without a computer.
Saving images to a computer's hard drive.
Step-by-step guide for removing movie files.
How to delete all movies at once.
Step-by-step guide for removing photo files.
Instructions for installing Handycam Handbook and Picture Motion Browser.
How to access the PDF manual.
Detailed steps for software setup.
Minimum computer specifications for installation.
OS and system requirements for installation.
Guided procedure for installing the software.
Important information regarding AVCHD files and DVD compatibility.
Launching and using the bundled software.
Troubleshooting USB connection issues.
Safely removing the camcorder from the computer.
Important notes before sending the camcorder for service.
Solutions for when the camcorder won't turn on.
Troubleshooting when the camcorder doesn't respond.
Explanation for camcorder becoming warm.
Resolving issues with Picture Motion Browser installation.
Troubleshooting when the software doesn't work correctly.
Solutions for when the camcorder isn't detected by the PC.
Interpreting error codes and warning lights.
Meaning of indicators related to temperature and media status.
Indicators for Memory Stick issues like fullness or damage.
Explanations for flash, unsteady shots, and drop sensor indicators.
Guidelines for operating conditions and avoiding damage.
Recommendations for periods of non-use.
Advice on handling and cleaning the LCD.
How to clean and store the camcorder lens.
Details about the pre-installed battery.
Steps to change the battery in the remote.
Crucial safety information regarding batteries.
Video/audio compression, signal, hard disk specs.
List and description of input/output jacks.
Details about the LCD display.
Power, consumption, temperature, and dimensions.
Weight and size of camcorder and accessories.
Specifications for the DCRA-C210 station.
Specifications for the AC-L200/L200B adaptor.
Specifications for the NP-FH60 battery.
| Sensor Type | CMOS |
|---|---|
| Optical Zoom | 12x |
| Digital Zoom | 150x |
| LCD Screen Size | 3.2 inch |
| Internal Storage | 60 GB |
| Image Stabilization | Optical SteadyShot |
| Max Video Resolution | 1920 x 1080 (Full HD) |
| Focus Adjustment | Auto/Manual |
| Recording Format | AVCHD |
| Microphone | Stereo |