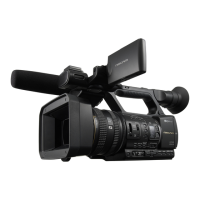
Introduction to the NX5U
Let’s learn the basic functions and controls of the Sony HXR-NX5U camera.
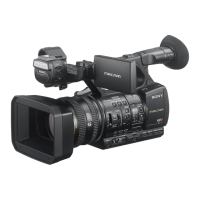
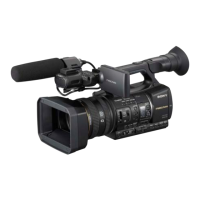
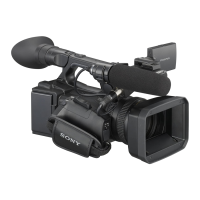
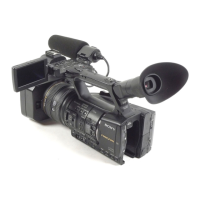
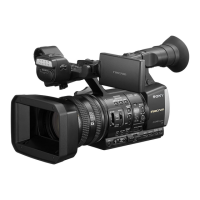
Overview
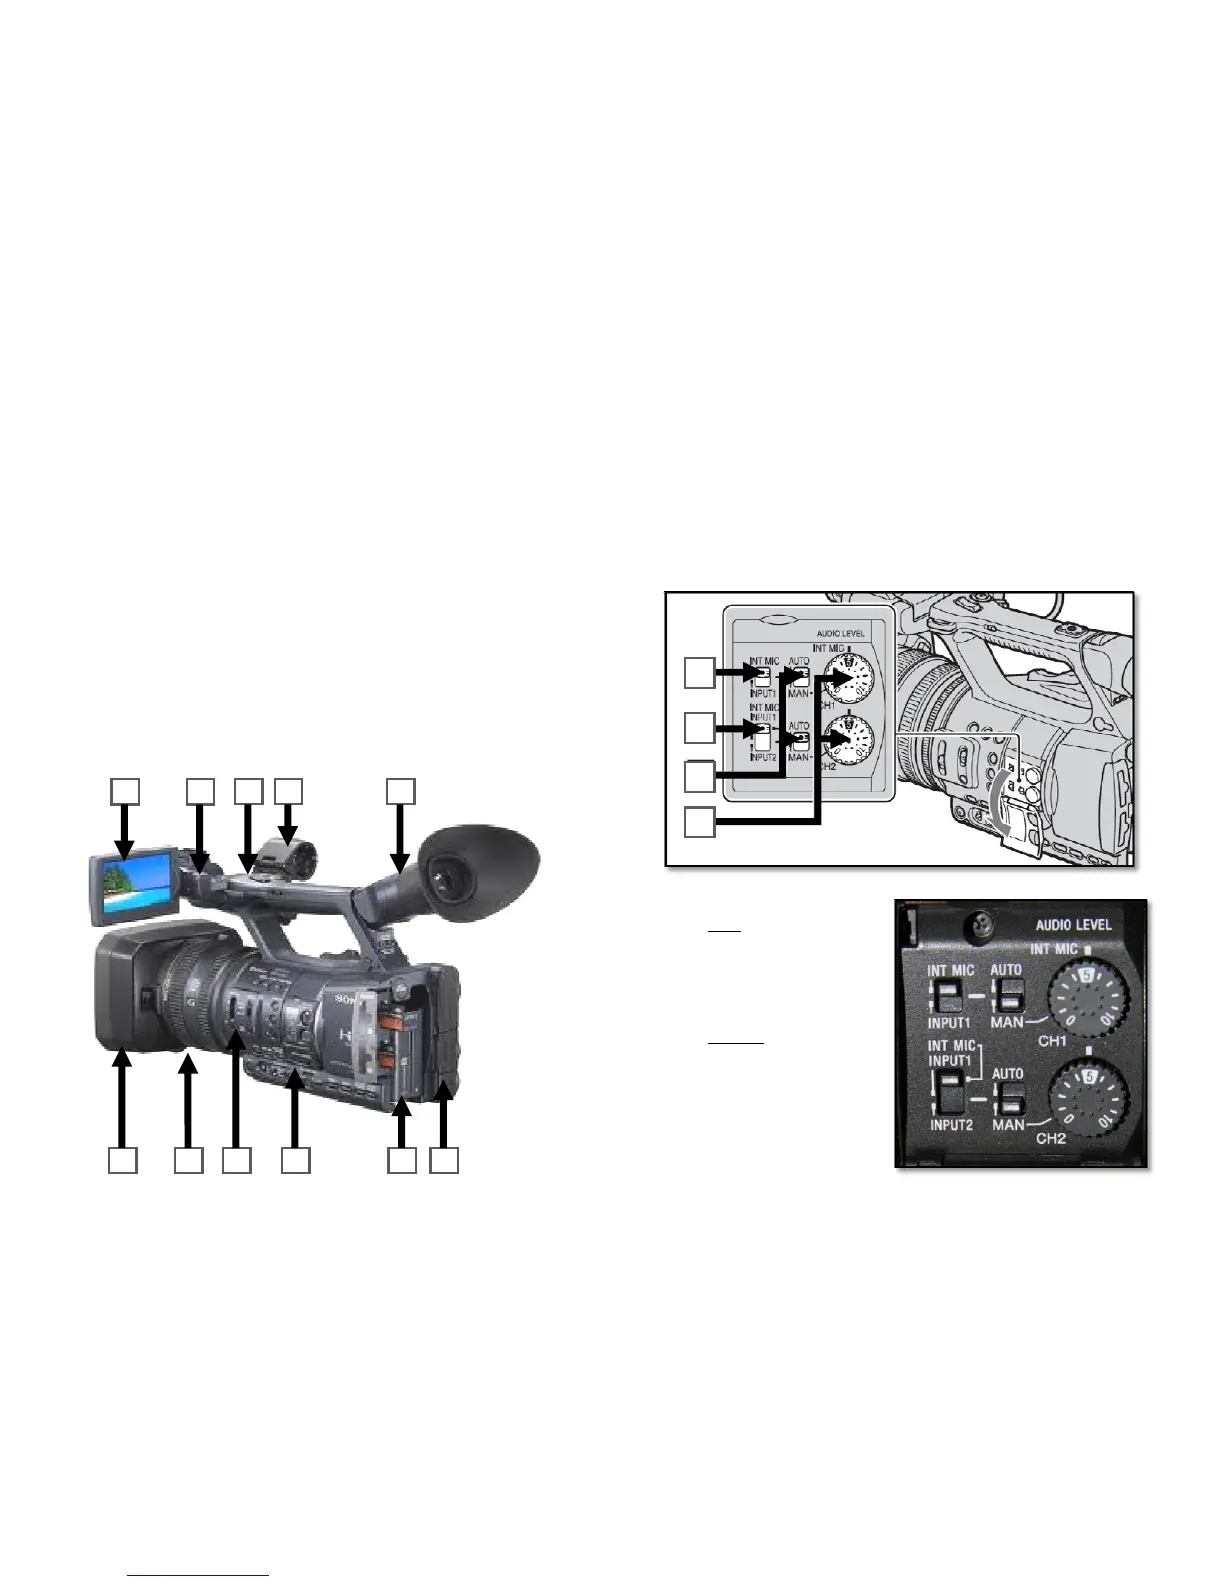
These are the different areas of the NX5U:
1. LCD Panel
2. Top Panel Controls
3 Audio Input Selectors
4. Shotgun Microphone Mount
5 Viewfinder
6. Lens & Lens Hood
7. Manual Focus & Zoom Rings
8. Auto Focus & Iris Controls
9. Side Panel Controls
10. Battery
11. AV Outputs
• Be sure to set the INPUT1 switch to the appropriate position matching the audio
source plugged into INPUT1. Same goes for INPUT2.
1. CH1 (Channel 1) Assignment switch – assigns audio source for channel 1;
internal mic or INPUT1 (whatever is plugged into the INPUT1 jack).
2. CH2 (Channel 2) Assignment switch – assigns audio source for channel 2;
internal mic, INPUT1 or INPUT 2.
3. Auto / Manual Volume Control – selects volume control mode.
4. Volume Control Wheel – controls volume; turning wheel clockwise
decreases volume, turning wheel counter-clockwise increases volume.
Channel Assignment Tips
• When using
the camera’s internal
mic, assign CH1 to INT MIC, then
plug in your external audio source
into the INPUT2 jack, and assign
CH2 to INPUT 2.
• When not using
the internal mic,
be sure to assign CH1 to INPUT1.
• Always wear headsets to monitor
audio levels and quality of sound.
3 4 5
7 8
6 10 11
1 2
9
- 3 - -
 Loading...