4
English
GB
Saving Version Upgrade
Data to an SD Card
1
Mount the formatted SD card on a
computer.
2
Download the version upgrade data ZIP file
from the version upgrade data download
site, and save the data on your computer.
3
Uncompress the ZIP file to retrieve the
version upgrade data (.dat file name
extension) and save the data in the root
directory of the SD card.
Disconnect connected devices (such as
USB devices, SDI, HDMI, microphone, shoe
accessories) and eject any media in the XQD
memory card slots before upgrading.
First, set the following menu settings to Off.
Network >Wireless LAN >Setting
Network >Wired LAN >Setting
Network >Modem >Setting
You can use an SD, SDHC, or SDXC memory
card whenever an SD card is referred to.
For details about supported SD cards, refer to the
Operating Instructions.
Use an SD card that has been formatted in
the UTILITY SD/MS slot using the formatting
function of the unit.
For details about the formatting function, refer to the
Operating Instructions.
Preparation
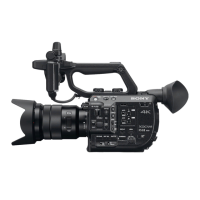
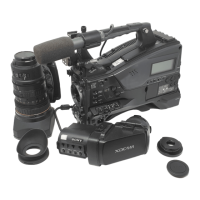
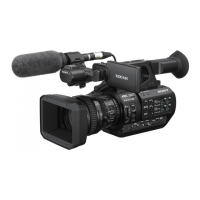
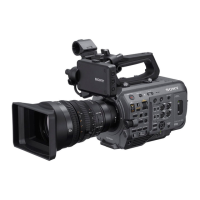
This document describes how to upgrade the
PXW-FX9 and XDCA-FX9 firmware to the latest
version.
The version upgrade data is first saved to an
SD card and then the unit is upgraded using
the menu.
For details about menu operation, refer to the Operating
Instructions.
Checking the Existing
Version
Select Version >Version Number in the
Maintenance menu to display the version of
the PXW-FX9. Select Version >Ext. Unit Version
Number to display the version of the XDCA-
FX9.
Notes About Upgrading
By attaching the XDCA-FX9 to the PXW-
FX9, both devices can be upgraded
simultaneously.
Always connect an AC adaptor (supplied
AC adaptor if upgrading the PXW-FX9 only,
or AC-DN10A if XDCA-FX9 is attached)
when upgrading. If a battery pack is
attached at the same time, the upgrade will
continue if the AC adaptor is subsequently
disconnected.
English


 To Next Page