— 9 —
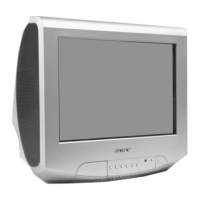
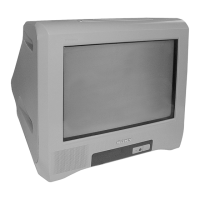
KV-24FV10/25FV10/25FV10C
Connecting Your TV
5
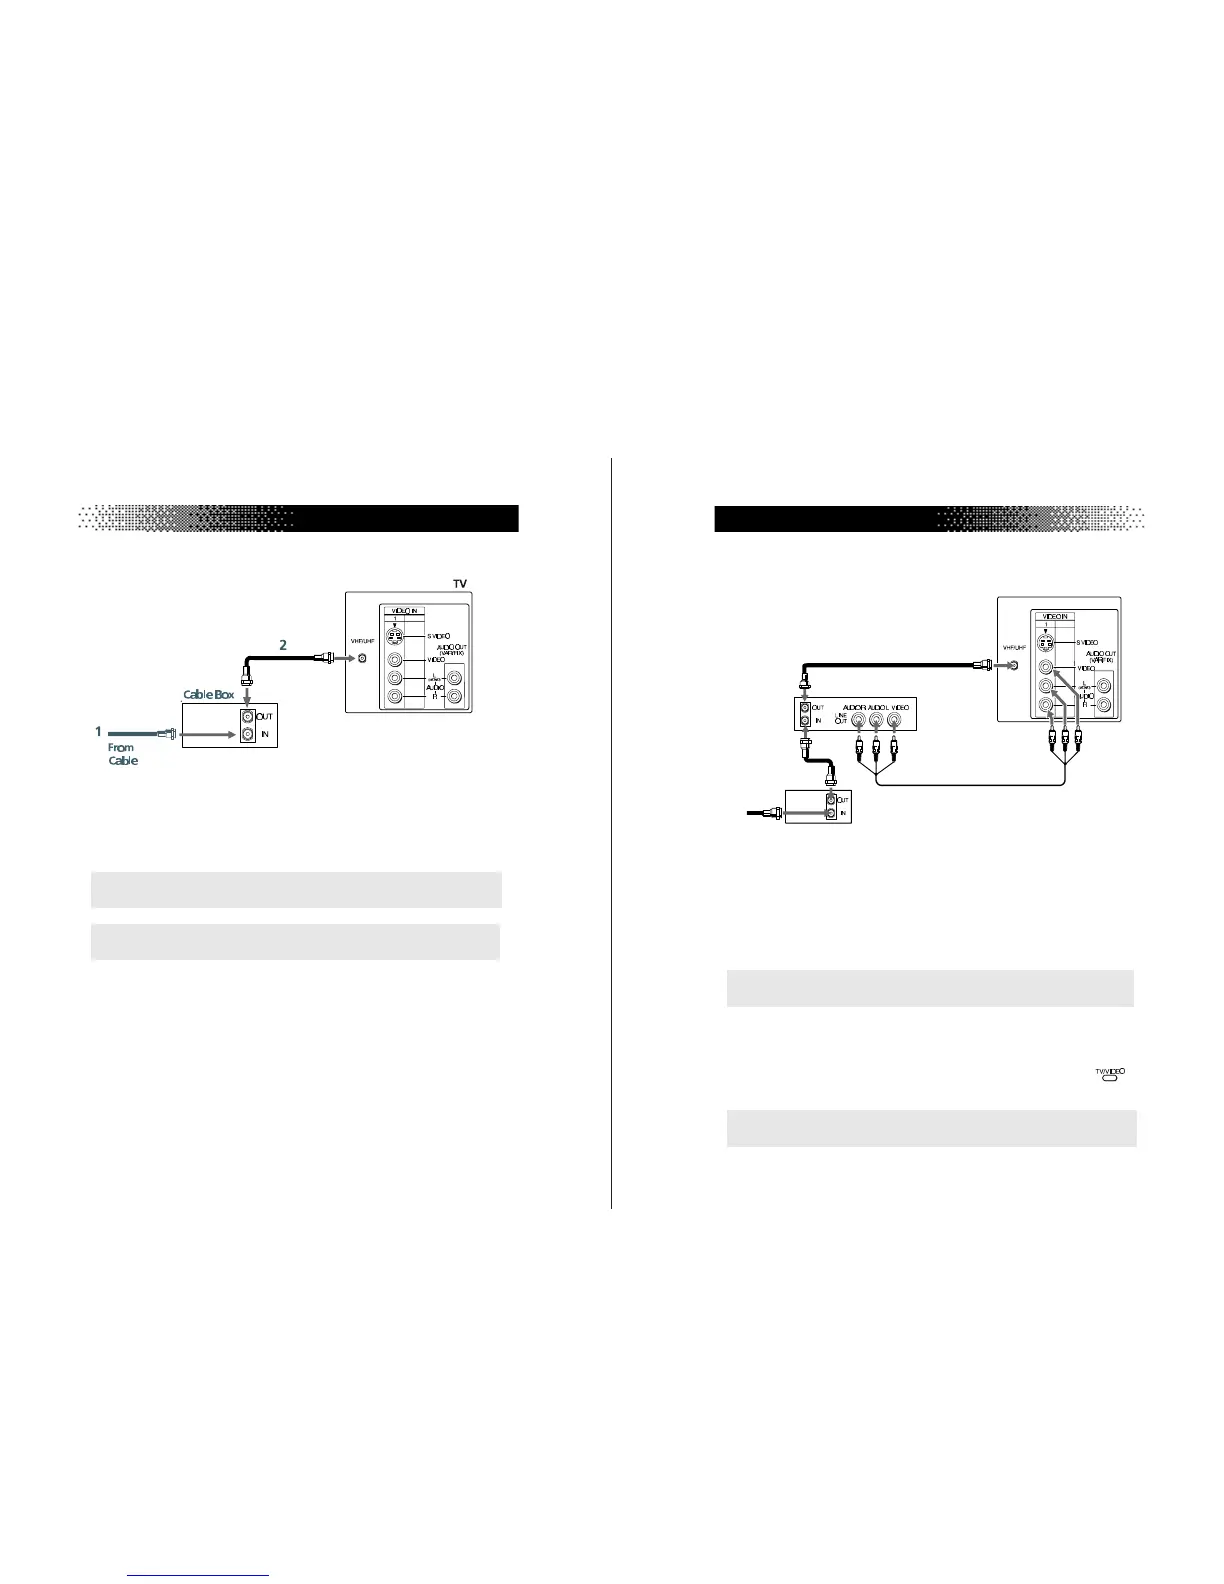
TV and Cable Box
1
Connect the coaxial cable from the wall to the IN jack on your cable
box.
2
Connect a coaxial cable (not supplied) from the OUT jack on your
cable box to the VHF/UHF IN jack on the TV.
✍
To view channels from your cable box, tune your TV to channel 3 or 4 (as set
on the rear panel of your cable box).
✍
If you will be controlling all channel selection through your cable box, you
should consider using the CHANNEL FIX feature on page 20.
6
User Guide
TV, VCR, and Cable box
1
Connect the coaxial cable from the wall to the IN jack on your cable
box.
2
Connect a coaxial cable (not supplied) from the OUT jack on your
cable box to the IN jack on your VCR.
3
Connect a coaxial cable (not supplied) from the OUT jack on your
VCR to the VHF/UHF IN jack on the TV.
(Optional connection)
4
If your VCR is equipped with video inputs, for better picture quality
you should connect A/V cables from AUDIO and VIDEO OUT on
your VCR to AUDIO/VIDEO IN on your TV. You can use the
button to switch between the TV and VCR inputs.
✍
If you will be controlling all channel selection through your cable box, you
should consider using the CHANNEL FIX feature on page 20.
✍
For optimum picture quality, use S VIDEO instead of the yellow A/V cable.
S VIDEO does not provide sound, the audio cables must still be connected.
3
TV
Cable
4
(Optional connection)
Cable box
1
VCR
2
 Loading...