Do you have a question about the Sony SEL90M28G and is the answer not in the manual?
Ensure shooting distance is within the lens's minimum focusing distance.
Ensure subjects have contrast and are not too far or close, or moving fast.
Lock focus on a subject at the same distance to ensure focus stability.
Manually adjust focus when autofocus is not performing optimally.
Narrowing aperture (increasing F-value) can help achieve overall focus.
A-mounts are for cameras with mirrors or translucent mirrors.
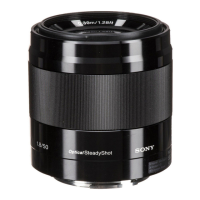
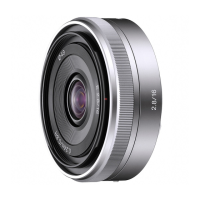
E-mounts are for mirrorless camera models.
A-mounts offer phase-detection AF; E-mounts allow compact designs.
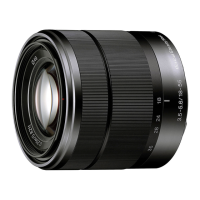
Both mount types offer full-frame and APS-C sensor options.
A-mount lenses start with 'SAL', E-mount lenses with 'SEL'.
A-mount lenses can be used on E-mount bodies with a mount adaptor.
Ensure the lens is compatible with your camera model.
Attach the lens clockwise until it clicks for secure connection.
Remove dirt or debris from electronic contacts on lens and body.
Inspect camera body contacts for damage or obstructions.
Use another lens to diagnose if the issue is with the lens or camera.
Find the model number to access specific operating instructions.
Navigate menu options 'Setup', 'Setting Reset', 'Initialize' to reset settings.
Use a pointed object to press and hold the reset button for factory reset.
Note that some apps may uninstall, and specific error codes may prevent reset.
This document describes a camera, focusing on troubleshooting autofocus issues, lens compatibility, and general maintenance.
The camera is designed for photography, featuring both autofocus (AF) and manual focus (MF) capabilities. It supports interchangeable lenses, with two primary mount standards: A-mount and E-mount. A-mount cameras utilize Sony Translucent Mirror Technology for full-time phase-detection autofocus, while E-mount cameras are mirrorless, allowing for compact, high-performance bodies and lenses. The camera also includes a SteadyShot feature for image stabilization, which helps in capturing sharp images, especially in macro photography or when shooting handheld. It supports various sensor sizes, including full-frame and APS-C, each offering distinct advantages for different photographic needs.
Autofocus (AF) Operation: The camera's autofocus system is designed to provide sharp images, but certain conditions can hinder its performance. To ensure proper focus, users should:
Manual Focus (MF) Operation: When autofocus is insufficient, the camera can be switched to manual focus (MF) mode. This allows the user to adjust focus manually, providing greater control in challenging situations. Some lenses feature a focus ring that slides back and forth to quickly switch between manual and auto focus, enhancing usability.
Aperture Control for Depth of Field: The camera allows for aperture control to manage depth of field.
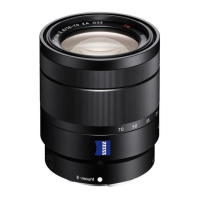
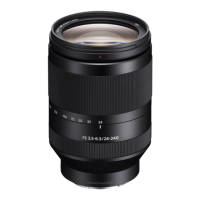
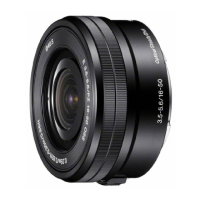
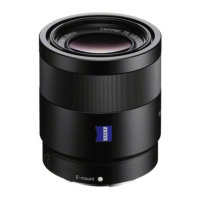
Lens Compatibility and Mounting: The camera supports interchangeable lenses with either A-mount or E-mount standards.
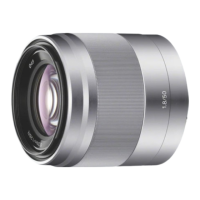
Special Lens Features (G Lens Example): Some lenses, like the G Lens, offer specific performance characteristics:
General Camera Reset: If the camera experiences issues, a factory reset can often resolve them.
Lens and Body Contact Cleaning: If the camera fails to recognize a lens, dirt or obstructions on the electrical contacts can be a cause.
Dust and Moisture Resistance: Some lenses are designed with a dust and moisture-resistant construction, ensuring reliable operation in various environmental conditions.
| Lens type | Telephoto lens |
|---|---|
| Component for | SLR |
| Image stabilizer | Yes |
| Fixed focal length | 90 mm |
| Lens mount interface | Sony E |
| Maximum aperture number | 22 |
| Minimum aperture number | 2.8 |
| Closest focusing distance | 0.28 m |
| Number of diaphragm blades | 9 |
| Lens structure (elements/groups) | 15/11 |
| Maximum magnification | 1 x |
| Camera brands compatibility | Sony |
| Product color | Black |
| Length | 130.5 mm |
|---|---|
| Weight | 602 g |
| Diameter | 79 mm |
| Filter size | 62 mm |