SS-GT4DB
3
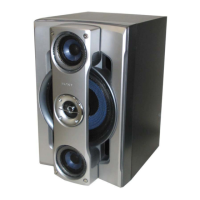
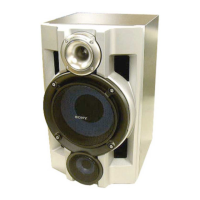
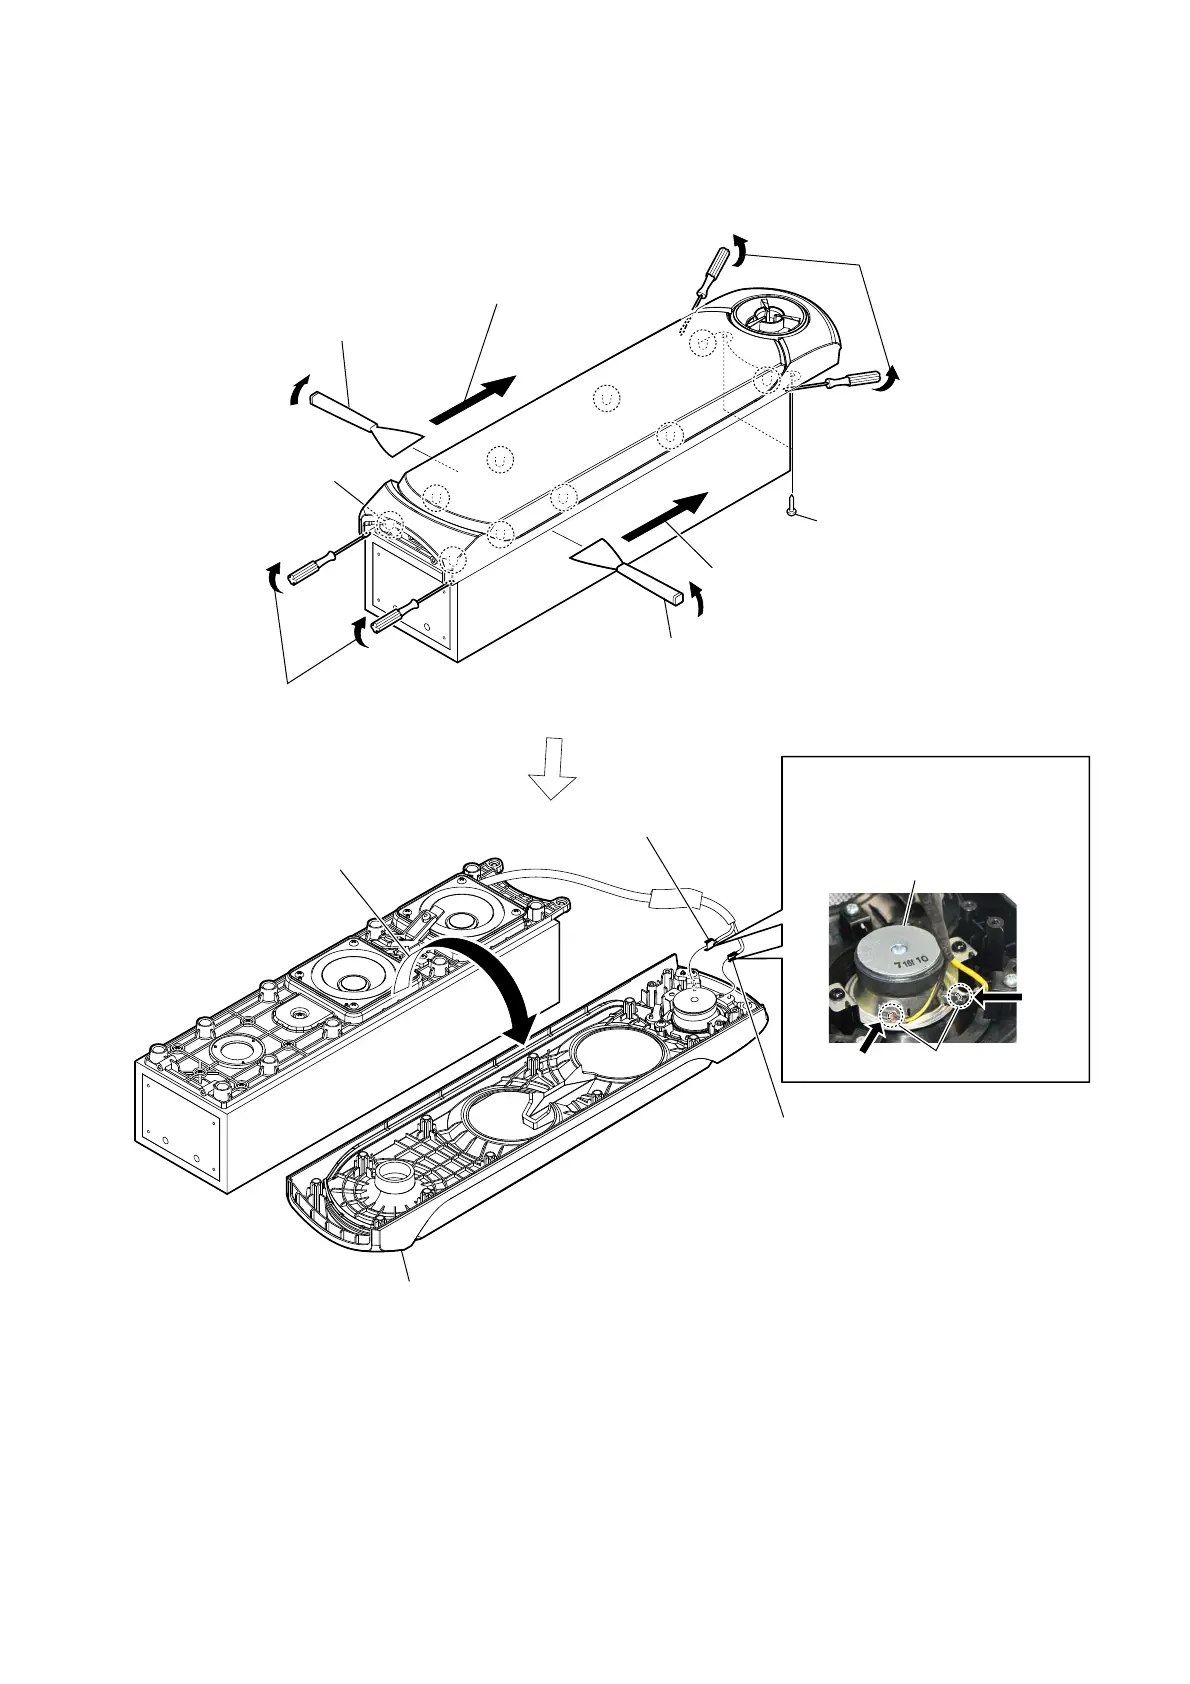
1-3. FRONT PANEL SECTION-2
8 front panel section
Note 3: When installing the front panel section,
remove the used glue and use a new
glue to fix the front panel section.
– Bottom view –
2 Insert a flat-head screwdriver into
the front panel section, and lift it a little.
2 Insert a flat-head screwdriver into
the front panel section, and lift it a little.
3 Insert the jig into a space and raise
front panel section.
Note 1: When using a jig, please work so
as not to injure front panel section
and speaker cabinet.
3 Insert the jig into a space and raise
front panel section.
Note 1: When using a jig, please work so
as not to injure front panel section
and speaker cabinet.
4 All bosses are removed while moving jig in the
direction of the arrow, and front panel section is removed.
4 All bosses are removed while
moving jig in the direction of
the arrow, and front panel
section is removed.
5 Remove the front panel section
in the direction of the arrow.
7 terminal
(narrow side)
7 terminal
(wide side)
:LUHVHWWLQJ
6 Push the protrusion, and remove
the terminal.
protrusion
loudspeaker (4cm)
(SP3)
Push
total ten bosses
Push
1 two screws
((1) (3.5 u 14), TAPPING)
 Loading...