Do you have a question about the Sony Trinitron KV-21FS140 SCC-S79A-A and is the answer not in the manual?
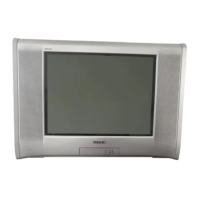
| Display Technology | CRT |
|---|---|
| Screen Size | 21 inches |
| Aspect Ratio | 4:3 |
| Resolution | 480i |
| Weight | 25.4 kg |
| Inputs/Outputs | Composite, RF |
| Inputs | Composite, S-Video, RF, Component |
Notes on handling high voltage and potential damage.
Use of isolation transformer to avoid shock hazard.
Replace critical components with specified Sony parts.
STANDBY LED flash codes indicating possible problem causes.
Visual representation of LED flash patterns and timing.
Procedure to stop the flashing STANDBY LED.
Bringing up past failure occurrences on the screen for confirmation.
Steps to remove the rear cover of the television for access.
Procedure for removing the chassis assembly from the television.
How to place the chassis in a service-friendly position for work.
Detailed steps for safely removing the picture tube, including anode cap.
Adjusting beam landing for optimal picture geometry and convergence.
Aligning red, green, and blue electron beams for sharp image display.
Adjusting the focus control for a sharp and clear picture display.
Setting the screen grid voltage (G2) for proper picture brightness.
Overview of remote control buttons and their functions in service mode.
Instructions on how to enter and navigate the television's service menu.
Procedure to verify that service adjustments have been saved correctly.
Calibrating white balance for accurate color reproduction.
Adjusting P Max, Contrast, Color, and Hue for picture quality.
Identifies the physical location of main circuit boards within the TV.
Information on interpreting PWB layouts and schematic symbols.
Overall block diagram showing signal flow and main functional units.
Detailed schematic diagrams for various circuit sections (A Board).
Illustrations and identification of common semiconductor components used.
Exploded view of the TV chassis with part numbers and reference.
Exploded view of the picture tube assembly and related components.