Do you have a question about the Sony TRINITRON KV-ES34M31 and is the answer not in the manual?
Lists diagnostic items, flashes, causes, and symptoms for TV errors.
Illustrates STANDBY/TIMER lamp flash patterns and their diagnostic meaning.
Explains how to display diagnostic results on the TV screen using the remote.
Explains the circuit diagram for self-diagnosis functions and error causes.
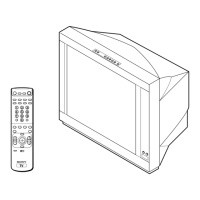
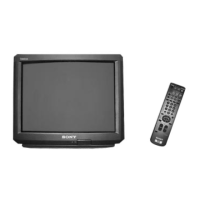
Guides the user through initial TV setup steps and connections.
Details how to connect external video and audio components to the TV.
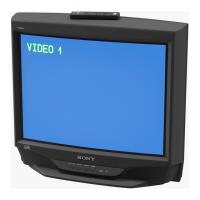
Explains basic TV operation and channel selection using the remote.
Instructions for changing the on-screen and menu display language.
Instructions on how to set the TV to turn off automatically after a specified period.
Guides on how to select and adjust picture and sound modes for personalized settings.
Explains how to use Picture-in-Picture (PIP) or TWIN features to view multiple programs.
Explains how to use the surround sound feature to enhance audio experience.
Steps to display Teletext pages on the TV screen.
Explains how to use the FASTEXT feature for quick Teletext access.
Guides on configuring the remote to control different types of connected equipment.
Explains the hierarchical structure of the TV's menu system for accessing settings.
Details how to adjust picture and sound settings like DRC-MF, Picture Mode, Surround.
Covers changing menu language, blocking channels, picture position, and volume.
Instructions for removing the rear cover of the TV for servicing.
Detailed procedure for removing the picture tube, including cautions.
Important safety note on shorting the picture tube anode after removal.
Details the specific service tools (jigs) needed for model extensions.
Instructions for adjusting beam landing for correct color convergence and picture alignment.
Detailed procedure for adjusting horizontal and vertical static convergence.
Steps for performing dynamic convergence adjustments for optimal picture geometry.
Procedure for adjusting the focus VR for a sharp picture.
Explains the process of entering Service Mode and making adjustments using the RM-916 remote.
Explains the general method for adjusting various service items using the remote.
Adjusts picture quality parameters like contrast, hue, color, and sharpness.
Adjusts deflection settings for optimal picture geometry, especially for DRC 1250 mode.
Steps for adjusting the A board after replacing memory ICs.
Adjustments for various picture distortions like vertical size, linearity, and corner pinning.
Provides a high-level block diagram of the TV's main functional sections.
Detailed schematic diagrams and printed wiring boards for each section.
Schematic diagram for the A board, showing its internal circuitry and connections.
Schematic diagram for the D board, covering power supply and deflection circuits.
Schematic diagram for the E board, showing RGB output and deflection circuitry.
Printed wiring board layouts for the A board, showing component placement.
Schematic diagrams for the H1 (LED/SIRCS), H2 (AV Input), and H3 (Top Key) boards.
Lists identified diodes with their markings and package types.
Lists identified transistors with their markings and package types.
Lists identified integrated circuits (ICs) with their part numbers and package types.
Exploded view of the speaker bracket assembly, listing all parts.
Exploded view of the picture tube assembly, listing all parts and a note for OCE models.