Do you have a question about the Sony VPL-VW100 and is the answer not in the manual?
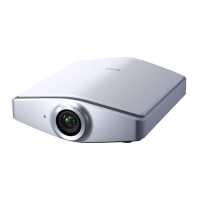
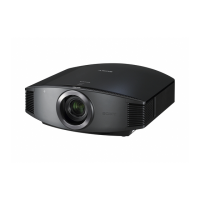
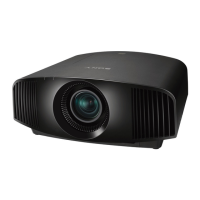
This document outlines the integration of the Sony VPL-VW100 projector with the OneHome system, detailing both RS-232 and Ethernet connection options for control and management. The OneHome system is designed to provide reliable communication and control over various devices within a smart home or commercial environment. This integration note serves as a guide for installers and users to set up and configure the projector for seamless operation within the OneHome ecosystem.
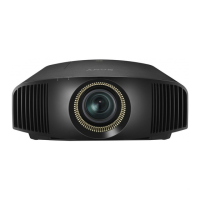
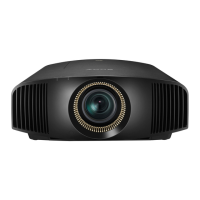
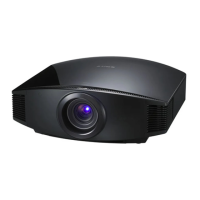
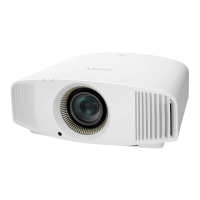
The Sony VPL-VW100 projector, when integrated with the OneHome system, offers a range of control functionalities that enhance user convenience and system automation. Users can manage the projector's power state, turning it on or off as needed, which is crucial for energy efficiency and extending the projector's lifespan. Furthermore, the system allows for the selection of various input sources, enabling users to switch between different media devices connected to the projector, such as Blu-ray players, gaming consoles, or computers, directly from the OneHome interface. This eliminates the need for multiple remote controls and streamlines the user experience.
Beyond basic power and input control, the OneHome integration supports the management of the projector's display modes. Users can select from predefined modes like "Dynamic," "Cinema," "Standard," "User 1," "User 2," and "User 3." These modes often correspond to different picture settings optimized for specific content types or viewing environments. For instance, "Cinema" mode might offer a more film-like experience with adjusted color temperatures and contrast, while "Dynamic" mode could provide a brighter, more vibrant image suitable for well-lit rooms. The ability to switch these modes remotely through the OneHome system adds a layer of customization and convenience, allowing users to tailor their viewing experience without manually adjusting settings on the projector itself.
The document emphasizes that while many features are supported, certain functionalities are not currently available through the OneHome interface. Specifically, dual display modes, such as picture-in-picture (PIP) or dual display configurations, cannot be set or controlled via the OneHome system. This limitation is important for installers and users to note when planning their system's capabilities and managing expectations.
The installation process is broken down into several key steps, starting with the rough-in phase. During this initial stage, installers are advised to lay down the necessary power and video cabling for the projector. Concurrently, a Cat5 wire should be run from the projector's location back to the Network Assembly of the OneHome system. This Cat5 cable is critical as it provides the physical connection for either serial (RS-232) or Ethernet control, depending on the chosen integration method. The flexibility to use either connection type offers adaptability to different installation scenarios and existing infrastructure.
For those opting for the RS-232 connection, the document directs users to consult the "RS-232 Connection Options Integration Note" for additional serial connection details. This suggests that there might be specific requirements or alternative configurations for RS-232 that warrant a separate, more detailed guide. After the cabling is in place, the projector and its related components are installed. A crucial step before connecting to the OneHome system is to test the projector independently to ensure all sources play correctly. This standalone testing helps isolate any issues related to the projector or source devices before introducing the OneHome system into the equation.
Once standalone functionality is confirmed, the OneHome system is electrically connected to the projector. The next phase involves configuring the OneHome system for the projector. This typically includes setting up device profiles and communication parameters within the OneHome configurator software. After configuration, it's essential to confirm that communication between the projector and the HomeBrick (a core component of the OneHome system) is established and stable. The final step in the installation process is to thoroughly test the integrated system by changing sources through the OneHome interface to verify that the correct video appears on the projector. This end-to-end testing ensures that all components are working harmoniously and that the user can seamlessly control the projector.
The document provides detailed connection diagrams and bills of materials for both RS-232 and Ethernet options. For RS-232, the setup involves a DB9M to DB9F NULL Modem Adapter, a DB9M to RJ45 Adapter, and a Cat5 Cable Assembly connecting the projector to the Network Assembly, which then links to the HomeBrick. The bill of materials specifies the manufacturer, part number, protocol, and connector type for each component, including notes on items that need to be purchased separately. For Ethernet, the connection is simpler, primarily involving a Cat5 Cable Assembly from the projector to an available LAN port on the Network Assembly, which also connects to the HomeBrick. The bill of materials for Ethernet similarly lists the required components.
Projector programming is a critical step, especially when using the Ethernet connection. The document provides a step-by-step guide on how to set the IP address of the projector using its IR remote and on-screen setup menus. This process involves navigating through the projector's menu to "Installation," then "Network Settings," and finally "IP Address Setup." Users are guided to select "Manual" for IP address configuration and then input the desired IP address, subnet mask, and other network parameters. The default IP address is provided as 192.168.0.70, and the subnet is 255.255.255.0. It's noted that the Default Gateway and DNS settings can typically be ignored. After entering the settings, users must apply and save them before exiting the menu. This detailed programming instruction ensures that the projector is properly configured for network communication with the OneHome system.
The HomeLogic Configuration Details section provides a table outlining the settings used in the HomeLogic Configurator software. For RS-232, users need to define the "Communication Devices" and "Video Display" with specific names, types (Serial Port, Standard Connection), locations, and COM port selections. For the "Video Display," the device type is specified as "Sony VPL-VW100 (RS-232)." For Ethernet, no separate "Communication Device" is needed; users directly configure the "Video Display" with its name, device type ("Sony VPL-VW100 (Network)"), location, IP address (defaulting to 192.168.0.70), and port (53484). These configuration details are crucial for the OneHome system to correctly identify and communicate with the projector. The notes clarify that for Ethernet, simply adding "Video Displays" is sufficient, and default IP addresses are provided for multiple cameras if applicable.
In summary, this document provides a comprehensive guide for integrating the Sony VPL-VW100 projector with the OneHome system, covering everything from initial cabling and installation to detailed configuration and testing. It highlights the projector's supported features, such as power control, input selection, and display mode management, while also noting current limitations. The emphasis on clear, step-by-step instructions and detailed connection diagrams ensures that installers can successfully set up the system for reliable and convenient operation within the OneHome environment. The document serves as a valuable resource for achieving a fully integrated and controllable projection system.
| Resolution | 1920 x 1080 |
|---|---|
| Brightness | 1000 ANSI lumens |
| Contrast Ratio | 15000:1 |
| Lamp Life | 2000 hours |
| Weight | 13.2 lbs (6 kg) |
| Display Technology | SXRD |
| Lamp Type | UHP |
| Screen Size | 40 - 300 inches |
| Inputs | HDMI, Component, Composite, S-Video |
| Lamp Life (Low mode) | 3000 hours |