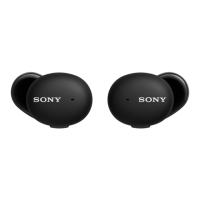
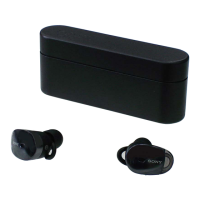
WF-SP800N
7
Sony CONFIDENTIAL
For Authorized Servicer
REPAIRING AND REPLACING OF THE LEFT SIDE HEAD-
SET OR RIGHT SIDE HEADSET
If the left side headset or right side headset is broken, it will be
replaced with the fi nished product excluding the earbud and arc sup-
porter. The headset cannot be disassembled and repaired.
Also, when replacing the left side headset or the right side headset
with a new part, perform the work for according to the following
procedure.
Note 1: Repair part of the headset do not include hybrid silicone rubber
earbud and arc supporter.
Earbud and arc supporter can be replaced with single part. Refer to
“4. ACCESSORIES” on page 17.
Check in advance:
• Check that you have all of the left and right headset and charging
case, included in the WF-SP800N.
• Be sure to check that there are no WF-SP800N in the surround-
ings (within about 50 cm). If using WF-SP800N in the sur-
roundings (within about 50 cm), it may connect to another WF-
SP800N.
Replacing procedure of headset:
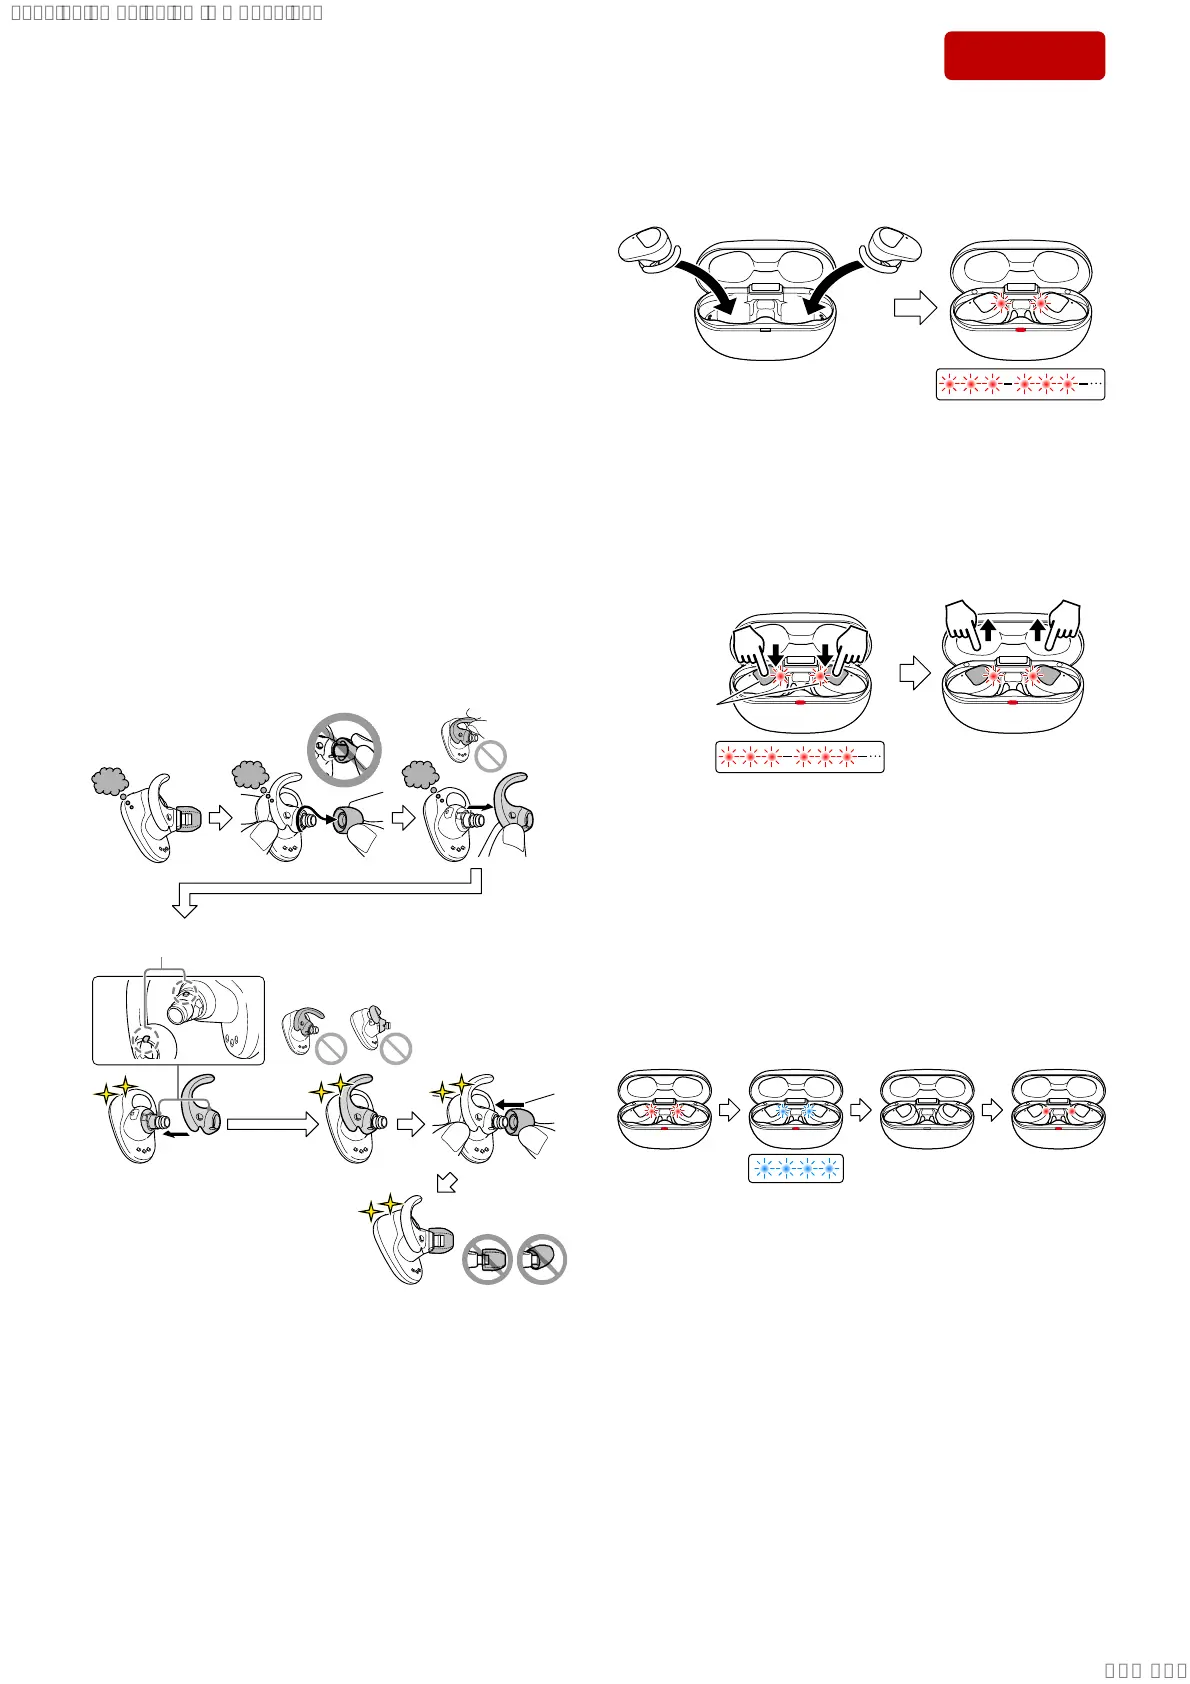
1. Replace the broken left side headset or right side headset with a
new left side headset or new right side headset.
Note 2: Remove the hybrid silicone rubber earbud and arc supporter from
the broken headset and attach them to the new headset.
Align the notch with
the protrusion.
(The above fi gure is explanation with the left side headset illus-
tration. Right side headset can be similarly attached/removed)
– Continued on upper right –
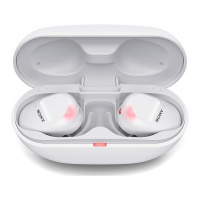
2. Attach the left and right headset to the charging case.
Note 3: The left and right headset will display a warning message (repeat
fl ashing 3 times in red), but proceed to the next step as it is.
LR
Warning message
(repeat flashing
3 times in red)
3. Touch and hold the touch sensor control panel on the left and
right headset simultaneously for about 10 seconds, and the indi-
cator changes from warning message (repeat fl ashing 3 times in
red) to fl ashing slowly in red, in this state release the your fi nger.
touch sensor
control panel
L R
Flashing slowly in red:
Release your finger
Warning message (repeat
flashing 3 times in red):
Continue to touch and hold
4. The left and right headset indicator changes from fl ashing slow-
ly in red to fl ashing 4 times in blue, and when the all indicators
are light off , pairing of left and right headset is complete. (After
the light off , all indicators lighting in red and restart automati-
cally)
Note 4: When this operation is performed, it might not be able to connect to
iPhone or PC.
In that case, delete the registration of this unit on iPhone or PC,
register the device again.
Flashing
in blue (4 times)
Flashing
slowly in red
All light off All light on
5. Check the operation of this unit and complete the left side head-
set or right side headset replacement work.
SYSSET
2021/04/1700:55:12(GMT+09:00)


 To Next Page