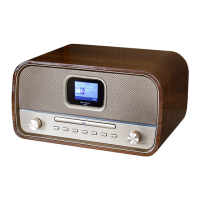
DAB600 / English Instruction Manual
2
BASIC OPERATION - GETTING STARTED
1. Place the appliance on a flat and stable surface.
2. Connect the plug of the power supply into the socket at the rear of the radio, plug in the supplied AC power
supply into the wall socket. The display backlight will illuminate for a few seconds, a welcome message will
appear in the display briefly and the clock (00:00:00) will flash in the display and a message ‘time is not set’
will appear underneath.
3. Fully extend the telescopic antenna.
4. Press the “STANDBY ” (3) button to turn the unit on, the DAB mode will automatically be selected and the
radio will perform a full autoscan. The display will show ‘Scanning’, together with a slide bar that indicates the
progress of the scan and the number of stations found so far.
5. Once the scan has finished, the radio will select the first alphanumerically found station.
6. Adjust the volume to the desired level by turning the “VOLUME” (11) knob.
7. Press the “TUNING” ◄ or ► (5 or 6)buttons to scroll through the located stations. Once the station of choice is
located, press the “SELECT” (7) button to select the station.
8. Move the antenna or radio until the best reception is received.
9. To switch to FM radio, press the “MODE”(8) button. Press the button again to return to DAB.
10. To switch the radio into standby mode, press the “STANDBY “ (3) button. The radio will silence, the display
will dim but the clock will still be displayed.
11. If the clock does not automatically set, the clock can be set manually pls. see page 3 DAB - setup option.
USING THE RADIO - DAB MODE
DAB differs from analogue radio; the separate signals from a number of stations are grouped together and
transmitted as a single frequency. These groups are referred to as multiplexes and ensembles. Each time a group
has been found the name of the group will be shown on the lower half of the display.
DAB MODE - AUTO TUNE
This function allows the radio to search automatically for DAB Band III channels. Press the “MENU” (button to enter
the tuning menu.
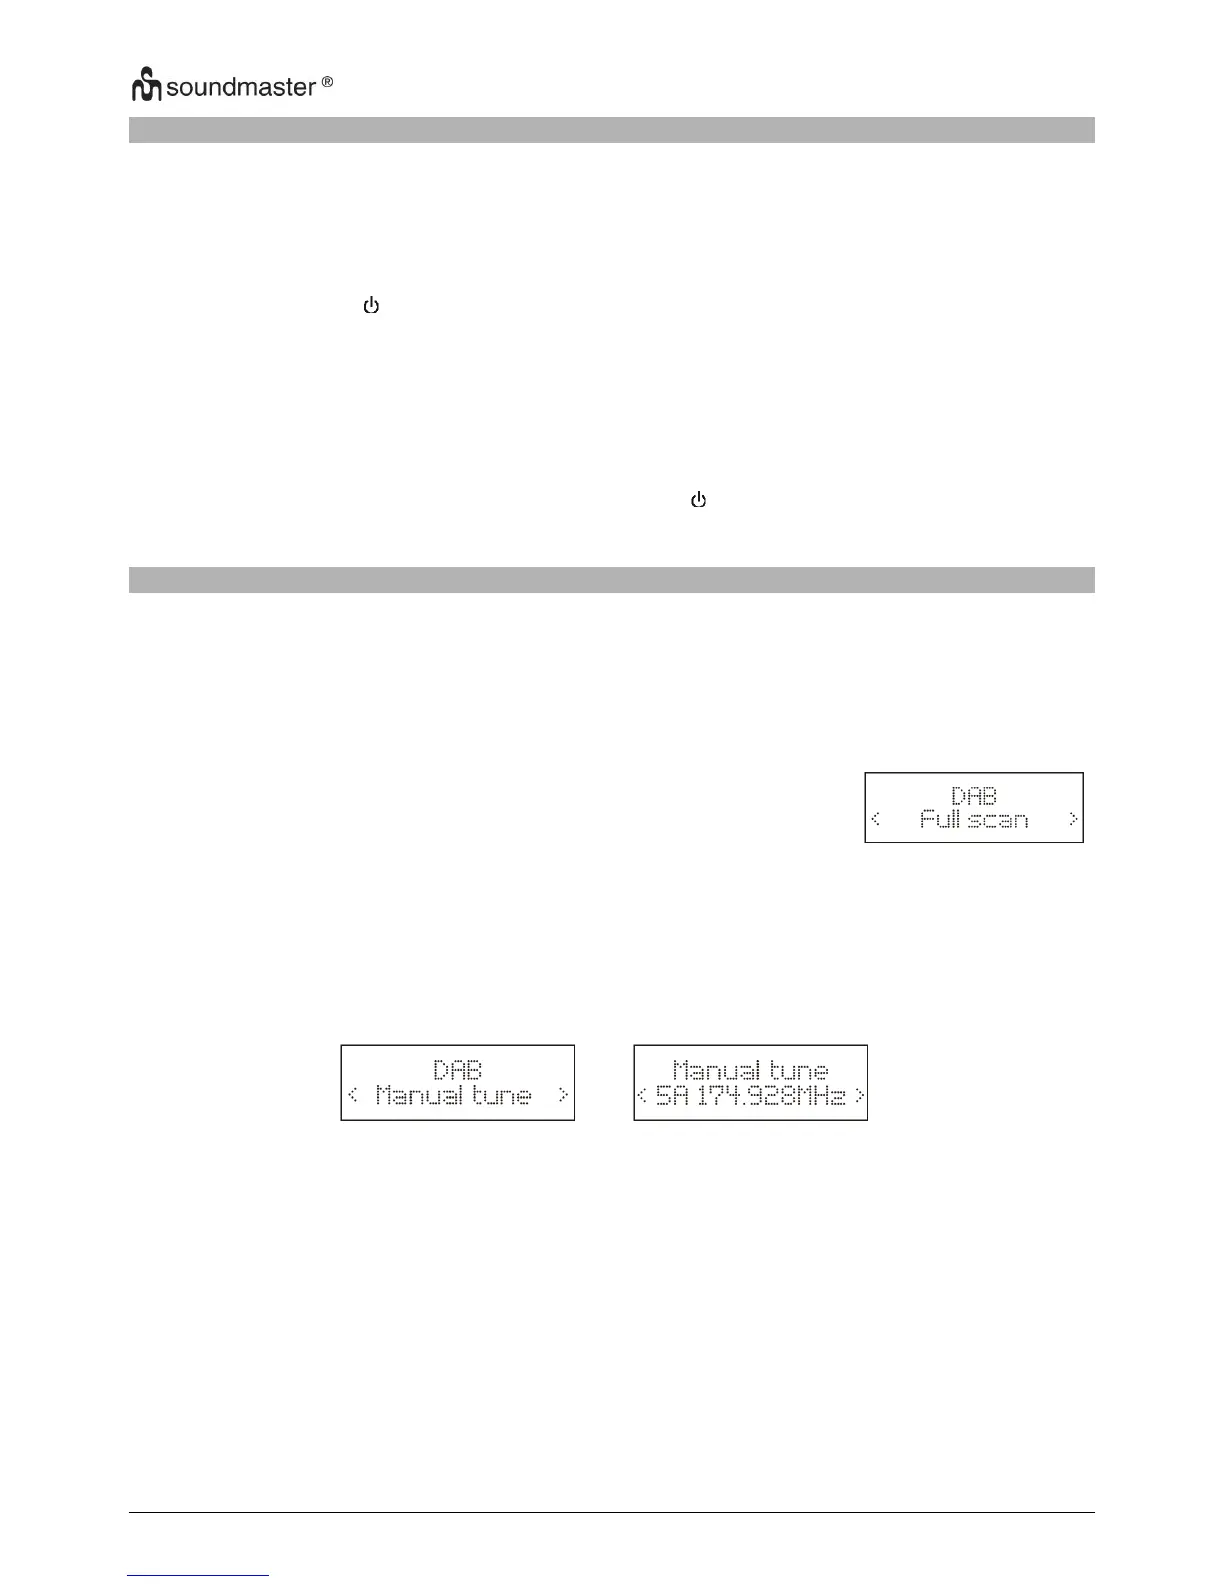
1. In DAB mode, press the “MENU” (14) button ‘Full scan’ is displayed and press
the “SELECT” (7) button. The radio will start to scan, the display will show
‘Scanning’, together with a slide bar that indicates the progress of the scan and
the number of stations found so far.
2. When the scan is finished the radio will return to the station played before the scan was initiated but any new
stations found will have been added.
DAB MODE – MANUAL TUNE
This function allows a specific or new ensemble to be manually added to the stations already available on the
radio. Press the “MENU” (14) button once to enter the tuning menu.
1. Press the MENU button and the press the “TUNING” ◄ or ► (5 or 6) buttons until ‘Manual tune’
(fig. 4) is displayed. Press the “SELECT” (7) button.
2. Press the “TUNING” ◄ or ► (5 or 6) buttons until the desired frequency (e.g. fig. 5) is shown in the display,
then press the “SELECT” (7) button. The top line will now display the channel number, the frequency and
name of the ensemble and the lower line will show the signal strength.
3. Press the “SELECT” (7) button again to add the ensemble and automatically tune to the station.
4. Leave the function by pressing the “MENU” button (14) twice.
DAB MODE – PRUNE
This function allows all unavailable stations to be removed from the station list.
1. Press the “MENU” (14) button to enter the menu.
2. Press the “TUNING” ◄ or ► (5 or 6) buttons until ‘Prune’ is displayed and press the “SELECT” (7) button to
confirm.
3. Press the “TUNING” ◄ or ► (5 or 6) buttons to select <yes> to confirm and delete. If <no> is selected the
operation will be cancelled. Press “SELECT” (7) to confirm.
4. After finish the above steps, press MENU button, select full scan to auto scan, then the unavailable stations
will be removed from the station list.