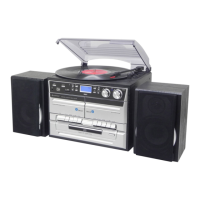
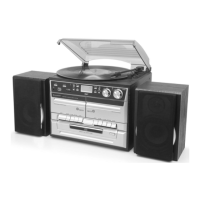
MCD400 / English Instruction Manual
2
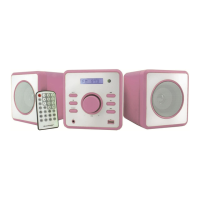
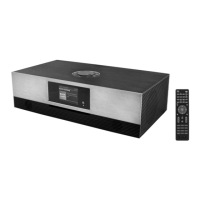
REMOTE CONTROL
For wireless operation from a distance of up to 5 meters. During operation, please ensure a
clear line of view between the remote control and the sensor on the device. If this range should
diminish, the battery must be replaced. Replace the battery as follows:
1. Open the battery compartment.
2. Replace the cell with a battery of the same type (CR 2025). Please observe the correct
polarity.
3. Close the battery compartment.
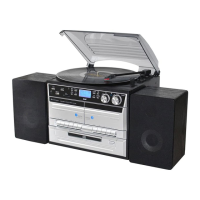
INSTALLATION
• Select a suitable location for the device and the loudspeakers. An even, skid-resistant
surface on which you can easily operate the device would be suitable.
• Ensure that the device is adequately ventilated!
• Connect the speakers on the back to the terminals “SPEAKERS R and L”.
• Remove the protective film from the display if it is still present.
• Press the “STANDBY / FUNCTION” button to turn on the device.
• Press the “STANDBY / FUNCTION” button for approx. 3 seconds to switch into the standby
mode.
Power Supply
• Pay attention to the mains voltage! The type plate lists the correct voltage for your device.
• Insert the mains plug into a properly installed power socket.
• If the device is not used for a longer period of time, the mains plug must be disconnected
from the socket.
NOTE:
After about 10 minute without a signal, the device will automatically switch to standby.
SETTING CLOCK AND DATE
The system must be in standby mode in order to set the clock.
1. Press and hold the “ENTER / PLAY / PAUSE / CLOCK” button for approx.2 seconds.
2. Use the “SKIP+ / TUNING+” & “SKIP- / TUNING-” buttons to set the time format “12 / 24hr”.
3. Press the “ENTER / PLAY / PAUSE / CLOCK” button to confirm time format.
4. Use the “SKIP+ / TUNING+” & “SKIP- / TUNING-” buttons to set the hours accordingly. The
hour digits start flashing.
5. Press the “ENTER / PLAY / PAUSE / CLOCK” button to confirm the hour.
6. Repeat step 4 and 5 to set the minute / date.
NOTE:
Press and hold the “ENTER / PLAY / PAUSE / CLOCK” button during operation order to briefly
display the current time.