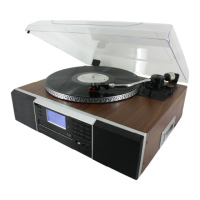
Adjustments
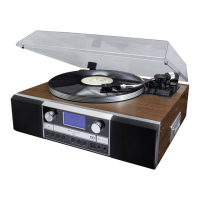
Anti-skating control
- The anti-skating control (28) is made the stylus more stable and this
relative to the different type of vinyl, thus, just set it to the comfortable
position as you desired.
Tone arm stopping position alignment
- The position of the tone arm complete playback and return to the rest
station can be adjusted at the alignment screw (26) as follow:-
- Before starting the alignment, please take out the hole covering rubber:-
A) If the system cannot complete the playback of record and return earlier
1) Use a cross head screw driver and turning the alignment screw (26) inside the hole clockwise, the stopping and eject
position of the tone arm will move more inward to the center of the record before playback completion.
B) if the system cannot return to rest position automatically after playback of record
2) use a cross head screw driver and turning the alignment screw (26) inside the hole anti-clockwise, the stopping and eject
position of the tone arm will move more away from the center of the record before playback completion.
Remark:-
- The stopping position is very subjective among difference customer, please select the most suitable position based on
your own record collection. The ex-factory setting is based on the most common template.
- Please check the stopping position time by time during adjustment and avoid over turning of the screw inside.
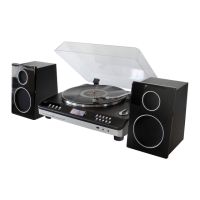
Line out connection
You can connect the system to your whole hi-fi system by connecting the line out socket (32) to the auxiliary input socket with
a RCA cable (not included).
Remark : Due to ErP stage two requirement and to protect the environment, the unit will
switch to standby mode automatically once no any music playing over 15 minutes.
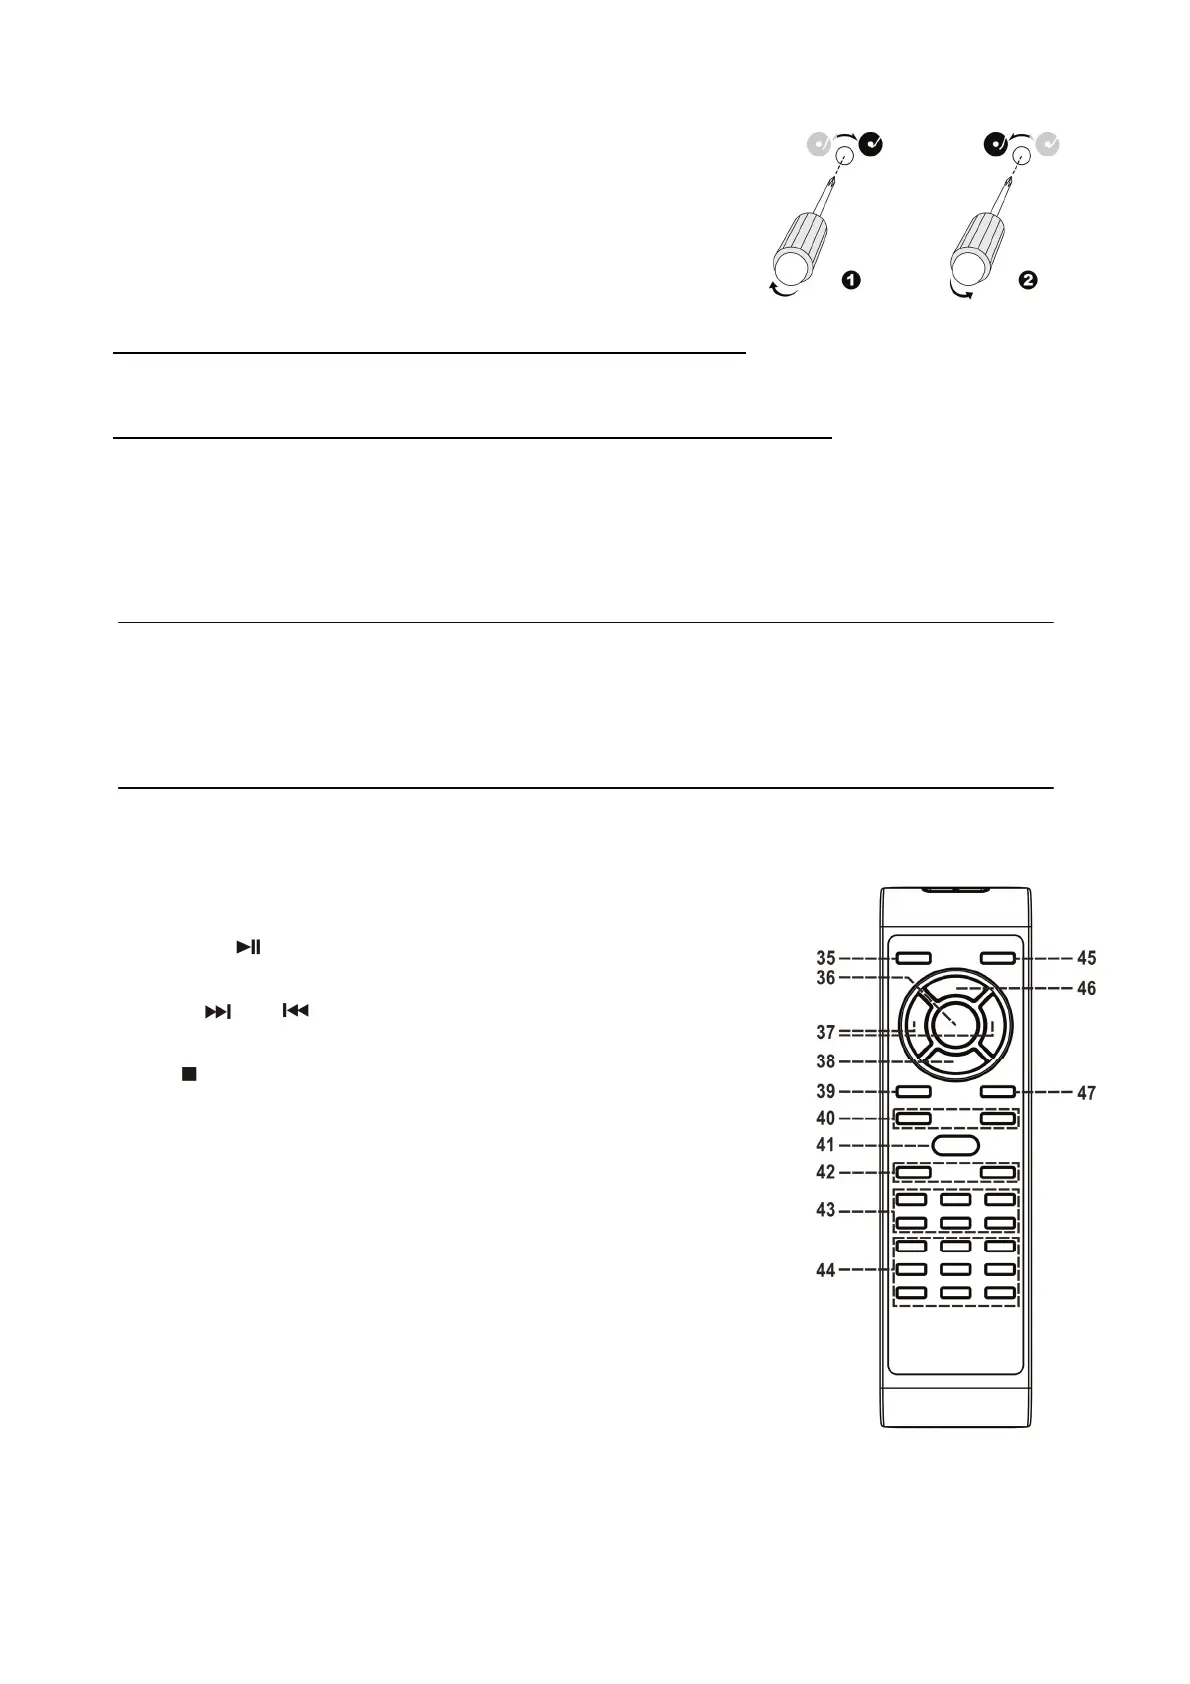
Remote control transmitter
Battery installation (battery not provided)
The infra-red transmitter requires 2 pc AAA size battery for operation
Button description
35) Stnadby/On button Operate the unit to standby or on mode
36) Play/Pause
In CD mode, press once to start playback.
Press again to enter pause mode
37) Skip up
/down Press to select previous / next tracks in CD
mode
38) Stop
In CD mode, press to stop playback
39) Display Press to show different information
40) Rec Level+/- Press to select CD-R record level
41) Preset EQ Press to select different EQ mode
42) Volume +/- Press to adjust the volume level
43) CD-R operation button Press to operate CD-R function such as Record,
TS…etc
44) USB/Tuner operation button Press to operate USB/Tuner function such as
program/play mode preset up…etc
45) Function button Press to change the function mode such as
Tuner, CD, USB…etc
46) Program In CD mode, press to active programming function
47) Repeat button Press to active report function of CD-R
EN-8