Page 18 Seaich Corporation, LLC. All rights reserved. www.seaich.com
|
Spacerails, LLC. www.spacerails.com
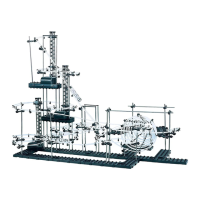
CONNECT TWO RC RAILS
C
Use the following illustrations and pictures
for attaching the rails to the structure:
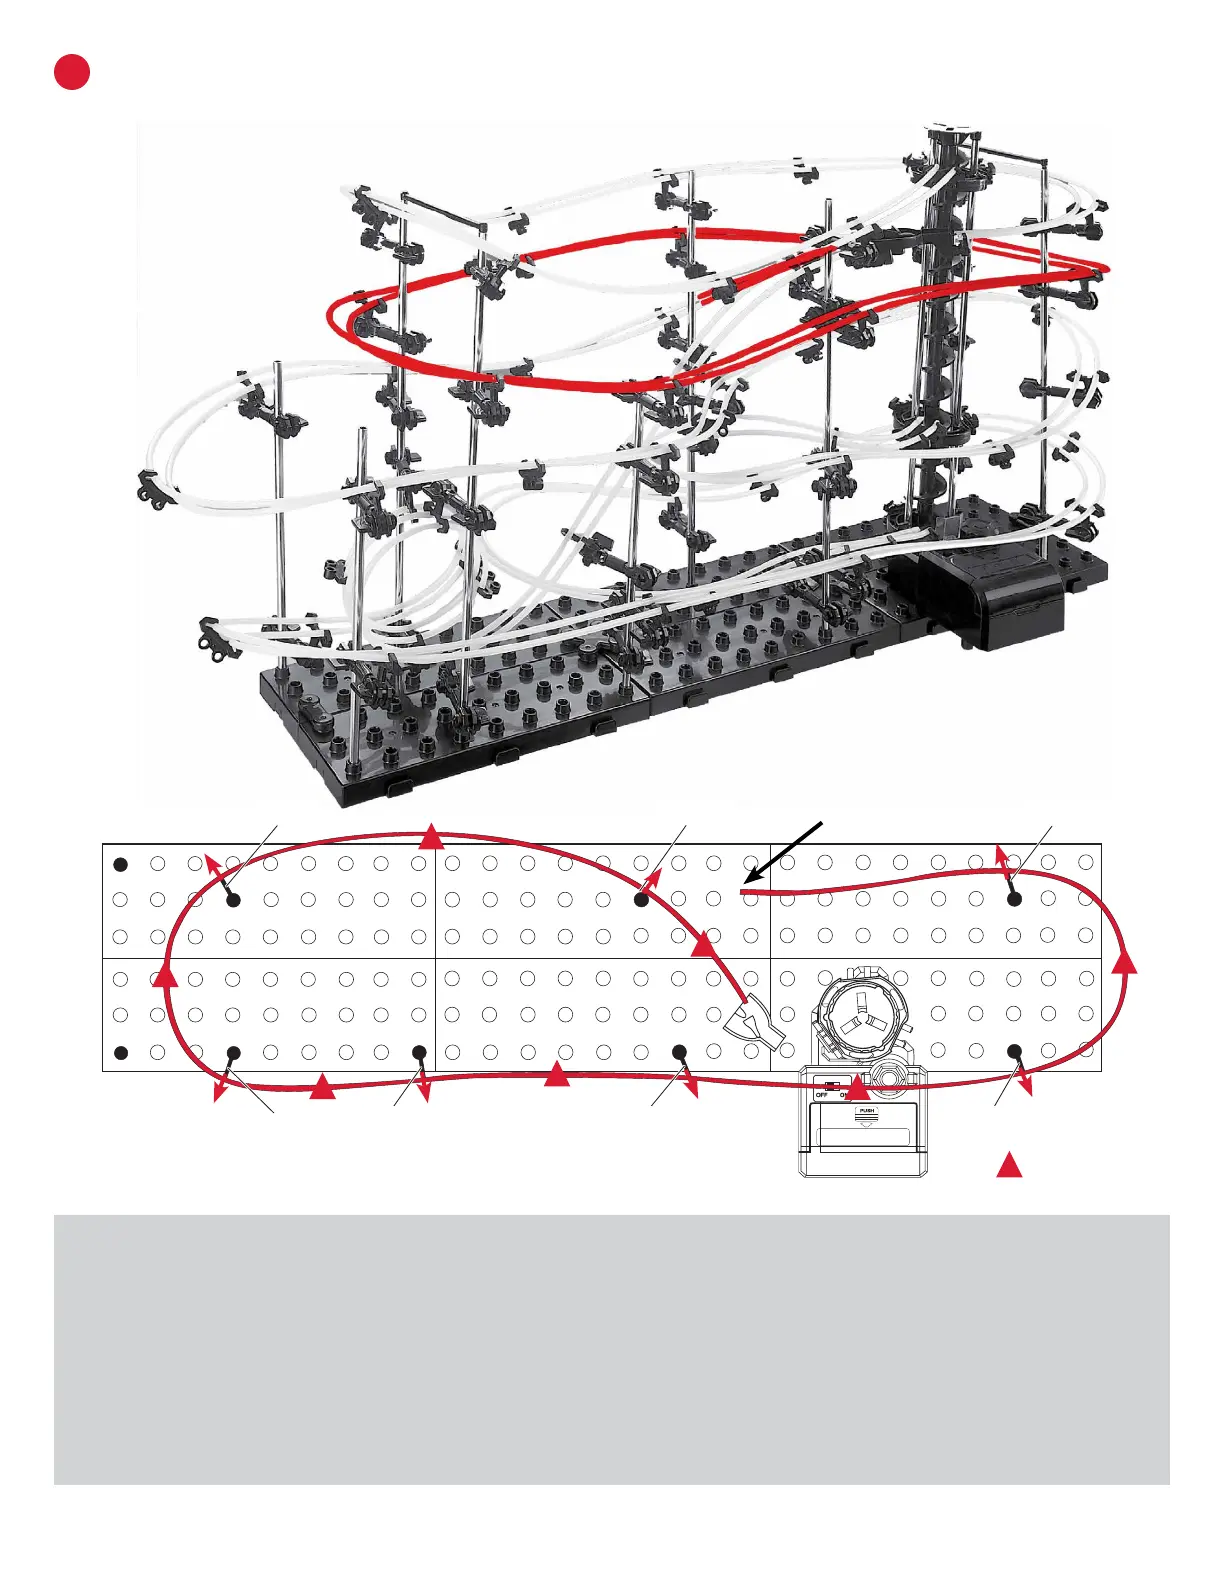
Step 7:
Rotate one rail arm on C-4, D-3, E-5, G-5, I-3, and H-3, and F-5 to match the red arrows shown above. The arm
number is shown above and is counted from the bottom up. D-3 is the 3rd arm from the bottom on the D shaft.
Step 8:
Connect two R-C rails starting at the right front side of the Rail Splitter and going to F-5, C-4, D-3, E-5, G-5, I-3-H-3
and leaving the rails hanging as shown. These will be joined with the next set of rails. There will be extra rail at the end.
Leave extra rail until the end of Step 12.
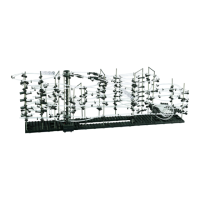
Step 9:
Starting at Rail Splitter, straighten rails and place a Rail Clip in between each shaft to keep rails evenly spaced
as shown by the red triangles above. Go from section to section until you nish between I-3 and H-3 Leave excess
railhanging.
C-4 F-5 H-3
I-3G-5E-5
D-3
TWO RC rails are used. (210 cm each)
Rail is left
hanging here.
= Rail Clip