Do you have a question about the Spacerails Level 8 and is the answer not in the manual?
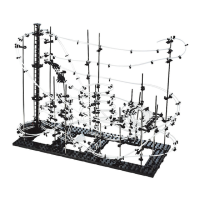
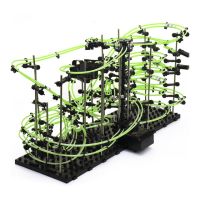
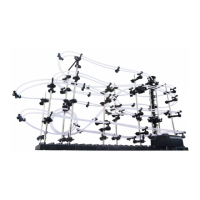
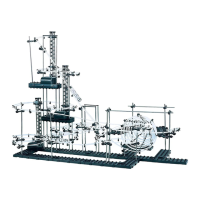
Steps for interlocking base blocks and securing them with base holders for stability.
Guidance on attaching arm holders to shafts and securing them with arm locks as per orientation.
Steps to place the main 600mm shaft into the power box and attach support shafts.
Instructions for connecting elevator helix pieces together to form the corkscrew.
Steps for positioning elevator rings onto support shafts and inserting elevator guards.
Instructions for placing the elevator cover and attaching rail clips to the elevator rings.
Attaches the power box stand, seats power box posts, and positions shafts on the base according to diagrams.
How to attach rails to arms, ensuring a secure click connection for stability.
Guidance on spacing rail clips for stability and creating banked curves for marble flow.
Instructions for creating a ramp and jump for the marble, with advice on tuning speed and angle.
Steps to create a figure 8 loop section, including arm rotation and specific arm connections.
| Category | Toy |
|---|---|
| Type | Marble run |
| Level | 8 |
| Difficulty Level | Advanced |
| Material | Plastic |
| Brand | Spacerails |
| Features | Includes loops |
| Recommended Age | 8 years and up |