Page 18 Seaich Corporation, LLC. All rights reserved. www.seaich.com
|
Spacerails, LLC. www.spacerails.com
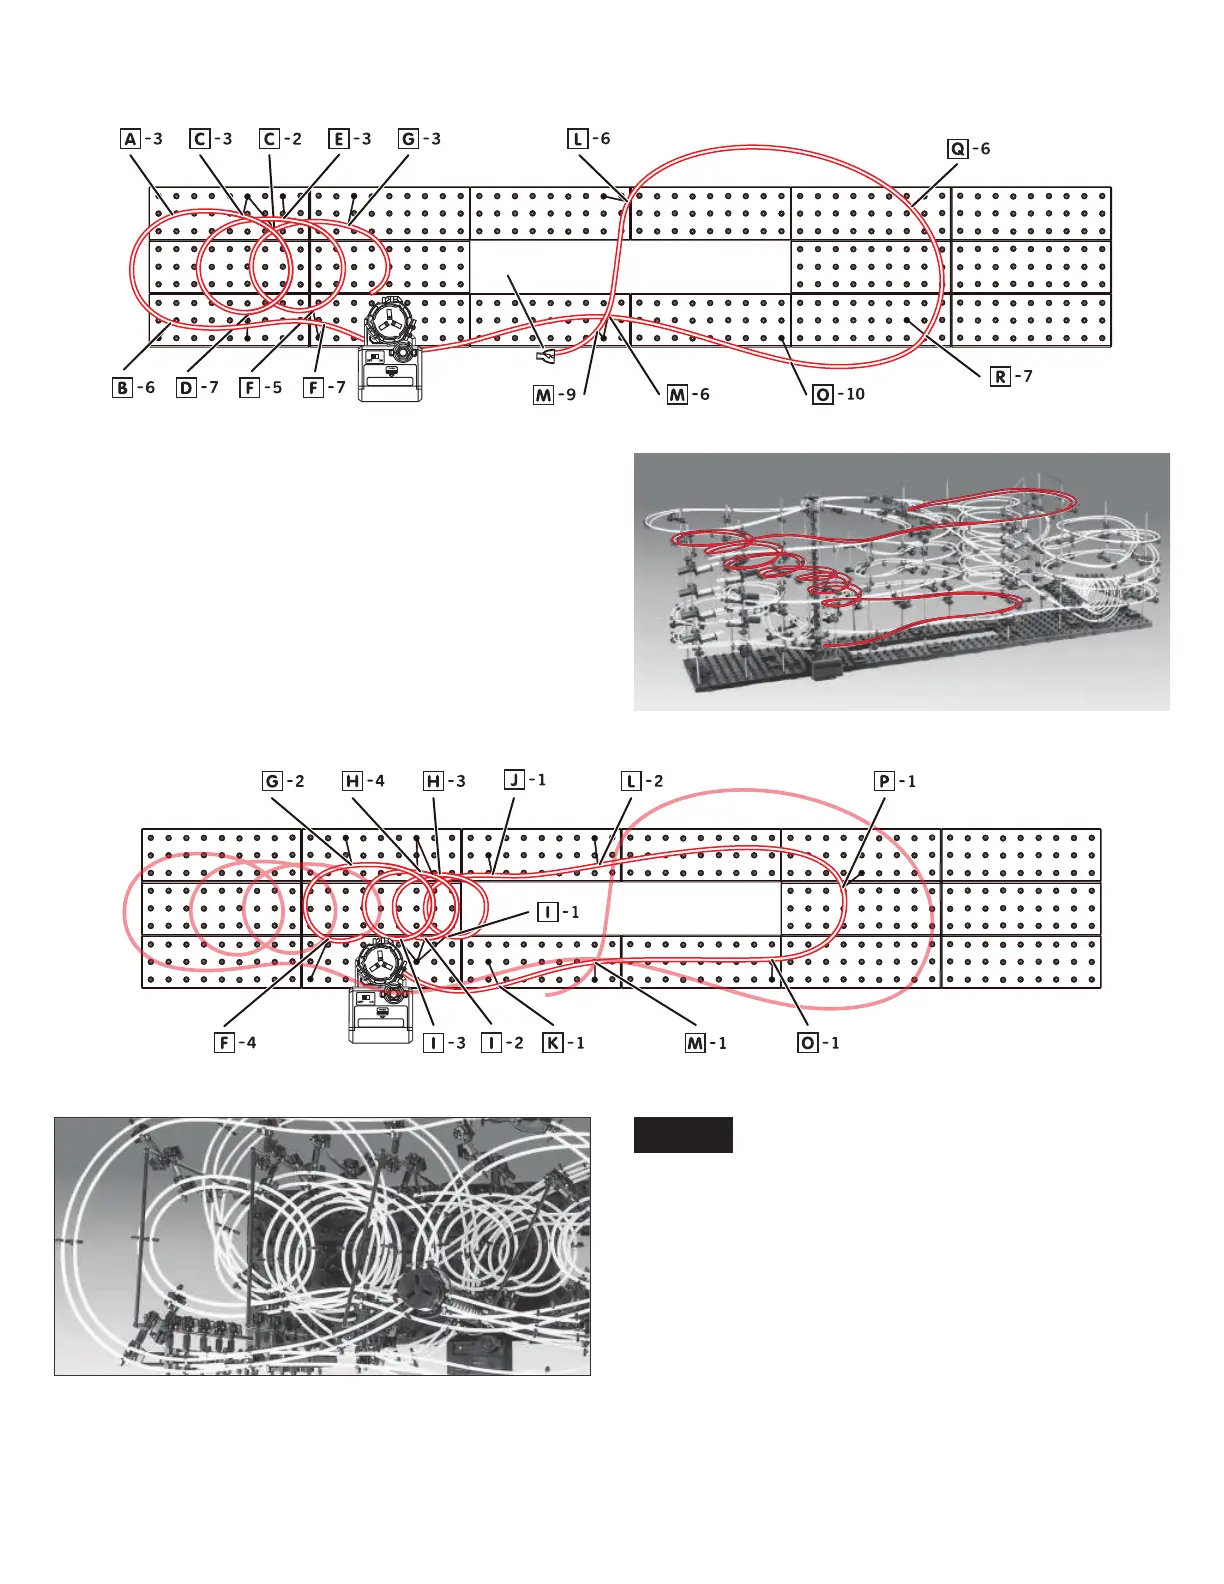
Rail Section 8:
Splitter A
Step1: Start by attaching Rail J (550 cm) to the inside Rail Clip
of Splitter-A facing the back of the Base. Proceed to Arms
L-6, Q-6, R-7, O-10, and M-6. Pass by the elevator and attach
to Arm F-7, B-6, A-3, C-3, D-7, E-3, F-5, and G-3. See next
illustration to continue.
Proceed from Arm G-3 to Arms F-4, G-2, I-3, H-4, I-2, H-3, and
I-1. nish with Arms J-1, L-2, P-1, O-1, M-1, and K-1 and enter
the right facing rail clip on the bottom Elevator Ring. Repeat
entire step for second rail.
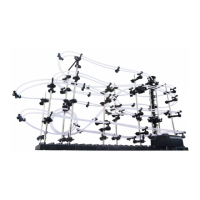
Step1:
Overhead view of cascading loops in step 1
NOTE:
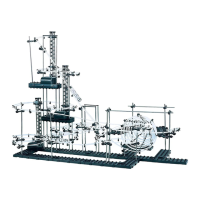
Congratulations on completing Spacerails Level 8! Fine
tune the rails and see how many marbles you can get
going at the same time. If the marbles are coming into the
elevator too quickly it may knock other marbles already
in the tower out. Create a dip or nd other ways to slow
marbles to just the right speed at entrance.