Seaich Corporation, LLC. All rights reserved. www.seaich.com
|
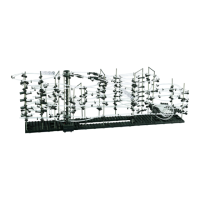
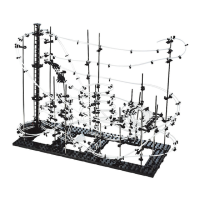
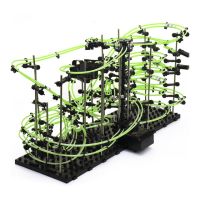
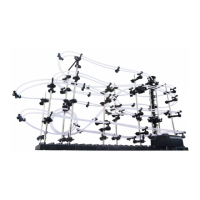
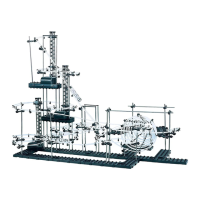
Spacerails, LLC. www.spacerails.com Page 3
1
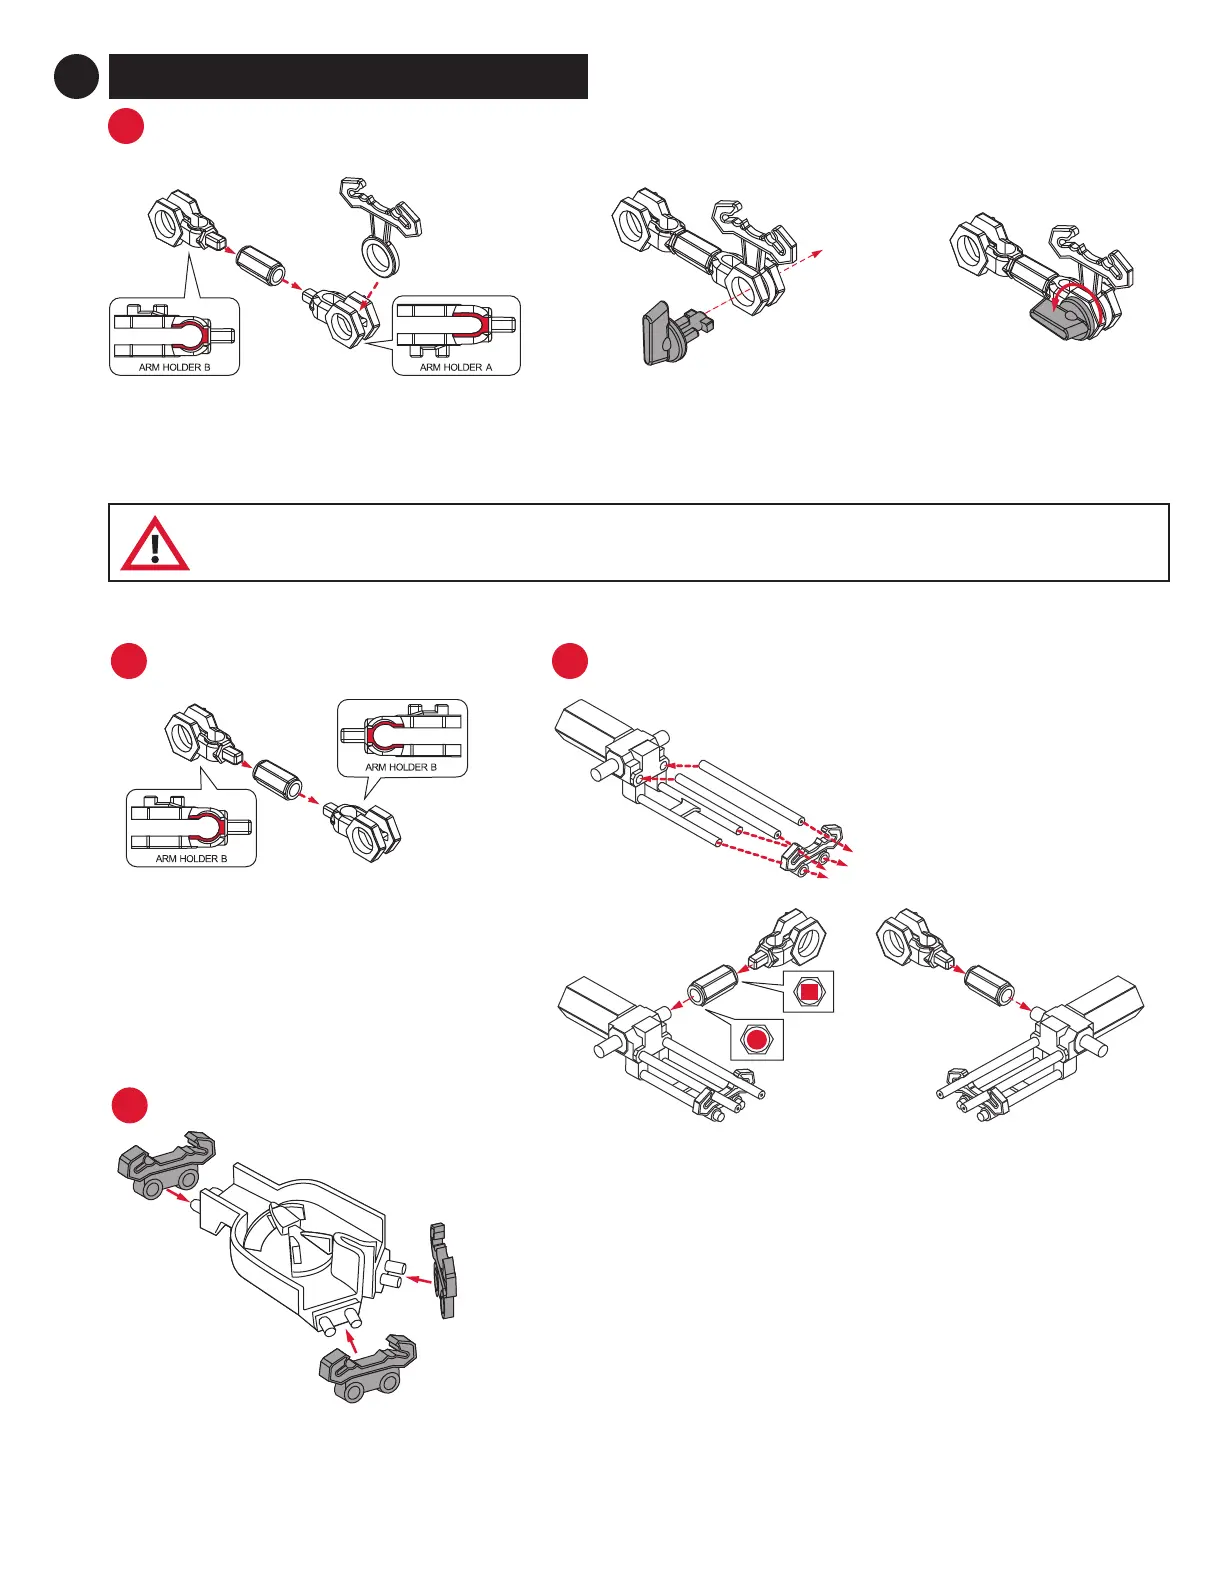
PREPARE ARMS AND RAIL SPLITTER
Cut two 55 mm lengths of
rail and insert into See-Saw
as shown using a Rail Clip to
support the ends of the rail.
B
A
ARM-A QTY: 135 SHAFT TO RAIL
Step 1: Attach one Arm Holder A and one
Arm Holder B with one Arm Sheath. Insert
one Arm Clip into Arm Holder A.
Step 3: Turn the Arm Lock
counter-clockwise to secure
the Arm Clip in place.
Step 2: Insert Arm Lock through
Arm Holder A and Arm Clip.
To avoid damaging parts, do not move or adjust the Rail Clip while locked in the arm. To move the Rail Clip, release
Arm Lock by turning clockwise, position Rail Clip as desired, then secure Arm Lock again.
Attach Arm Holder B to the square receiver side of Arm Sheath to
create the arm. Attach the arm to the shaft and the shaft to the
base prior to attaching the round receiver side of the Arm Sheath
to the See-Saw Arm. (See page 15)
SEE-SAW ARM QTY: 4 LEFT & 3 RIGHT
Attach one Arm Holder B on each side
of the Arm Sheath.
ARM-B QTY: 4 SHAFT TO SHAFT
RAIL SPLITTERS
Step 1: Attach one Rail Clip on each
of the Rail Splitter posts.
D
C