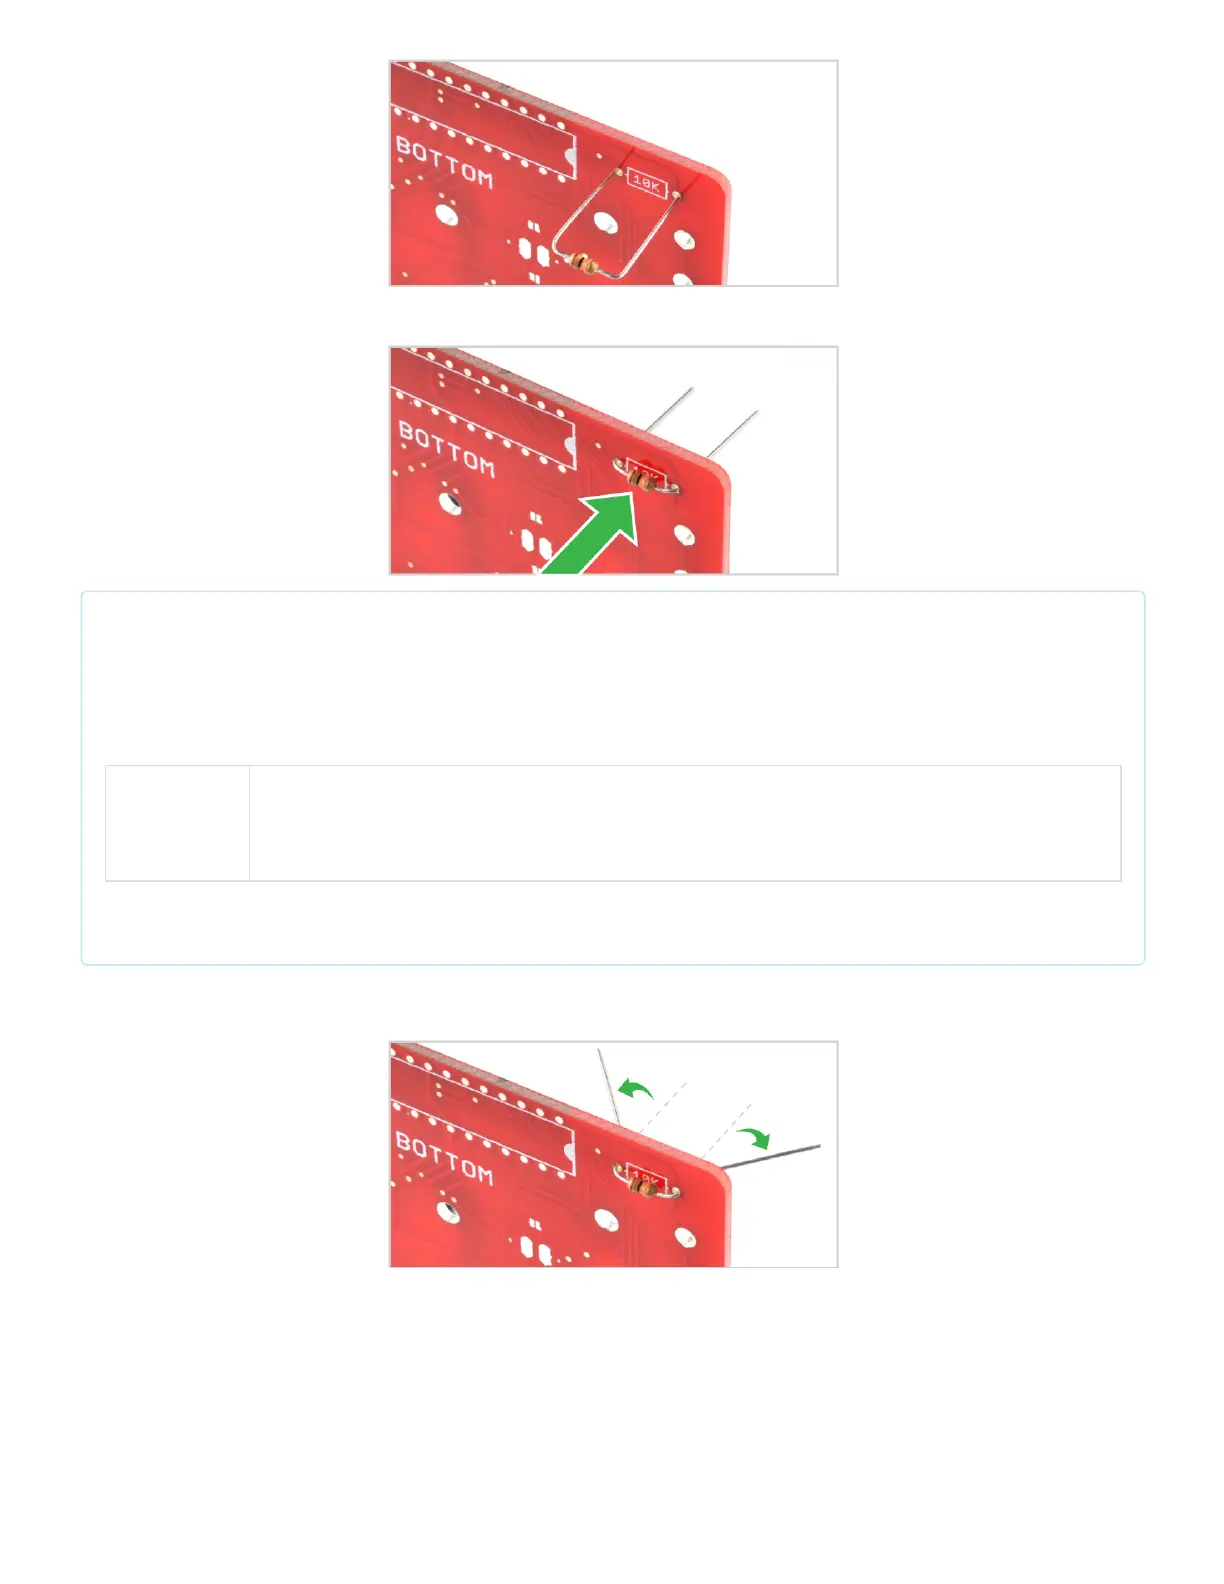
Push the resistor in so it is nearly flush with the board.
Note: This component is not polarized and so it does not matter which leg goes into each hole. Some
components in this kit are polarized and we will take extra care when we get to them to ensure they are
plugged in properly. These components will be denoted with a note and highlighted in yellow instead of
green:
Polarized
Component
Pay special attention to the component’s markings indicating how to place it on the PCB.
Polarized components can only be connected to a circuit in one direction.
To learn more about what it means to be polarized, please check out this tutorial: Polarity.
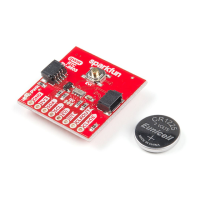
Slightly bend the legs outward to hold it in place.
Flip the board over. Hold the soldering iron's “Sweet Spot” so it touches both the leg and the metal ring. Hold for 2
seconds.