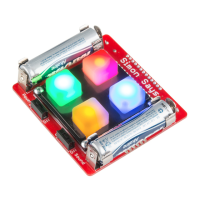
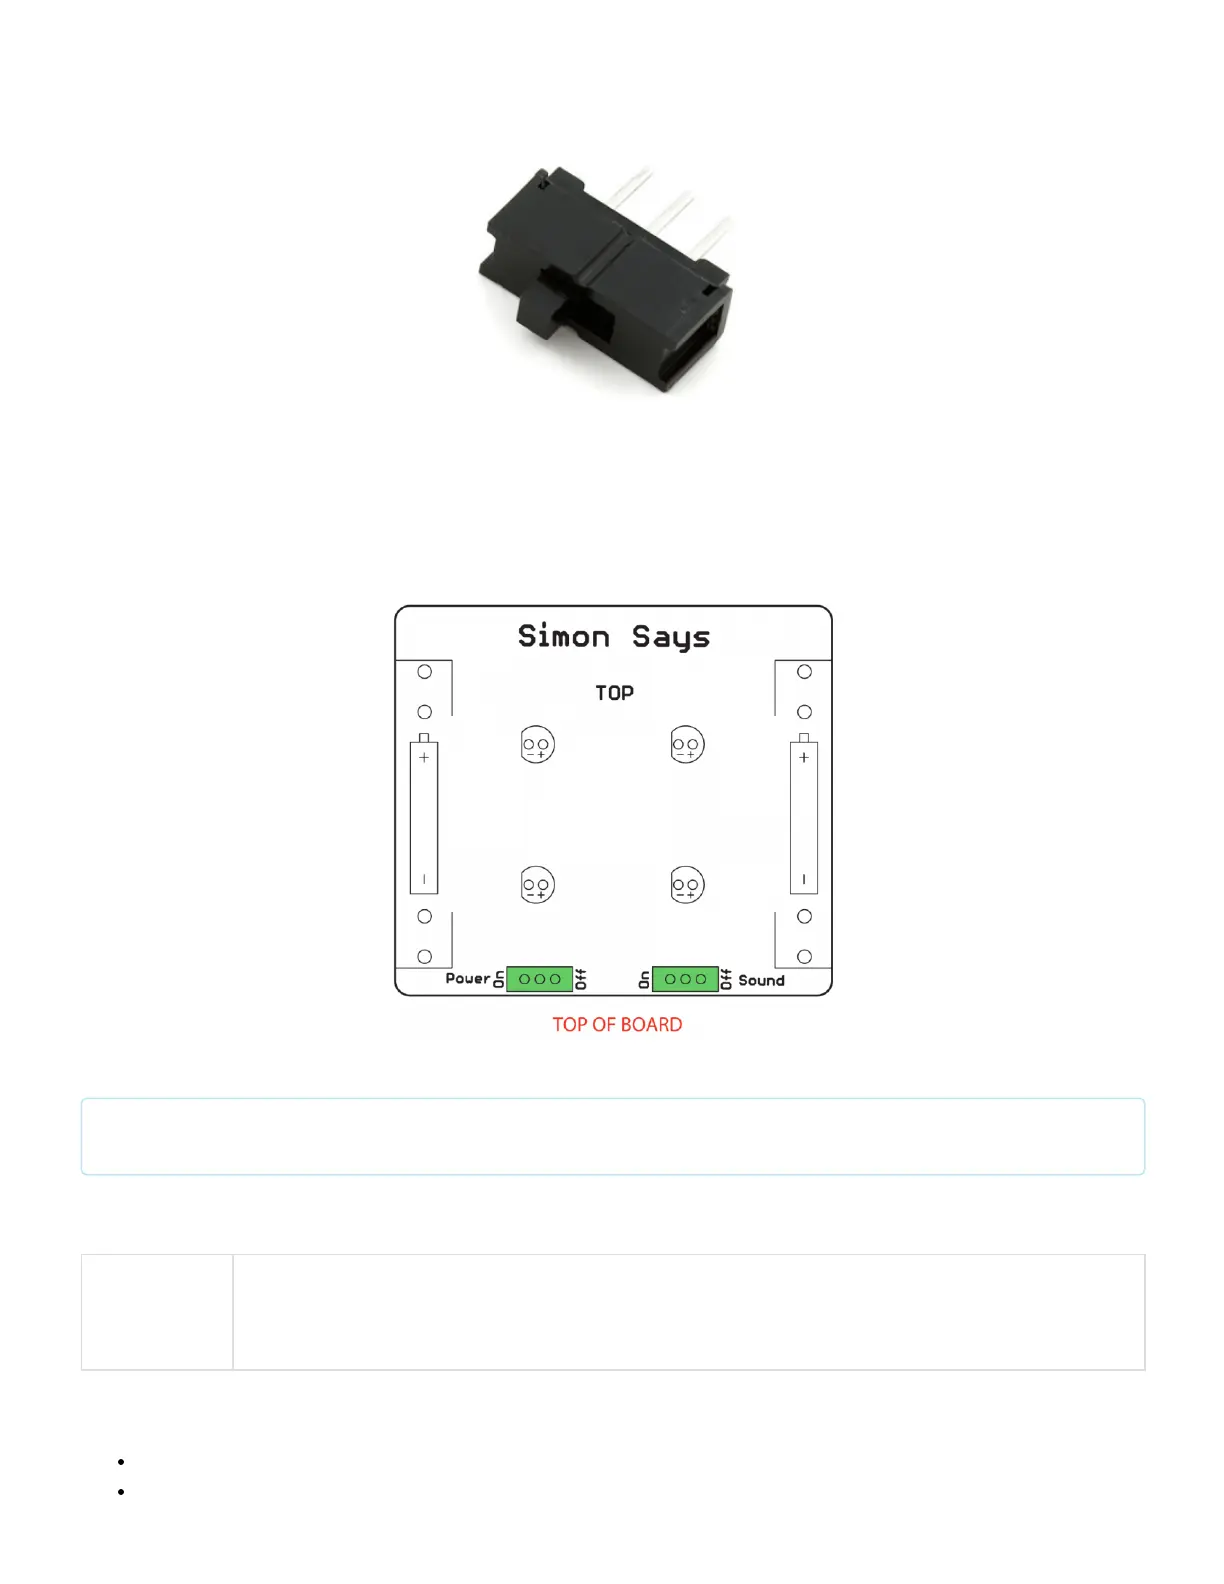
Locate their positions on the PCB. Looking at the top of the board, insert the switches. Keep the iron tip away from
the black plastic! Plastic melts easily.
Flip the board over. Then begin to solder.
Note: The slide switches turn on and off the power and sound.
Final Assembly
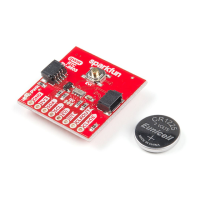
Polarized
Component
Pay special attention to the component’s markings indicating how to place it on the PCB.
Polarized components can only be connected to a circuit in one direction.
Locate the button pad, bezel, screws, standoffs, and AA batteries. You will need to:
Attach the button pad to the top of the board. Make sure to lay the rubber button over the LEDs.
Attach the bezel over the button pad with notches for the screws pointing up.