Troubleshooting
If your Simon doesn't work right off the bat, don't fret. There are many ways that your board could have an error on
it. Look over these troubleshooting tips to help diagnose the problem. This section also goes over how to use the
solder wick that came with your kit. This is like an eraser for soldering mistakes, and it can come in very handy if a
mistake is made.
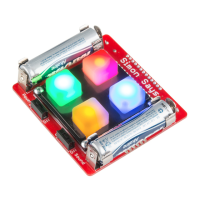
LEDs
LED(s) not lighting up even though you have a sufficient solder joint? Don’t fret, there is an easy way to fix it! The
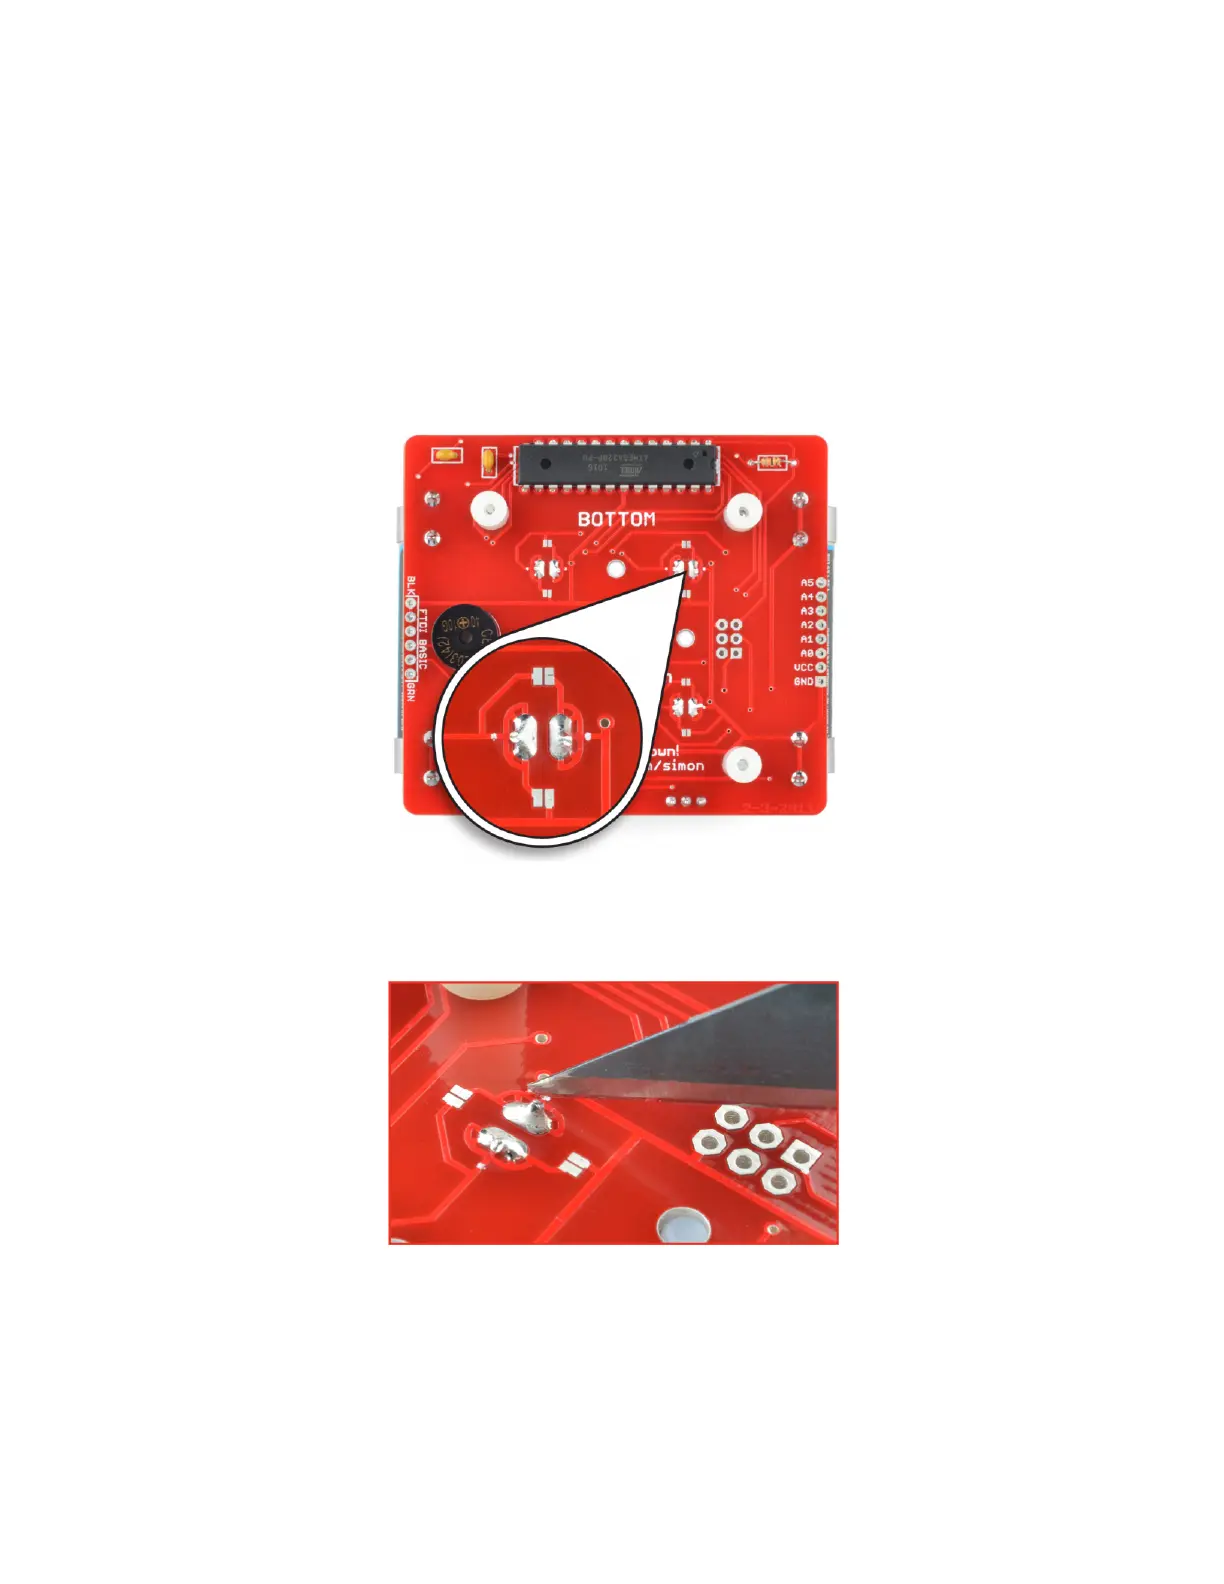
most common cause of a failed LED is incorrect polarity. We have designed a special trick into the Simon PCB’s
design. You can simply cut the two traces and close two jumpers. This will swap the polarity without having to
remove the LED.
Using a hobby knife, cut both exposed traces directly over the white dots. To test, try using a multimeter set to
measure continuity to probe the trace between the pads and LED pins. This can help determine if the traces have
been fully cut.
Using a soldering iron, close both jumper pads with some solder. The image below shows an example of one of
the pads being closed.