Do you have a question about the Speakman SA-1002 and is the answer not in the manual?
Lists essential tools like screwdrivers, drills, and wrenches for installation.
Suggests additional helpful items such as measuring tape and level.
Advisories against over-tightening and using the product as a grab bar.
Guidelines for safe installation, including drain protection and drilling.
Instructions for cleaning to maintain product finish and performance.
Guidance on where to find additional warranty details online.
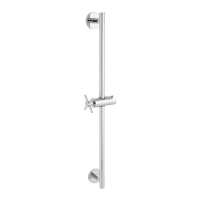
Loosen set screws and remove mounting brackets from the slide bar assembly.
Place slide bar assembly vertically and trace end bracket outlines on the wall.
Center mounting brackets within traced areas and mark screw hole positions.
Drill 1/4" holes at marked locations, using a tile bit if necessary.
Insert plastic anchors flush with the wall at drilled locations.
Secure mounting plates with screws, aligning the recess area vertically.
Install slide bar assembly over mounting brackets and secure with set screws.
Orient the hand shower bracket and lock its position using the cross handle.
Adjust hand shower holder position by tightening/loosening internal screws.
Lists part numbers and descriptions for replacement components.
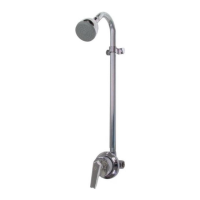
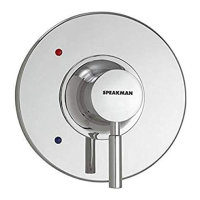
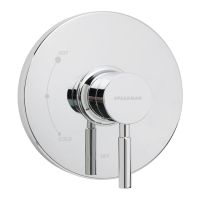
Provides dimensional specifications and a visual representation of the installed product.
| Model | SA-1002 |
|---|---|
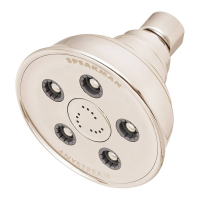
| Product Type | Shower Head |
| Flow Rate | 2.5 GPM |
| Material | Brass |
| Spray Pattern | Adjustable |
| Finish | Chrome |
| Connection | 1/2 Inch NPT |
| Warranty | Lifetime |