3. Precautions:
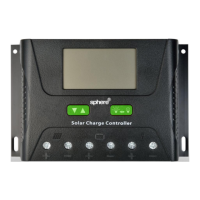
①If it is 12V system, the bottom left corner of LCD display will show '12V', 24V system will show' 24V',
② The first step is to connect the battery. If the connection is made correctly, the controller screen will light
up; otherwise, check whether the connection is correct.
③ The second step is to connect the solar panel. If sunlight is present and strong enough (the solar panel
voltage
is greater than battery voltage), the sun icon on the LCD screen is on; otherwise, check whether the
connection is
correct (it's recommended that the operation be performed under the debugging mode).
④ The third step is to connect the load. Connect the load leads to the controller's load output terminal, and
the
current shall not exceed the controller's rated current.
⑤As the controller will generate heat during operation, it's recommended that the controller be installed in
an
environment with good ventilation conditions.
⑥ Choose cables with large enough capacity for connection, in case too much loss incurred on the lines
causes
the controller to misjudge.
⑦ The controller has a common positive pole inside. If grounding is needed, ground the positive pole.
⑧ It's important to fully charge the battery regularly. At least once full charging every month is
recommended, and failure to do that may cause permanent damage to the battery. Only when in-flow energy
outpaces out-flow energy can the battery be charged fully. Users shall bear this in mind when configuring
the system.
⑨ Check whether the controller's each connection terminal is tightened securely; if not, it may suffer
damage when large current passes.
15. Error Code List
Temperature too high inside controller
Charging current too high
Solar panel input voltage is too high

 Loading...