2.0 Assembly Instructions
1. Unpack all items carefully and check parts inventory.
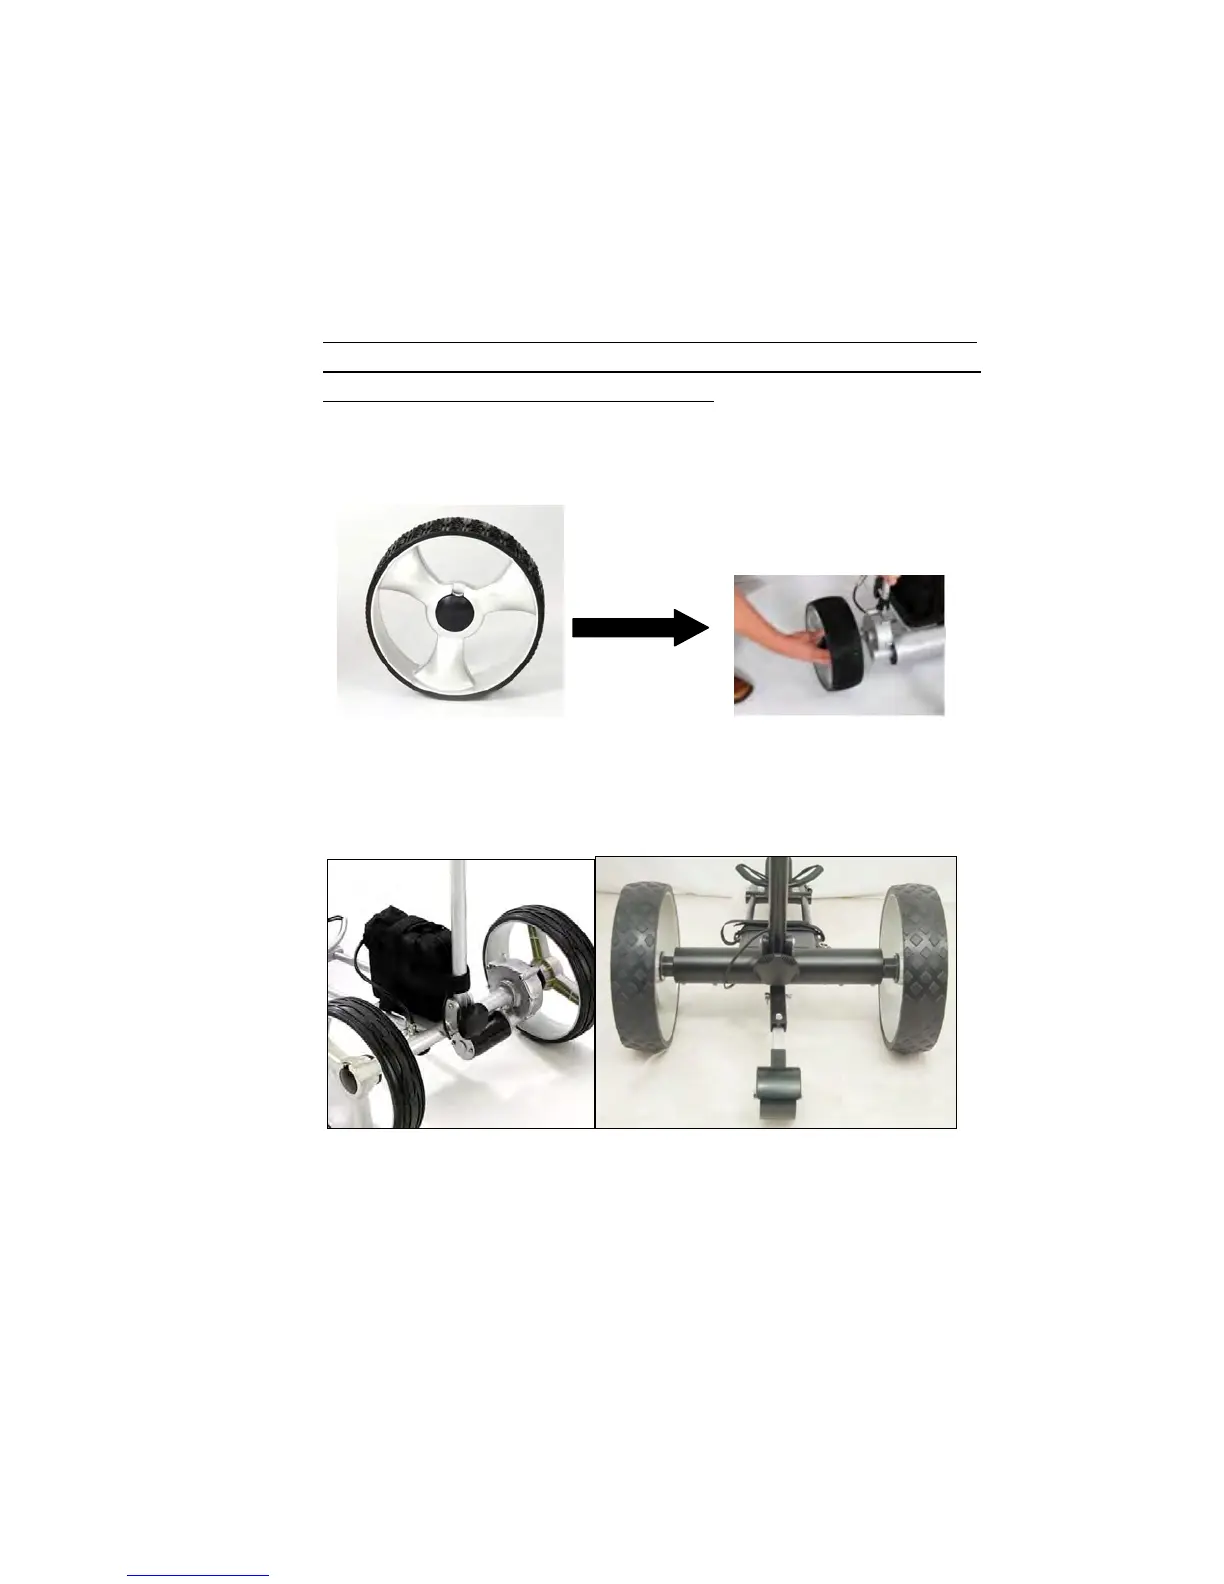
2. Place frame structure (one piece) on soft and clean ground to protect frame
from being scratched. Attach wheels to axles by pushing wheel locking button
on the outside of the wheel and inserting the axle extension into the wheel.
Make sure to keep the locking button on the outside of the wheel pushed in
during this process, in order to enable the axle extensions, including the two
pins, to be inserted all the way into the wheel. If not locked in, the wheel will
not be connected to the clutch and will not be propelled!!! Test the lock by
trying to pull the wheel out. To disassemble the wheels proceed in reverse
order.
3. Erect Frame by unfolding and locking the lower support structure to the main
frame by turning the lower frame locking knob until tight and secure. Proceed
in reverse for folding the caddy for storage or transport.