-10-
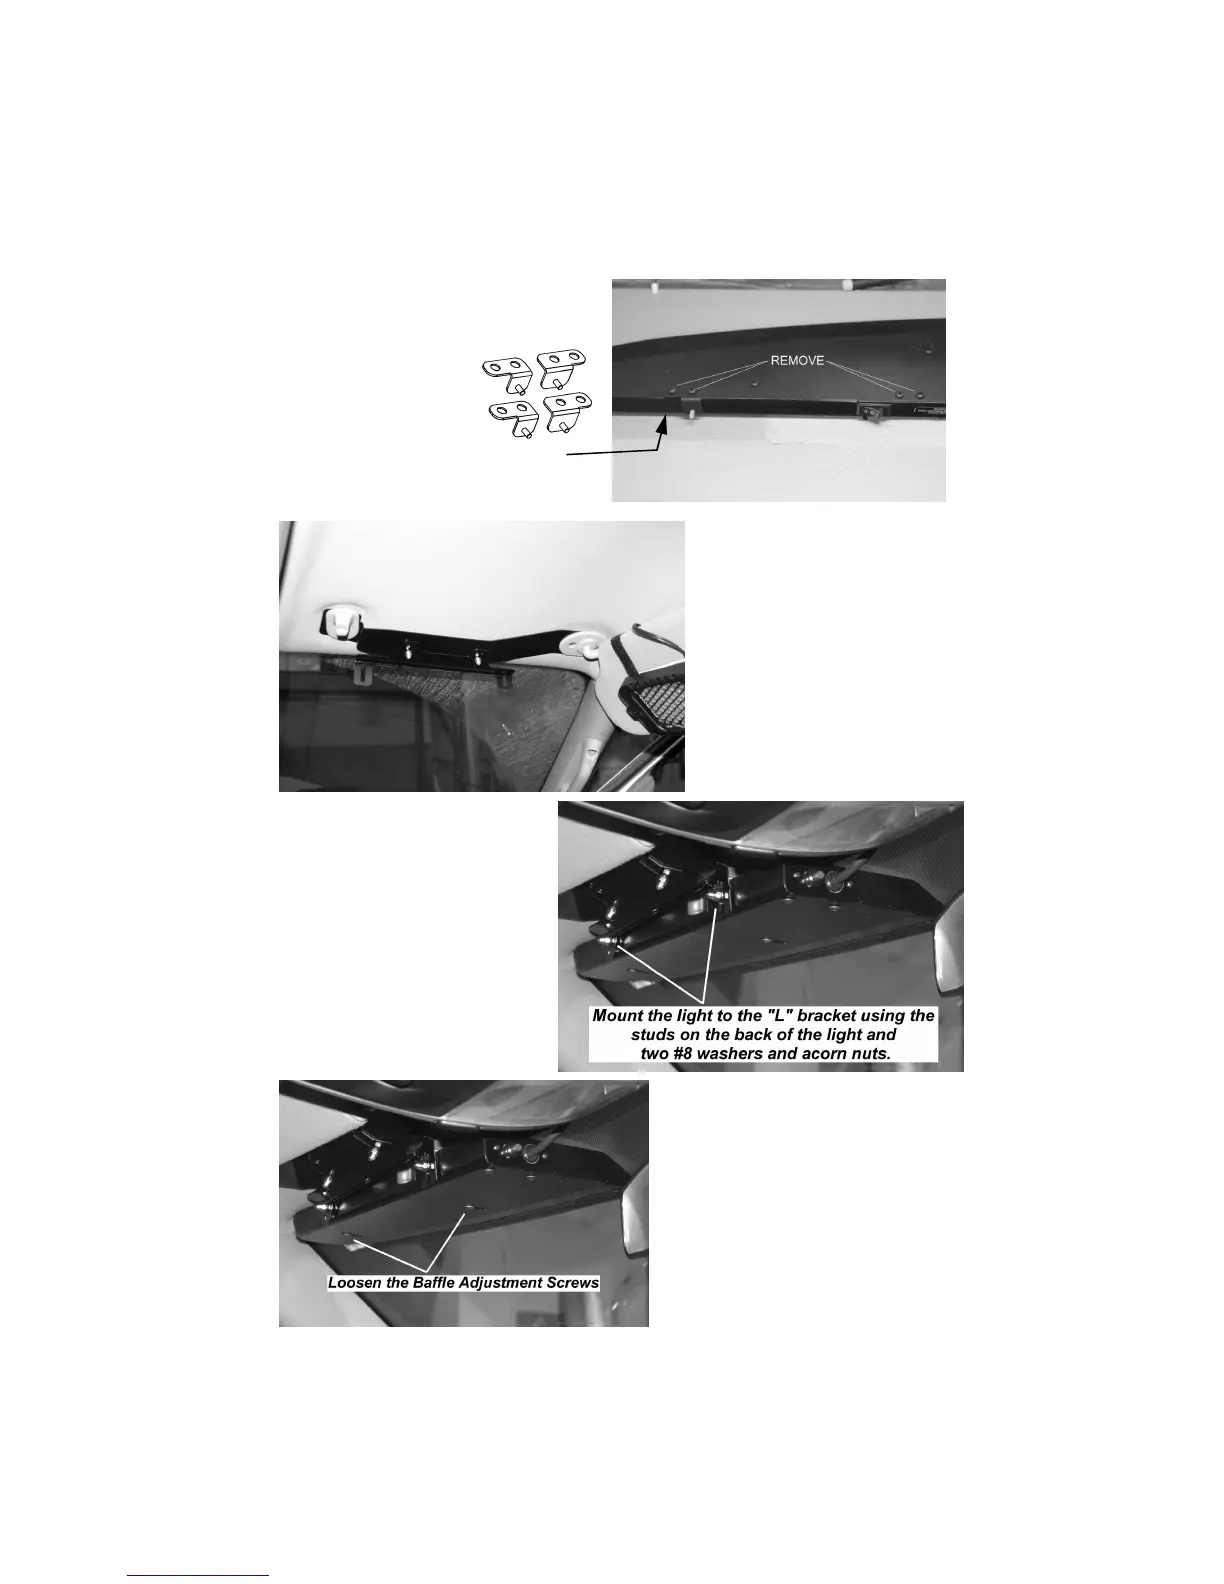
9. If you have a separate
angled "L" bracket, place it
over the two studs on the
visor bracket as shown to
the left. Using two #8
washers and two acorn
nuts, attach the “L” bracket
to the threaded studs.
Note: You may want to
leave the acorn nuts
slightly loose to allow for
easier final adjustments.
(Passenger’s side shown)
10. Attach the light to the "L"
bracket using the two stud
brackets that you mounted on
the lights in Step 8. Secure
the light using two #8 washers
and acorn nuts as shown to
the right. Note: You may want
to leave the acorn nuts slightly
loose to allow for easier final
adjustments.
4. Align the square hole on the other
end of the visor bracket with the visor
clip hole.
(Passenger’s side shown)
11. Loosen the two Baffle
Adjustment Screws located on
the bottom of the light to allow
the baffle to slide.
(Driver’s side
shown)
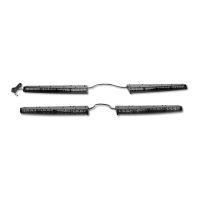
Vehicle Specific Mounting Brackets (CONT'D)
7. Remove the two pairs of screws from
each light half as shown to the right.
8. Install a stud bracket
at each location
using the same
screws to secure
each bracket. The
tabs on each stud bracket should
point AWAY from the cable joining
the two halves.