10 11
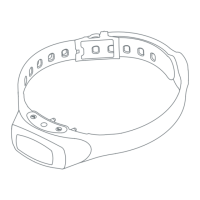
STEP 5: GETTING STARTED WITH THE COLLAR
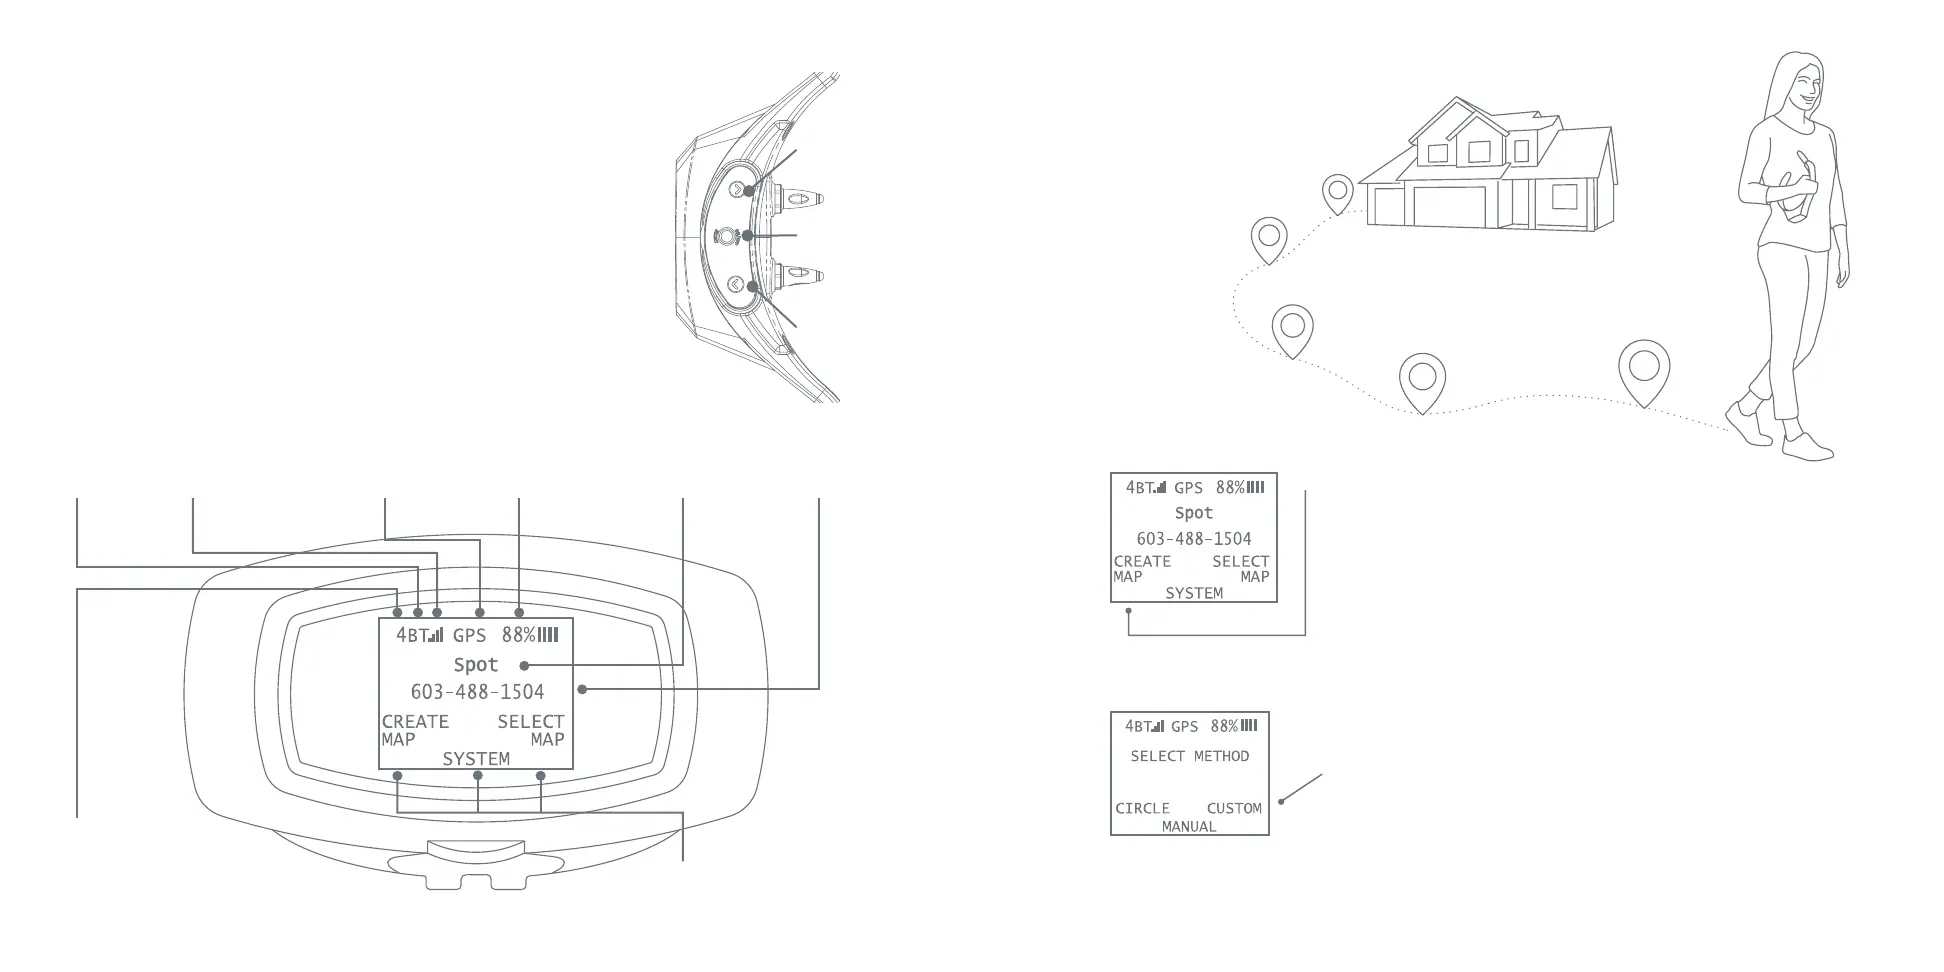
Static Correction
Level
Bluetooth
Connected
(displays
blue)
Cellular Connection
Indicator (displays
white once tracking
is activated)
GPS Fix
(displays
green)
Battery Life
& Status
(displays green
when charging)
Button
Selections
Right Naviagation
Button
Power/Enter
Button
Left Naviagation
Button
1. Press and hold the POWER (ENTER) button until you
see the SpotOn logo and release (about 2 seconds). The
screen will then display Searching for Cellular Network.
This message will disappear after a few seconds and be
replaced by your dog’s name and the contact phone
number you entered in the smartphone app (if tracking
has not been activated, a generic sreen will appear).
2. You will then see the Home Screen which has the
following information and options:
1. On the Home Screen, press the left navigation button to
select CREATE MAP.
2. Following the instructions on the collar, go outside, holding
the collar with the GPS antenna at chest height, and wait for
it to acquire a GPS signal. In an area with no obstructions
(i.e. buildings, trees, etc.), this process normally takes less
than 60 seconds. When the collar has acquired satellite
connection,
the letters GPS will turn from red to green on the
display screen.
3. From the collar menu, press the right navigation
button to select CUSTOM.
4. While holding the collar at a comfortable chest height with
GPS antenna facing up, walk a path around the area in your
yard where you’d like your dog to stay.
STEP 6: CREATE A MAP AT YOUR HOME
Dog Name
(displays
once tracking
is activated)
Phone Number
(displays once
tracking
is activated)