12 13
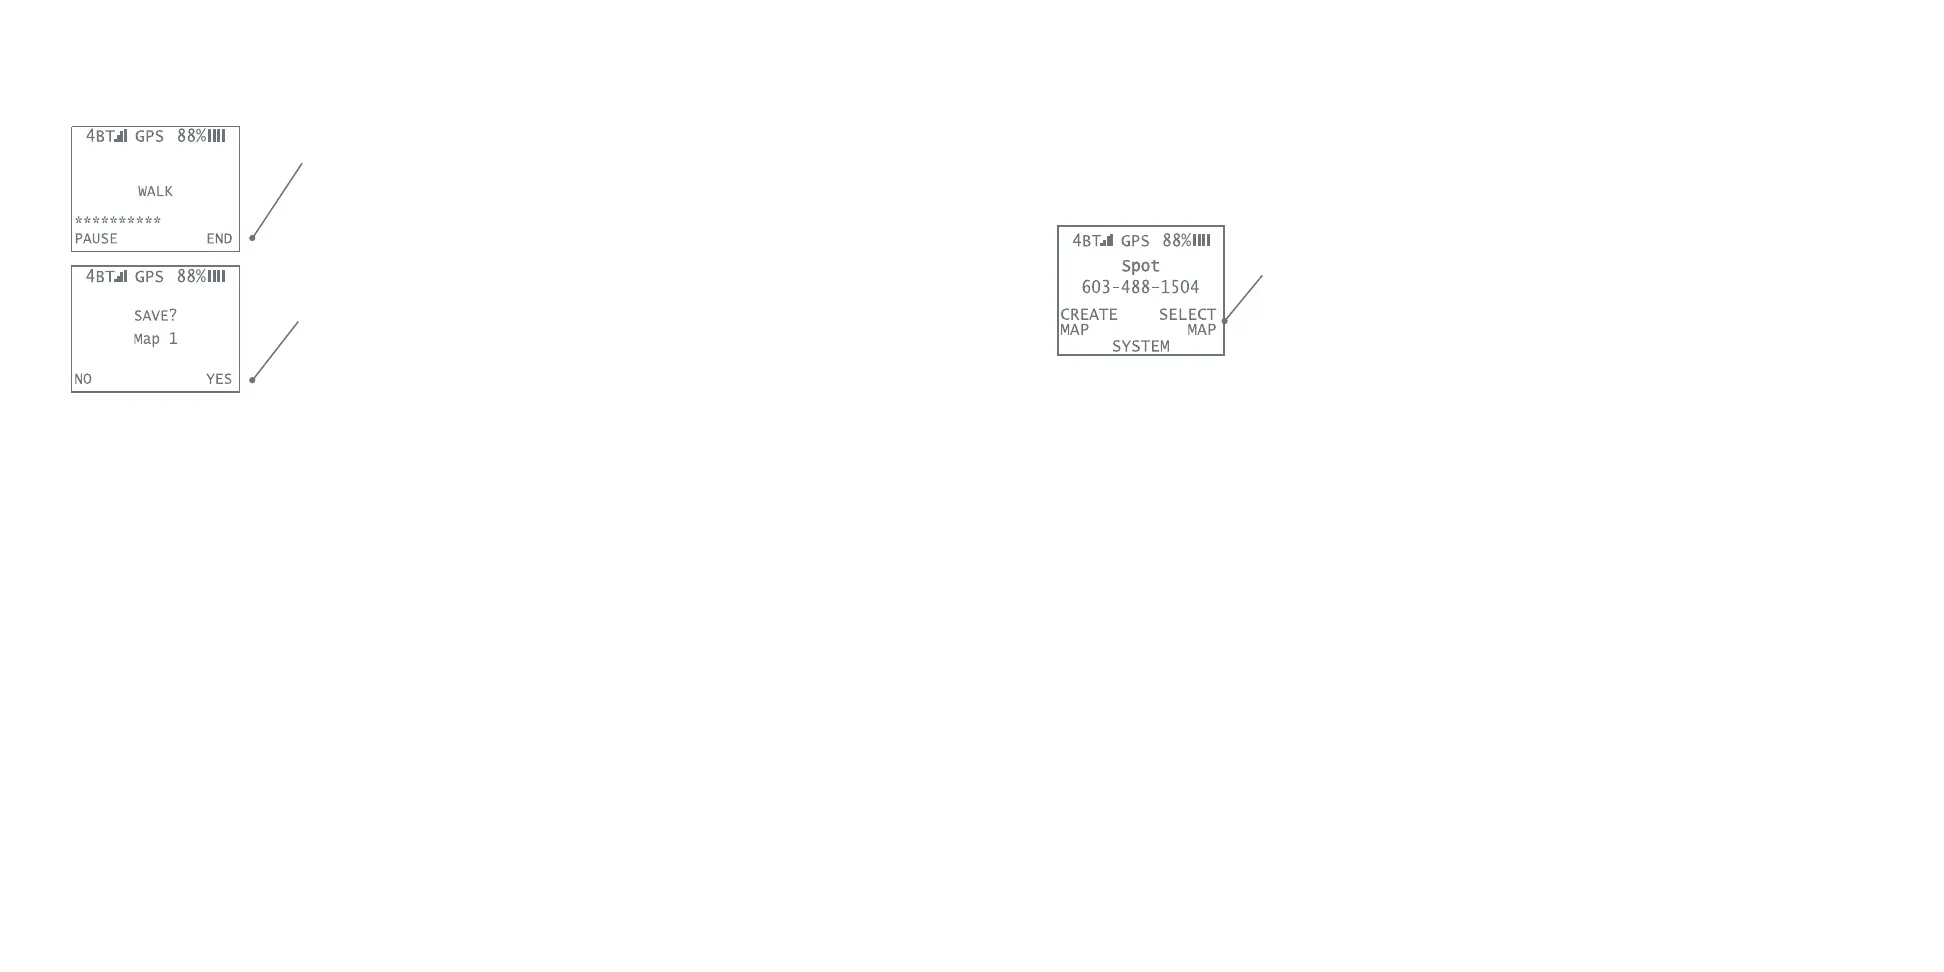
5. When you are close to your starting point but have not
crossed it, close the perimeter by pressing the right
navigation button to select END from the collar’s menu.
Ending the map close to the original starting point ensures
the creation of a closed perimeter.
6. The collar will prompt you to save the map. Press the right
navigation button to select YES and save your map to the
Smart Collar’s memory.
Helpful Hints:
• When creating a map, if you select END at any point prior to returning to your start position,
SpotOn will automatically snap a virtual line between your current location and the start posi-
tion ensuring your Virtual Smart Fence always has a closed shape.
• The collar also has a Pause mode, perfect for tricky or irregular terrain. For more details on
how to use Pause mode, visit SpotOnCollar.com.
• When creating maps, do not walk within 15 feet of buildings or overhead structures to avoid
deterioration of GPS signal and accuracy of the Virtual Smart Fence.
• We do not recommend creating maps of less than 80 feet at their narrowest location, in urban
areas with tall buildings, or in dense woods because the accuracy can be diminished in these
conditions.
• Your Smart Collar enables you to create convenient circular Virtual Smart Fences. It’s import-
ant that your dog has been properly trained before using this feature. Please see our training
video, Taking SpotOn with You, for help on creating a circular fence.
• To create a Virtual Smart Fence from which your dog can enter or leave the house without get-
ting an audible alert or static correction, be sure to create the fence so that all or most of your
home is within the Virtual Smart Fence.
The SpotOn collar stores up to 10 custom maps you can recall for different locations.
Follow these steps to select and activate a saved map on the collar:
1. Turn the collar on.
2. On the collar’s Home Screen, press the right menu button
to choose SELECT MAP.
3. Use the right and left navigation buttons to scroll through
the list to the desired map.
4. Press the collar’s ENTER button to select the map.
5. Press the ENTER button again to choose ACTIVATE.
6. The collar’s screen will display your selected map by number (or name if you have named it
within the app)
Follow these steps to activate a saved map from your phone:
(tracking must be activated)
1. On the home screen select MANAGE MY MAPS.
2. Choose the map you would like to activate.
3. Select ACTIVATE MAP (bottom right corner).
Your custom Virtual Smart Fence is now active and ready for use.
Helpful Hint:
You can store up to 10 maps at one time. On the collar’s menu system, maps are identified by
numbers 1 through 10. However, you can use the smartphone app to assign each map a name (e.g.
Home, Beach House, Campground, etc.).
STEP 7: ACTIVATE A SAVED VIRTUAL SMART MAP
 Loading...