EasyManua.ls Logo

Springfield 91066 User Manual

Springfield 91066
4 pages
To Next Page IconTo Next Page
Page #1 background imageLoading...
Page #1 background image
INSTRUCTION MANUAL
Tri-View Thermometer and Hygrometer with Clock
MODEL #91066
FEATURES
Large 2”H x 1.75”W LCD window with 3 readouts
12 or 24 hour selectable clock
Relative humidity meter with range of 20% to 95%
Humidity tolerance +/-5% at 30% to 90%, +/-7% at 20% to
29% and 91% to 95%
Indoor temperature range of 14˚F to 122˚F (-10°C to 50°C)
Outdoor temperature range of -58˚F to 158˚F (-50°C
to70°C)
Temperature tolerance (+/- 2°F +/-1.1°C)
Min./Max. temperature and humidity memory recall
function with daily reset option
Weatherproof sensor probe with 10ft. long cable
Tabletop or wall-mountable
Requires one AAA alkaline battery (Not Included)
BATTERY INSTALLATION
1. The battery door is located in the back of the unit. To open, push down on the battery door.
2. Insert 1 AAA alkaline battery according to the polarity markings located on the inside of the
battery compartment.
3. Slide the battery door back on and snap down into place.
LCD READOUTS
Upper Display: Clock
Middle Display: Indoor or Outdoor Temperature
Lower Display: Humidity
OPERATION
Setting the Clock:
The clock can be set by following these steps:
1. The clock can be displayed in either a 12 hour or 24 hour format. Press the RESET (SET)
button for approximately 3 seconds. The upper LCD window will be blinking with 12 hr or
Question and Answer IconNeed help?

Do you have a question about the Springfield 91066 and is the answer not in the manual?

Springfield 91066 Specifications

General IconGeneral
Model Number91066
Display TypeLCD
Product TypeThermometer
Battery TypeAAA
Auto-OffYes
Power SourceBattery
DisplayDigital
FeaturesHold function

Summary

Battery Installation and LCD Readouts

Battery Installation

Instructions for opening the battery compartment, inserting an AAA battery, and closing the door.

LCD Readouts

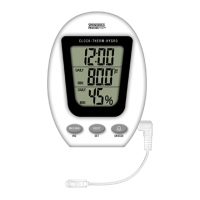
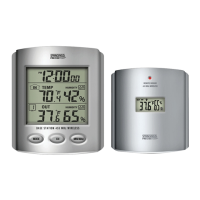
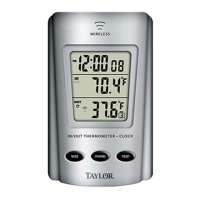
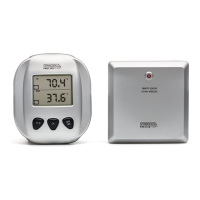
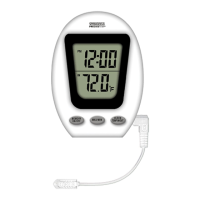
Explanation of the display segments for Clock, Temperature, and Humidity.

Operation Guide

Setting the Clock

Steps to set the clock to 12 or 24-hour format and adjust the time.

Setting the Alarm

Procedure for setting the alarm time and activating the alarm function.

Indoor/Outdoor Temperature Selection

Guide to switching between indoor/outdoor and Celsius/Fahrenheit temperature displays.

Advanced Features and Product Installation

Max./Min. Feature & Daily Reset Option

How to view maximum/minimum readings and enable/disable daily auto-reset.

Product Installation

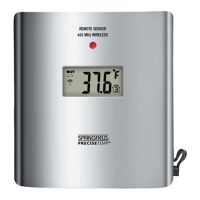
Guidelines for placing the unit and mounting it on a wall or positioning the sensor.

Warranty Information

Related product manuals