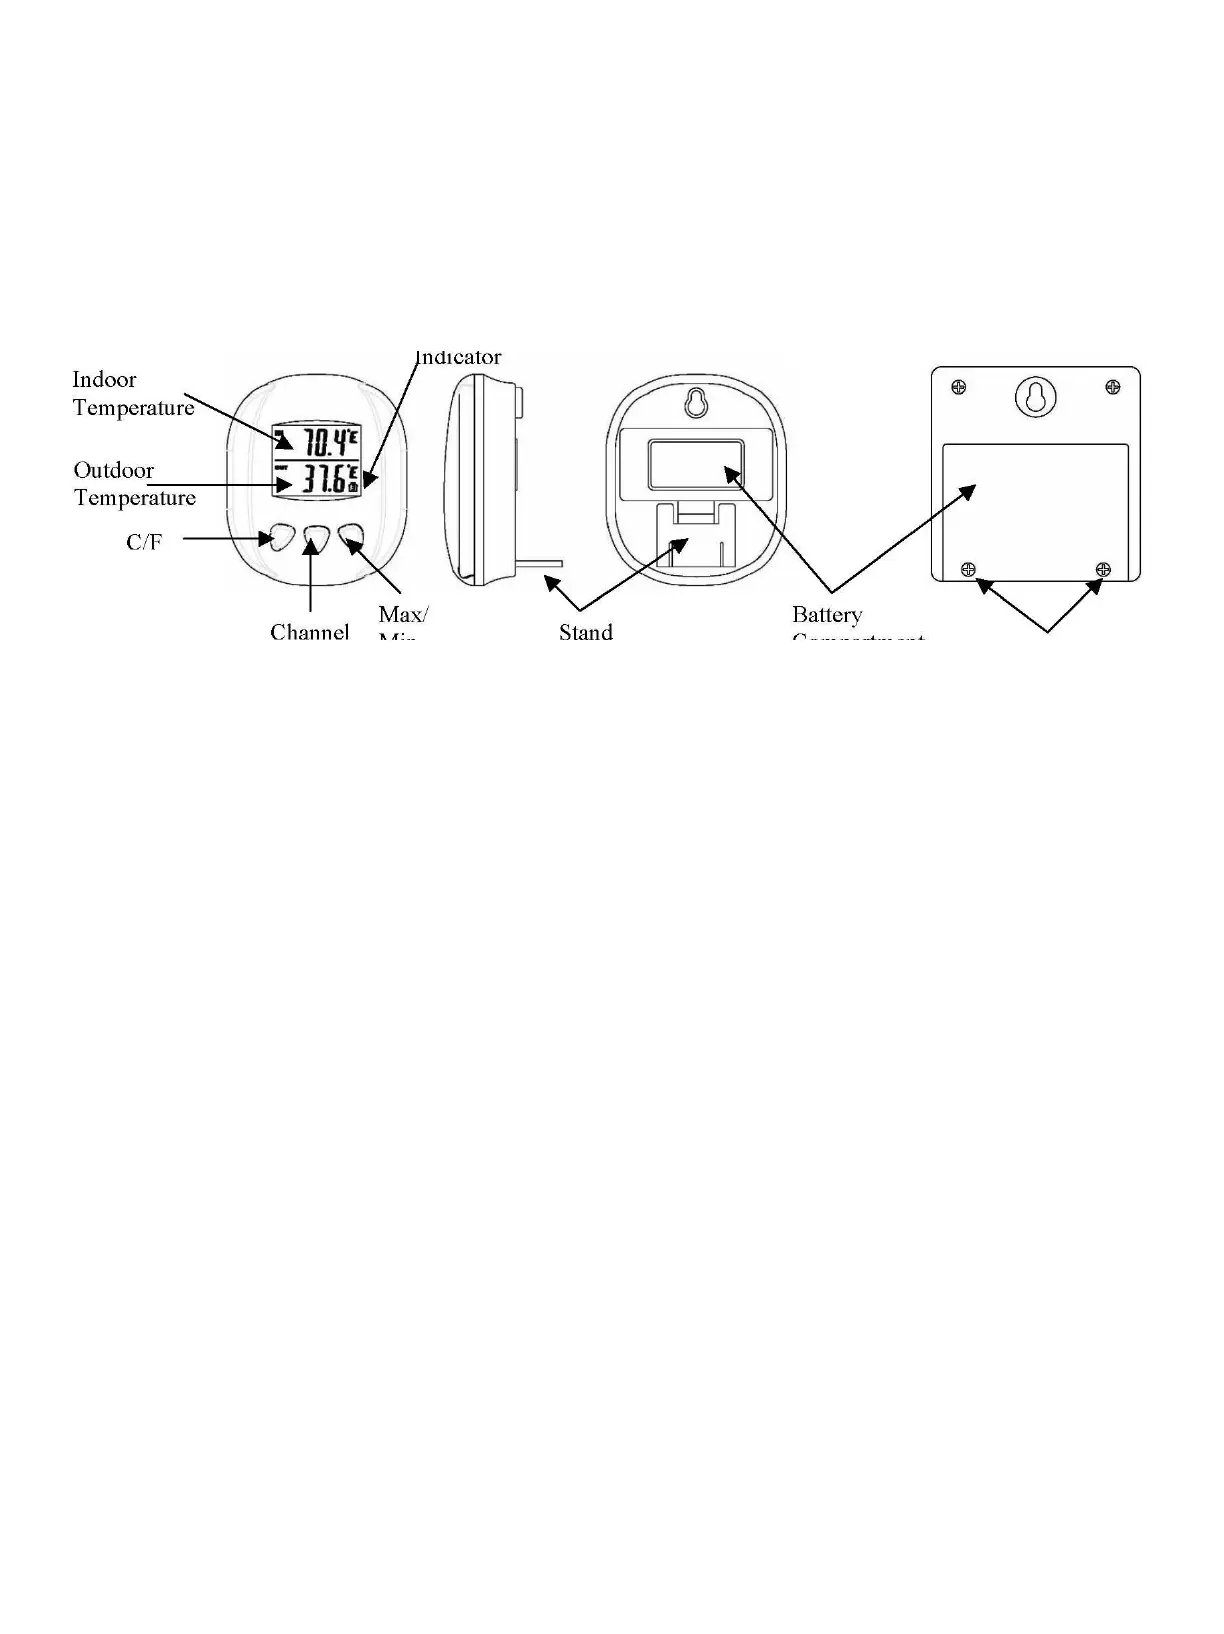
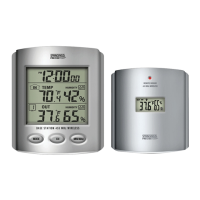
Battery
Compartment
Screws
BATTERY INSTALLATION AND SETUP
• Position the remote sensor near the base station.
• Remove 2 screws from the bottom, back of the remote sensor module and open the battery
compartment.
• Open the battery compartment at the back of the base station and insert (2) AAA batteries according to
the polarity markings.
• Replace the base station battery compartment cover.
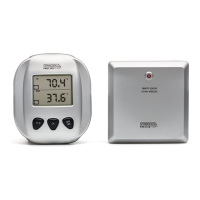
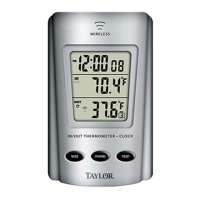
• Press the C/F button on the front of the base station to display the temperature in °C or °F.
• The RF signal icon (located at the bottom, right of the outdoor temperature display) will flash for 5
minutes, indicating that the base station is ready to pick up the RF signal from the remote sensor.
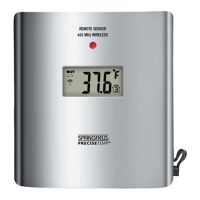
Register the Remote Sensor
• Inside the battery compartment of the remote sensor, slide the channel selector switch to your desired
channel.
• Insert (2) AAA batteries according to the polarity markings. Be sure to install the batteries in the remote
within the time that the RF signal icon is flashing on the base station.
• After the base station has picked up the outdoor temperature signal, set up is complete.
• If the rubber gasket for the battery compartment of the remote sensor has been dislodged, position it
properly to ensure a watertight seal. Replace the battery compartment cover and re-install 2 screws. Do not over
tighten the screws.
Register a Remote Sensor When the RF Signal Icon is not Showing
To register a remote sensor when the RF signal icon is not showing on the base station LCD: