Waukesha Cherry-Burrell
®
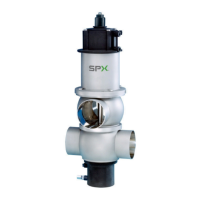
Brand W60/W80 Valves Maintenance
02/2020 95-03022 Page 43
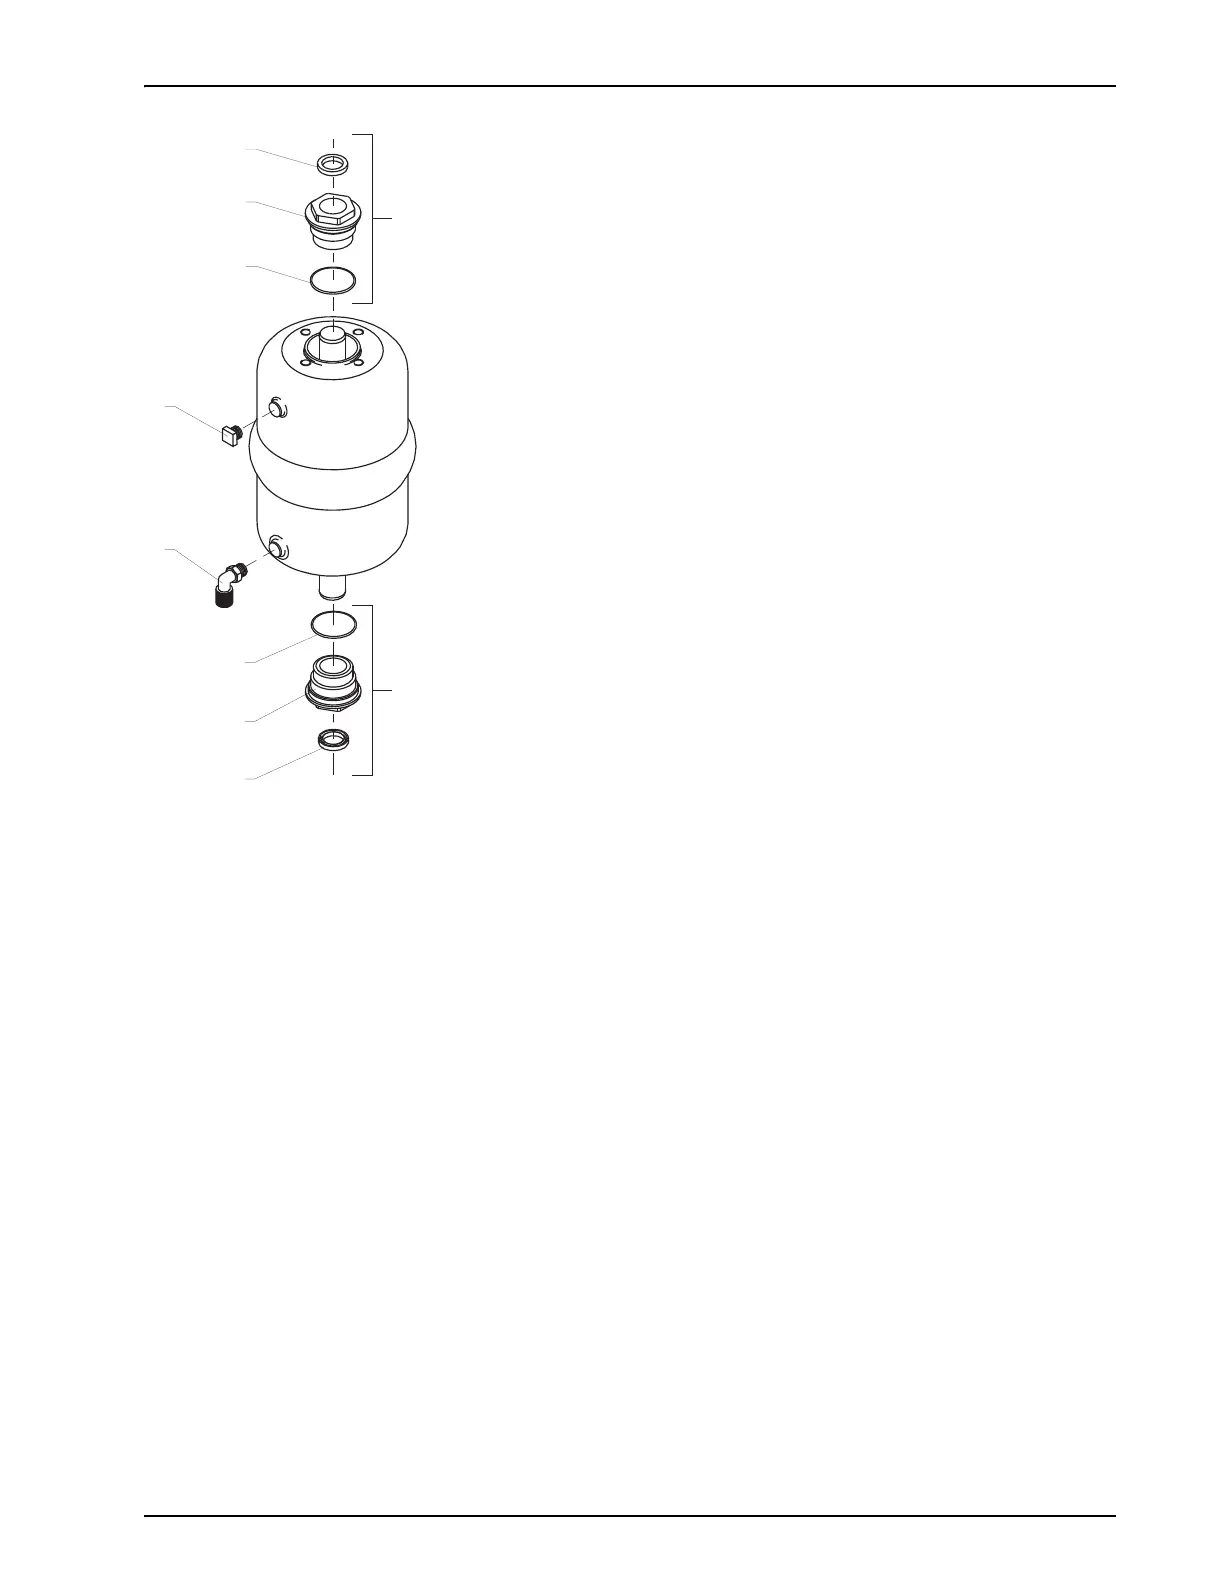
O-ring and Bearing Replacement:
Maintenance-Free Actuator
1. Remove the actuator from the valve assembly:
a. Remove the control top.
b. Remove the retaining nut and spacer located on top of
the actuator.
c. Unclamp the valve body and remove the body and stem.
d. Un-bolt the yoke from the bottom of the actuator
assembly.
2. Remove the O-ring guide nut assembly (Figure 40, item 1)
from both ends of the actuator.
3. Replace the bearing (item 1c) and O-ring (1b).
NOTE: Apply a thick layer of silicone lubricant on the O-ring prior
to installation.
4. Re-install the O-ring guide nut assembly (Figure 40, item 1)
and tighten the guide nut (item 1a) until it is snug.
NOTE: Do not over-tighten the nut ("snug" is all that is required).
5. Reassemble the valve in reverse order of the items in step 1
above.
Figure 40: Maintenance-Free Actuator

 Loading...