Do you have a question about the Spyder Auto PRO-YD-DR02 Series and is the answer not in the manual?
Lists the necessary tools for the headlight installation process.
Advises seeking professional installation if unfamiliar with the automotive process.
Open the hood and remove the two 10mm bolts securing the headlight assembly.
Locate and remove the hidden 10mm bolt situated below the turn signal area.
Remove the single Phillips head screw that fastens the headlight weatherstrip to the body.
Gently pull the headlight assembly forward to carefully unseat it from its position.
Remove bulb sockets from the OEM assembly; keep the turn signal bulb, discard the headlight bulb.
Connect the SPYDER harness to the headlight bulb socket and install the turn signal socket.
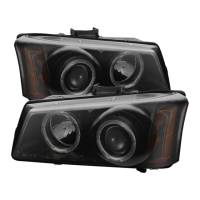
Properly position and seat the SPYDER headlight assembly into its designated location.
Reinstall the three 10mm bolts and the Phillips head screw for the weatherstrip.
Close the hood and confirm the proper functioning of your new SPYDER headlights.
Provides a YouTube link for visual guidance on the installation process.
States the company is not liable for damages from improper installation.
| Brand | Spyder Auto |
|---|---|
| Model | PRO-YD-DR02 Series |
| Category | Automobile Accessories |
| Language | English |