Do you have a question about the SR Suntour COIL SPING Series and is the answer not in the manual?
Read manual, handle fluids/gases safely, use proper gear, select correct fork, and understand bike carrier use.
Use only genuine SR SUNTOUR parts. Professional installation and service are strongly recommended.
Ensure proper reflectors for road riding and study other component manuals.
Check for cracks, leaks, proper compression, brakes, wheels, cables, and listen for loose parts.
Compress fork to check for proper pressure and adjust SAG if needed.
Ensure brakes, handlebars, pedals, and seat are installed correctly and function properly.
Ensure wheels are centered and fasteners (quick release/axle) are properly adjusted and tightened.
Check cable length/routing for steering interference and ensure reflectors are clean and installed.
Warning that improper installation is dangerous; professional installation by a trained mechanic is strongly recommended.
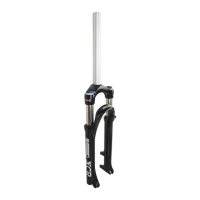
Remove old fork, measure steerer tube length, and cut to 255mm or appropriate length.
Install headset crown race firmly on fork crown and mount headset, spacers, and stem without play.
Install brakes according to manufacturer, ensuring proper pad adjustment and using correct mounting holes.
Reinstall wheel, ensuring quick release or through axle fasteners are properly tightened.
Test to ensure at least 10mm gap between tire and fork crown when fork is fully compressed.
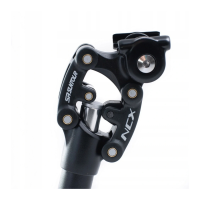
Mount the remote-lock-lever on the handlebar using a 3mm Allen key.
Thread cable through unit, tension slightly, and tighten using a 1.5mm Allen key.
Reinstall the plastic cover cap after completing the cable installation.
Cut cable to approx. 12mm, install end cap, and adjust tension via barrel adjuster if fork doesn't lock.
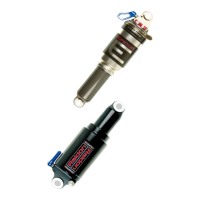
Explains lock-out purpose (reduce teetering) and the anti-blow-off system.
Crucial warnings against using lock-out in rough terrain, downhill, or jumping to prevent damage and injury.
Push remote lever towards handlebar to lock; press blue button to unlock.
Turn the "Speed Lock Out" knob 90° counter-clockwise to unlock the fork.
Turn the lock out lever counter-clockwise to lock; press the blue release button to unlock.
Tune fork rebound speed for personal preference and terrain for optimal ground contact.
Turn adjuster knob counter-clockwise to increase rebound speed, clockwise to decrease.
Periodic maintenance ensures performance, safety, and lifespan, especially for moving parts exposed to elements.
Avoid pressure washers; water can enter at dust seals. Service frequency may increase in extreme conditions.
Table detailing tasks like cleaning tubes, inspecting for scratches, checking torque, and air pressure at various intervals.
Explains Service 1 (basic checks) and Service 2 (disassembly, cleaning, lubrication, tuning).
Two-year warranty against defects in material/workmanship for original purchaser; not transferable.
Excludes damage from improper installation, misuse, accidents, crashes, or improper maintenance.
Lists parts like dust seals, O-rings, rubber moving parts, and stanchion tubes as not covered by warranty.
| Brand | SR Suntour |
|---|---|
| Model | COIL SPING Series |
| Category | Bicycle Accessories |
| Language | English |