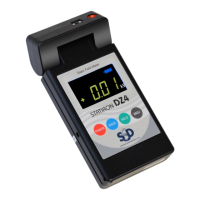
3. Zero point adjust the meter.
Point the sensor at a grounded object and
press the 0ADJ button.
NOTE
Zero point adjustment is reset when
you turn the meter off.
4. If you want to measure a maximum potential, use the MAX
mode.
Refer to step 2 for how to set modes.
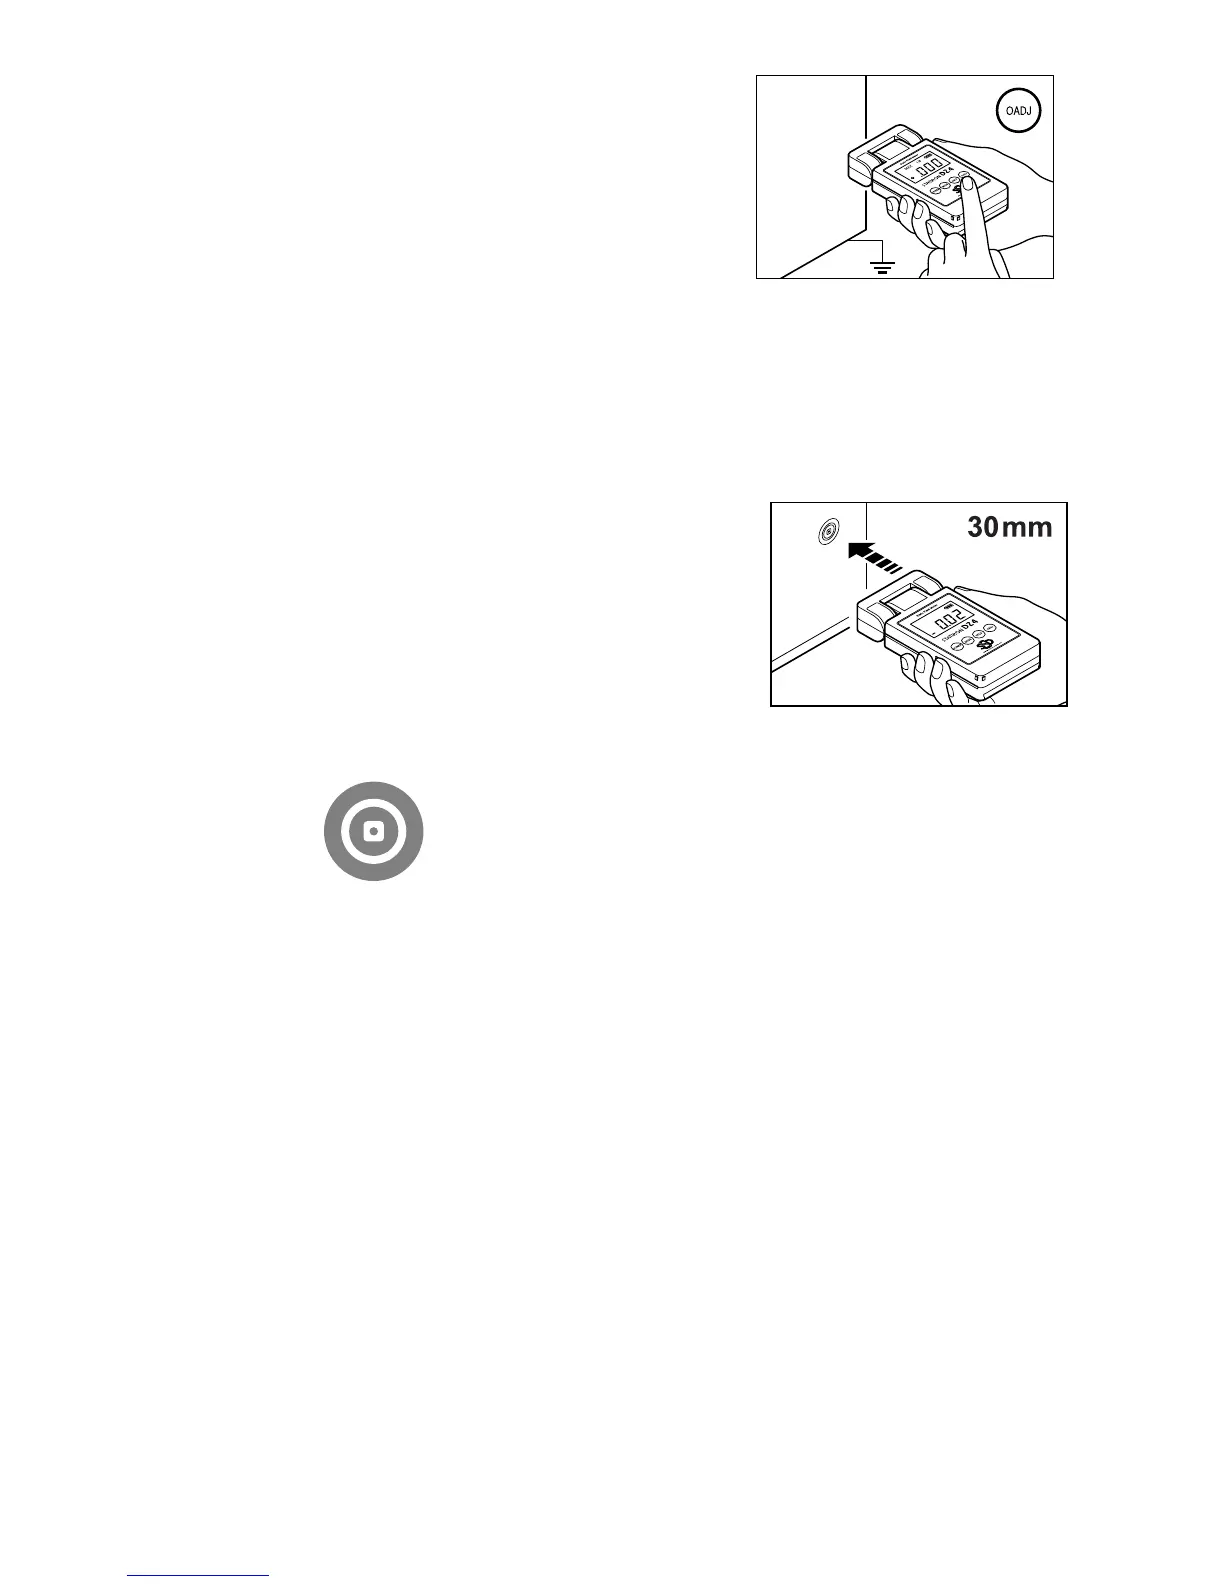
5. Point the sensor at the charged
object, and gradually bring the
meter closer to the object.
The distance between the sensor and the
charged object should be 30mm. At about
30mm, the red LED beam (pointer) cast on
the charged object should look like the
image in Figure 3.
(Fig. 3) Red LED mark
NOTE
If the recommended measuring distance of 30mm cannot be attained, do not
bring the meter any closer if the potential displayed exceeds 19.99kV. Doing
so may cause damage to the meter.
If the display panel blinks "1", the charged voltage has exceeded the
measurable range (over-range). If this occurs, stop measuring immediately, as
this may cause damage to the meter.
6. The value on the display panel is the measurement result (unit:
kV).
7. In normal mode, you can temporarily hold the measured value
by pressing the hold button.
If you press the hold button again, the stored value is removed.
You cannot use the hold function in MAX mode.
8. To turn the meter off, press the POWER button for more than 1