Labelling
Position of the product label see last page!
Start-up
Inserting/replacing batteries
See figure {A}
1 Remove battery comp
artment lid.
2 Insert batteries, observing correct polarity.
3 Close the battery comp
artment again. Replace the batteries when the
symbol flashes permanently in the display.
)
Remove the batteries before any long period of non-use
to avoid the danger of c
orrosion.
)
Use alkaline batteries or rechargeable batteries only.
Changing the reference point (multifunctional
endpiece)
See figure {B}
The instrument can be adapted for the follo
wing measuring situations:
• For measuremen
ts from an edge, fold out the positioning bracket until
it first locks in place. See figure {C}.
• For measuremen
ts from a corner, open the positioning bracket until
it locks in place, then push the positioning bracket lightly to the right
to fold it out fully. See figure {D}.
A built-in sensor automatically detects the orientation of th
e positioning
bracket
and adjusts the zero point of
the instrument accordingly.
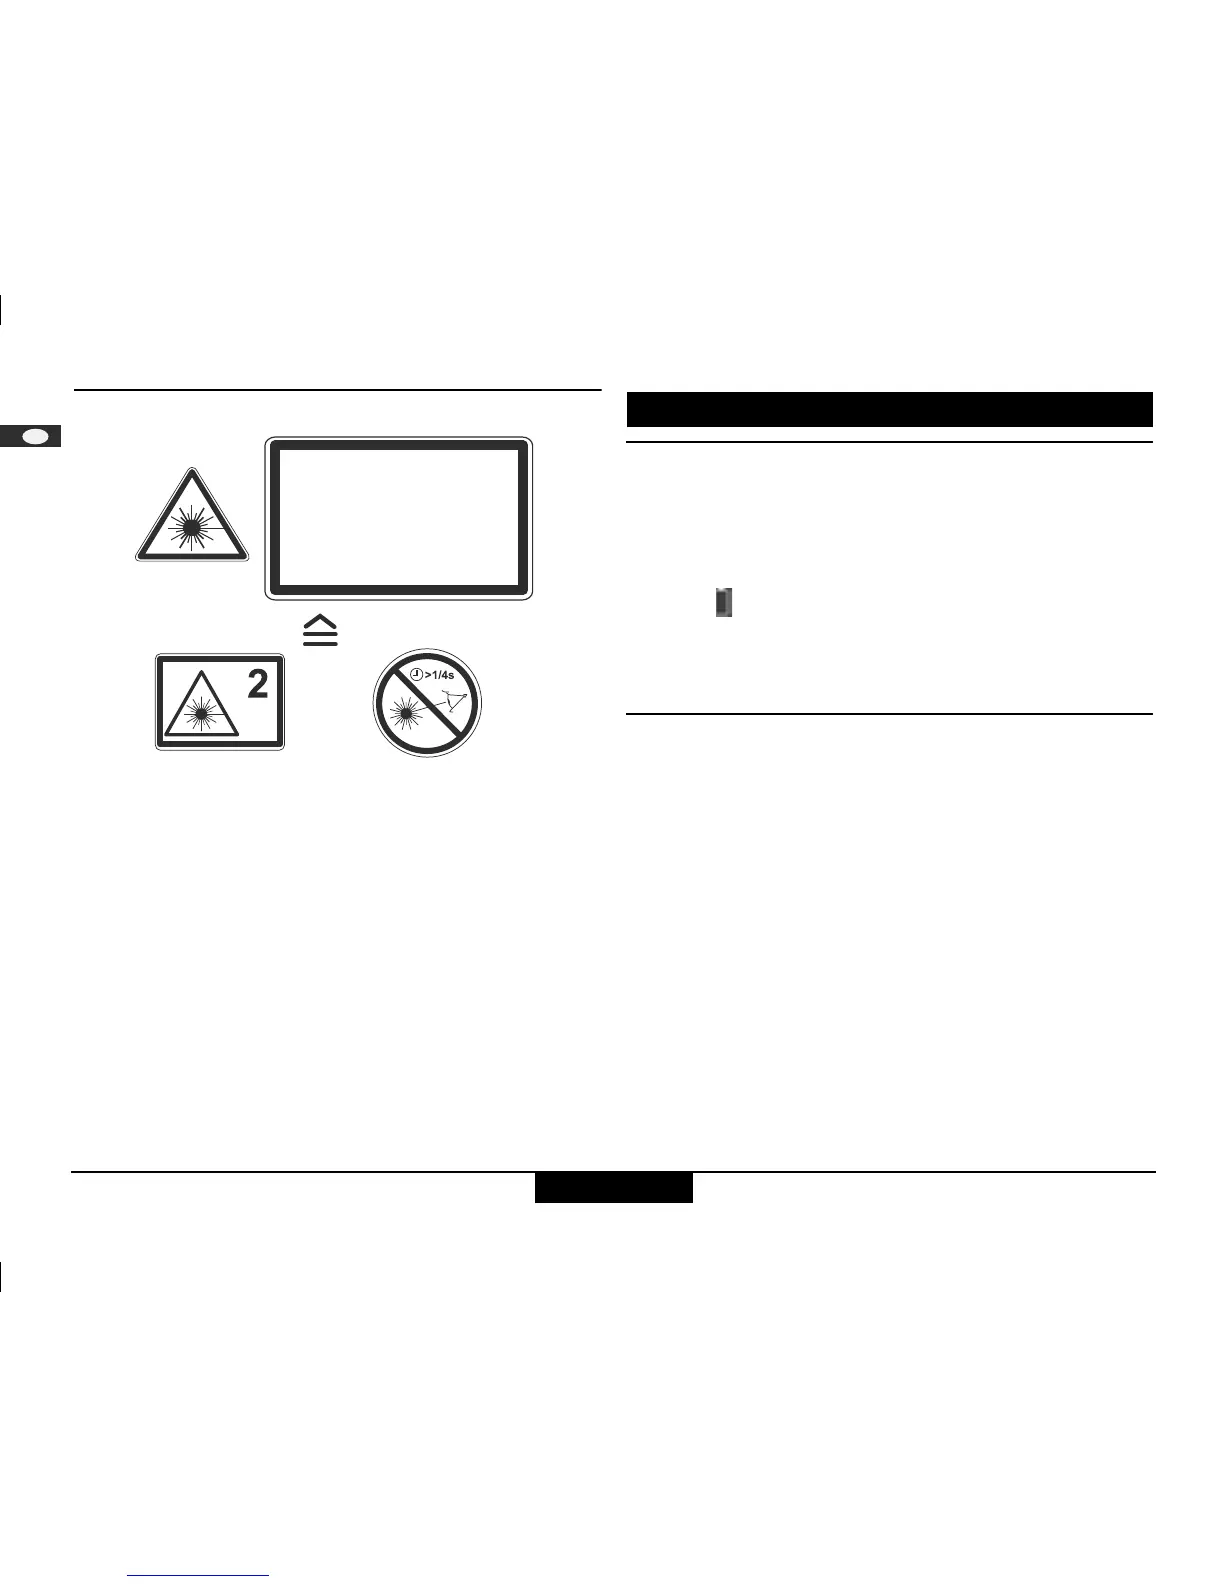
Laser Radiation
Do not stare into the beam
Laser class 2
acc. IEC 60825-1:2007
Maximum radiant power: <1mW
Emitted wavelength: 620-690nm
Beam divergence 0.16 x 0.6 mrad
Pulse duration: 1 x 10
-9
s