key or the key.
)
Parallax errors occur when the digital pointfinder is used on close
targets, the laser dot may appear displaced in the crosshair. In this case you
should rely on the actual laser dot for targeting the object.
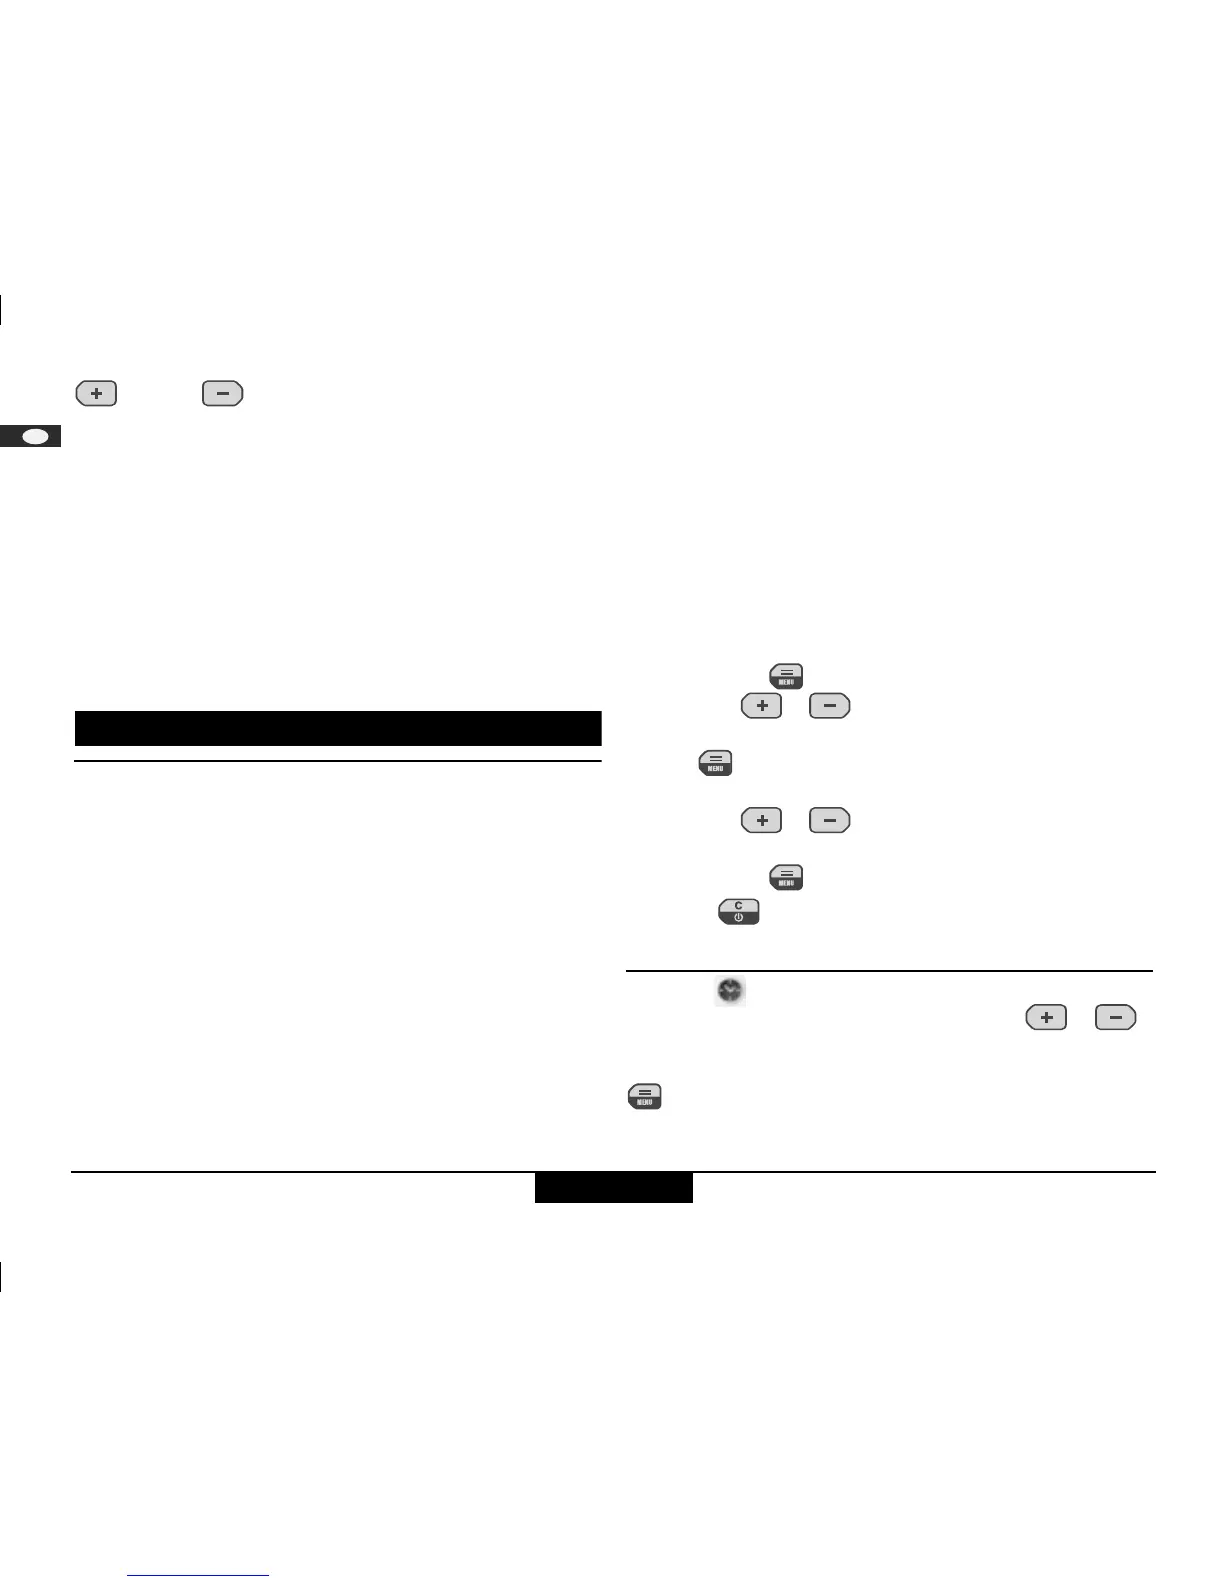
See drawing {F.2}
1 Zoom step (1x, 2x, 4x)
2Timer
3 Level (in °)
4Crosshairs
5 Inclination angle
6 Distance tracking value
7 Image
Menu functions
Settings
Various device settings can be made in the menu. A vertical list shows each
entry. In this menu the selection field (cursor) remains stationary and the
list moves in a vertical direction. Starting from the centre of the list, the
p
riority of list entries starts at the top and fans out clockwise. See
drawing
{G}.
The menu contains following items
:
1Timer
2 Laser continuous measurement mode
3 Display illumination
4 Digital Pointfinder image in black/white
5 Level in status field (in °)
6 U
nits of measurement (distance)
7Lo
ng range mode
8 Units of measur
eme
nt
(angle)
9 Beep
10 Calibrate tilt sensor
11 Offset
12 Tripod
13 Reset
Navigation in the menu
The menu allows settings to be customized for a particular user or appli-
cation.
General description
Press and hold the key to enter the Setup menu.
By pressing the or keys, navigate through the main menu
items in the menu.
Press the
key briefly to enter the submenu of the selected main
menu it
em.
By pre
ssing the or keys you can make the alterations in the
subm
enu.
Press and hold the key to acc
ept the settings.
Pressing the button for longer in the menu allows you to quit the
settings function without saving
.
Timer ( )
The time delay (default value) can be changed using the or
buttons. Pressing the button for longer increases the rate of chan
ge of the
values. When you reach the desired time delay value, co
nfirm it with the
button.
 Loading...