AC S.A. All rights reserved. Any unauthorized copying, reproduction, publishing, dissemination, disclosing or other use of information presented herein, in whole or as part, particularly photographs,
drawings, trademarks, etc., may lead to prosecution or civil proceedings.
8
5. AC AFR Application
5.1. Connecting the controller to a PC
Just after the kit is mounted in the vehicle, a computer with AC AFR software installed should be
connected to the controller by using an USB interface, RS232 or Bluetooth of AC S.A., and then the
program AC AFR should be started. After starting the program, if serial port COM is selected properly, the
controller should establish a connection to a diagnostic program, as indicated by the text "Connected" at
the left bottom corner of the program screen.
If "No connection" is displayed at the left bottom corner of the program window, another port must be
selected from the "Connections" menu, and then "Ports" at the top of the program window.
When connection to the controller is established successfully, current operating status of the controlled is
displayed at the right bottom corner of the program screen. The following status can be displayed:
Warming up – the wideband oxygen sensor is being warmed up, and this may last even two minutes
depending on exhaust gas temperature and power supply voltage, however normally it takes less
than one minute from switching the controller on.
Work – the oxygen sensor reached its working temperature and started measurement
Update – the controller software is being updated
Fault – the possible causes are:
oxygen sensor is not connected to the controller
faulty oxygen sensor
damaged wire harness
damaged controller
5.2. AC AFR Application version
NThe version of AC AFR Application is shown at the top of the program screen. In Figures 6 to 11 the
program in version 1.0.0 is presented.
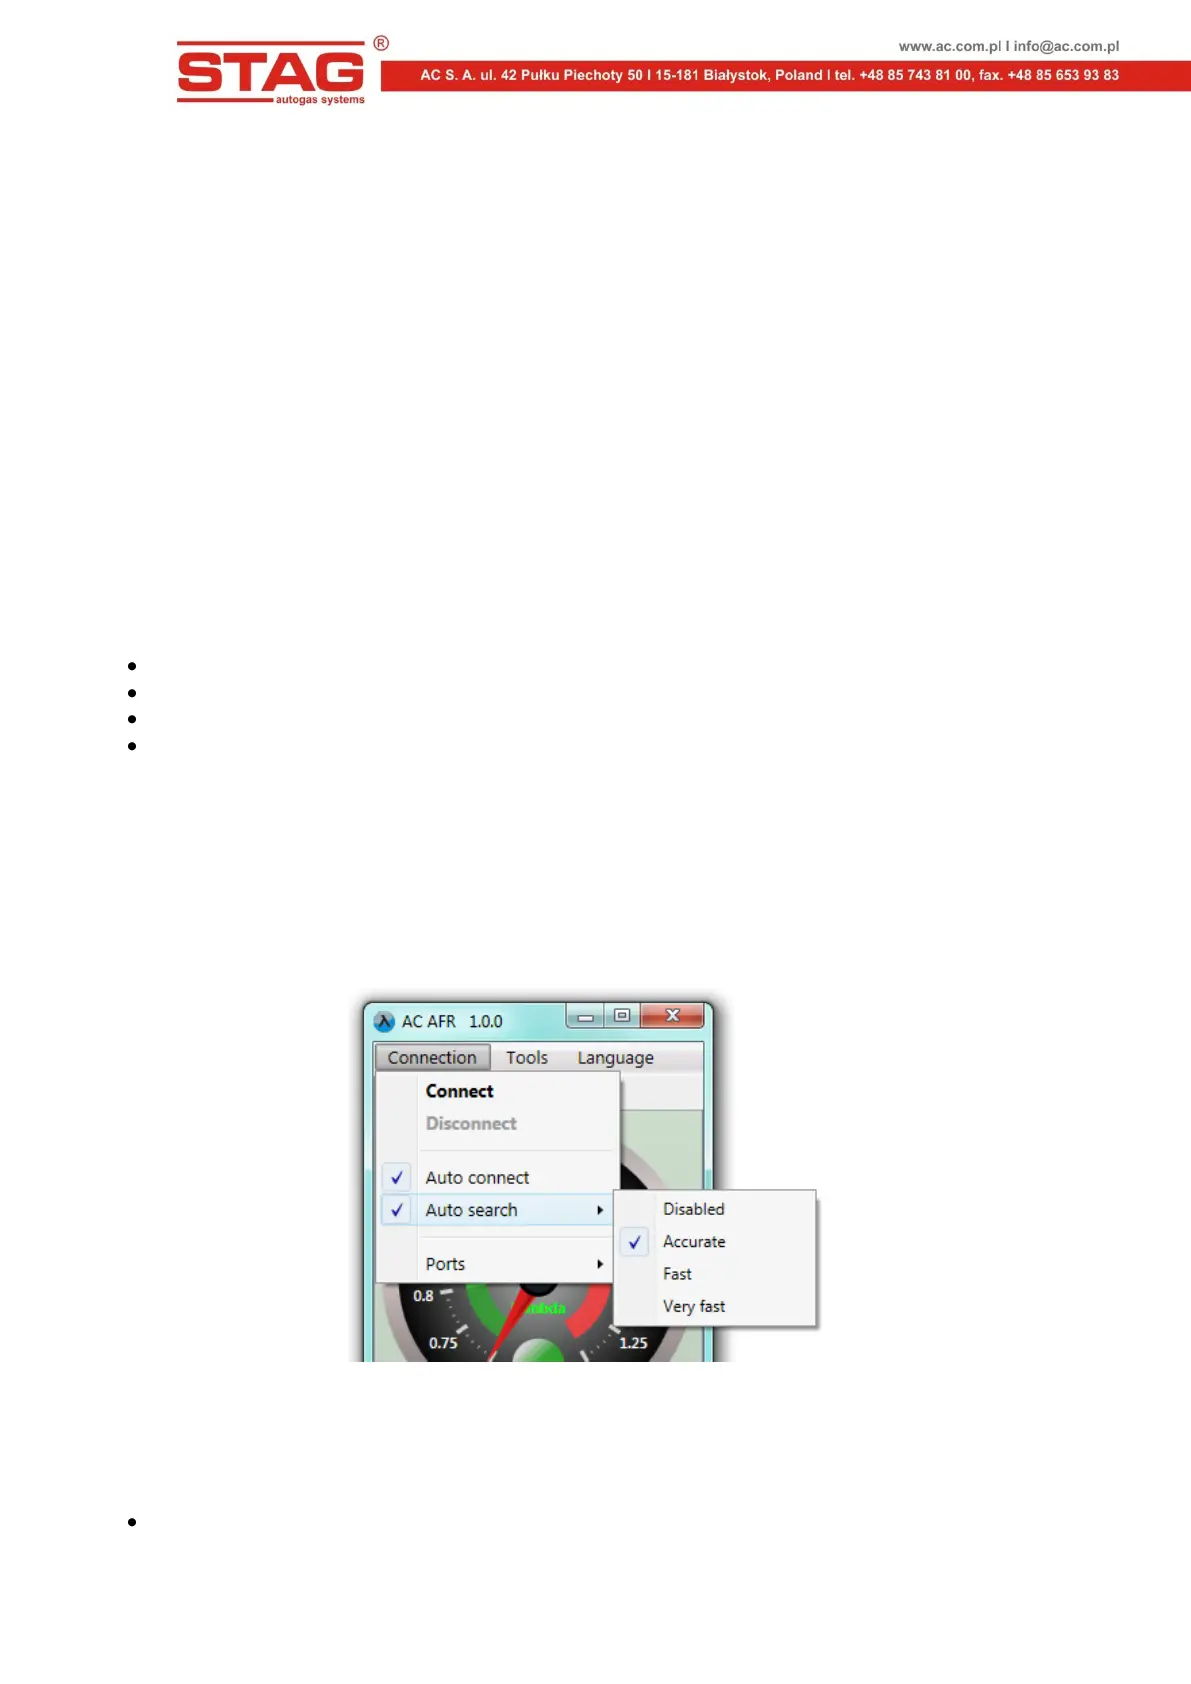
5.3. Main menu
Figure 6. Main menu
The following options are available in Main menu:
Connection
Connect - enables connection to the controller to be established