7
TROUBLESHOOTING
Unit Not Charging
• Check that the charger is properly connected to a live 120 volt AC outlet.
• If the battery to be charged has fallen below 2 volts, the battery cannot be recharged with this unit.
CARE AND MAINTENANCE
Storage
• Store the unit in a clean, dry, cool place when not in use.
• Clean the unit casing and cords (as necessary) with a dry (or slightly damp) cloth. Ensure that unit is completely disconnected from battery and
power source before cleaning.
• To maintain the operating condition and maximize the life of the charger cords, always coil them loosely for storage. Do not wrap them around
the unit or crimp them with a tight band.
Fuse Replacement (12 Volt DC Charging Adapter)
1. Remove plug from accessory outlet. Remove the gold cap by turning counterclockwise and lifting off.
2. Remove center pin and spring. Remove fuse.
3. Replace fuse with same type and size fuse (8 amp).
4. Replace center pin and spring inside plug.
5. Replace gold cap by turning clockwise.
ACCESSORIES
Recommended accessories for use with your tool are available from your local dealer or authorized service center. If you need assistance regarding
accessories, please contact manufacturer at (877) 571-2391.
WARNING: The use of any accessory not recommended for use with this appliance could be hazardous.
SERVICE INFORMATION
Whether you need technical advice, repair, or genuine factory replacement parts, contact the manufacturer at (877) 571-2391.
FIVE-YEAR LIMITED WARRANTY
Manufacturer warrants this product for five years against any defects in material or workmanship. The defective product will be replaced or
repaired at no charge in either of two ways.
The first, which will result in exchanges only, is to return the product to the retailer from whom it was purchased (provided that the store is a
participating retailer). Returns should be made within the time period of the retailer’s policy for exchanges (usually 30 to 90 days after the sale).
Proof of purchase may be required. Please check with the retailer for their specific return policy regarding returns that are beyond the time set for
exchanges. The second option is to return the product (prepaid) to the manufacturer for repair or replacement at our option. Proof of purchase
may be required.
This warranty does not apply to accessories. This warranty gives you specific legal rights and you may have other rights which vary from state to
state or province to province. This product is not intended for commercial use.
SPECIFICATIONS
Input: 120VAC, 60Hz, 1.6A
Output: 12VDC, 6A
Boost Mode: 12VDC, 8A
Imported by
Baccus Global
399 NW 2nd Avenue, Suite 150,
Boca Raton, FL 33432
(877) 571-2391
RD111709
6
Unplug the charger; then remove the clamps. Reconnect the clamps properly.
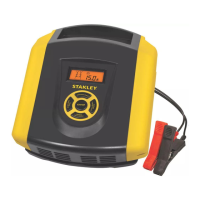
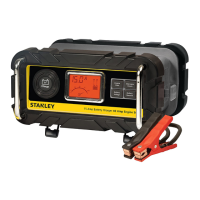
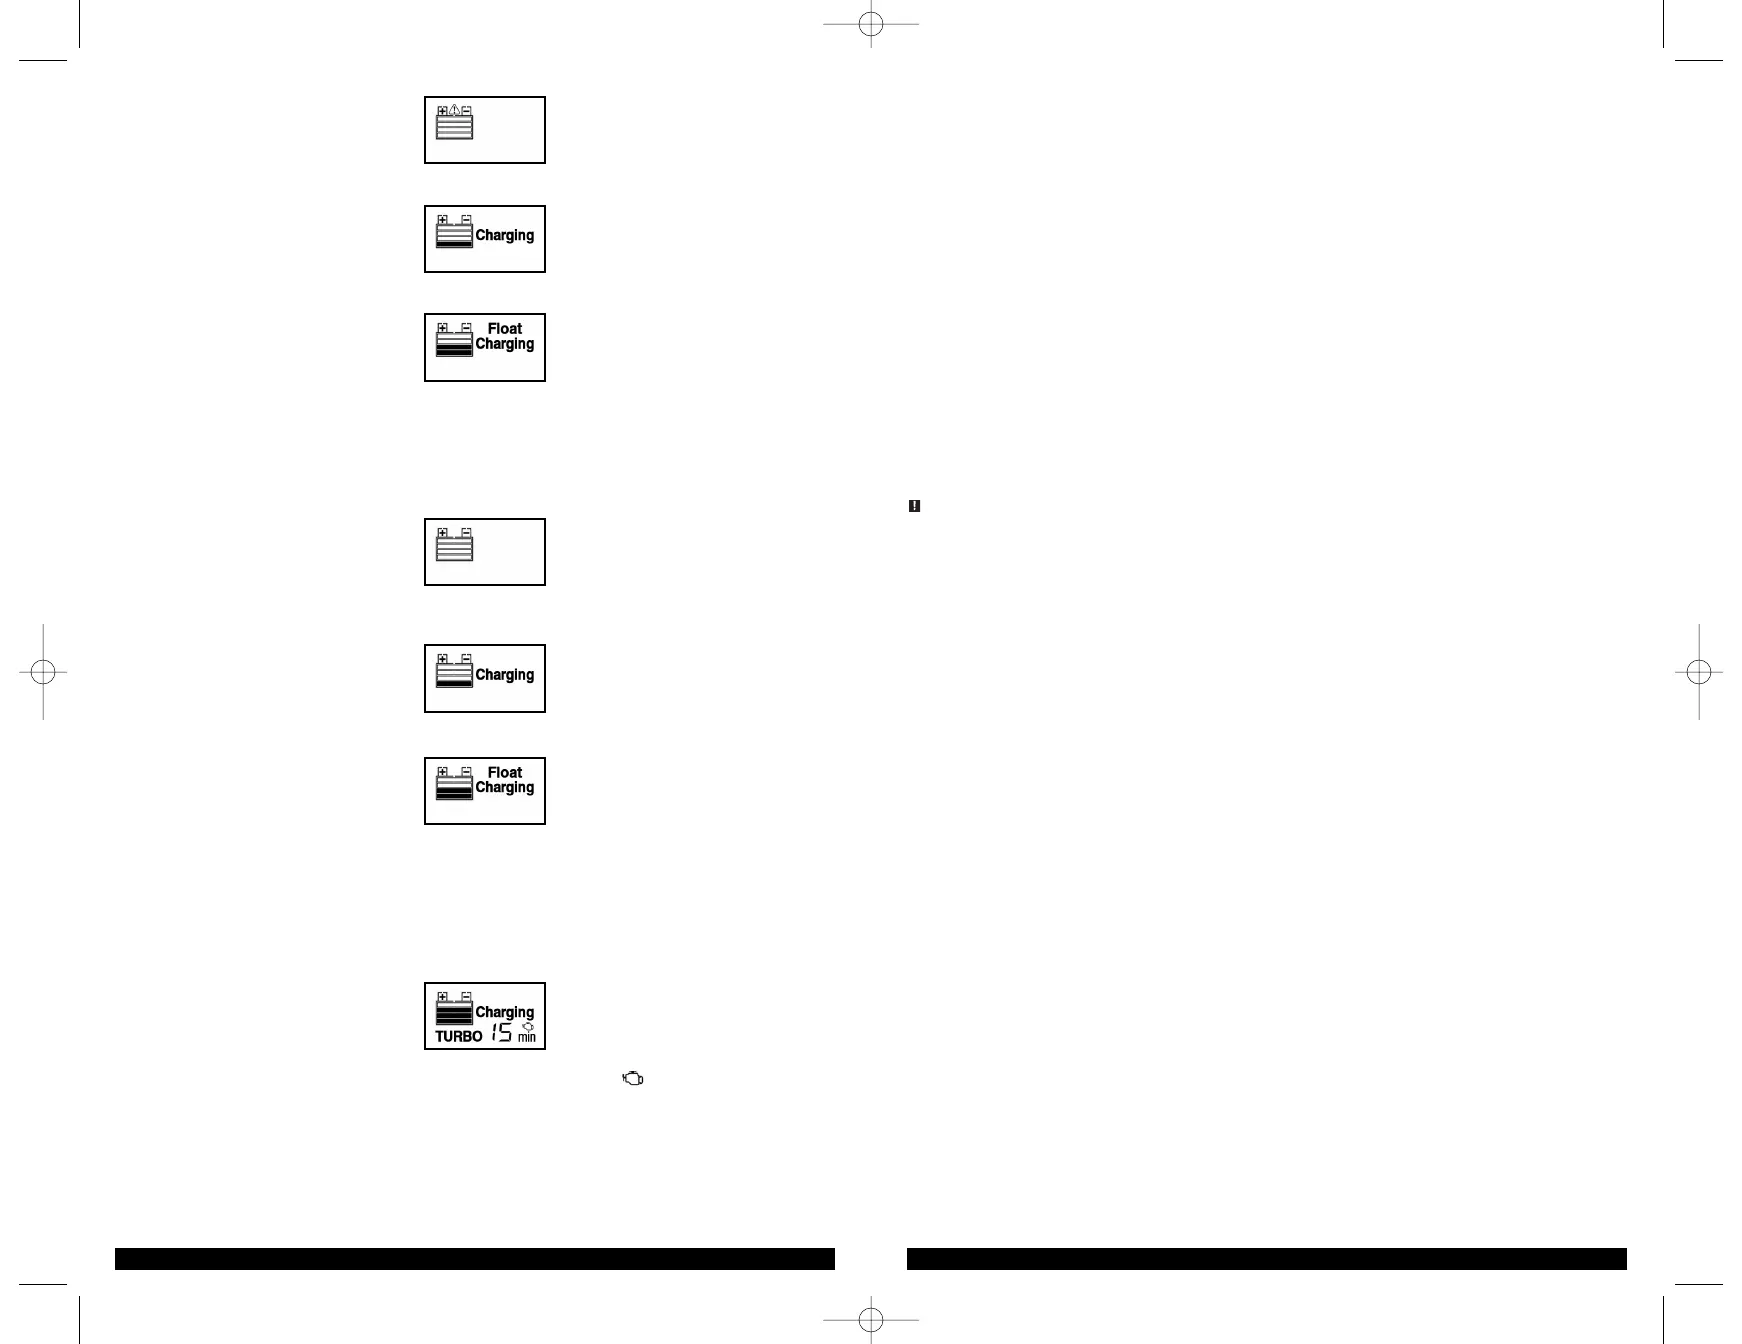
6. When the unit is properly connected, the charging process will start automatically. The LCD screen will display the following:
The bars on the battery icon will change from empty to solid (bottom to top) repeatedly.
7. When the battery is completely charged, the unit automatically goes into float charge mode and the LCD screen displays the following:
The bars on the battery icon will change from empty to solid (bottom to top) repeatedly. In this mode, the unit monitors the battery voltage
and charges as necessary to assure the battery maintains full capacity. The unit remains in float charge mode as long as the charger is
connected to the battery and plugged into a functioning AC outlet.
When disconnecting charger, disconnect AC cord, remove clamp from vehicle chassis, and then remove clamp from battery terminal.
Charging Using the 12 Volt DC Charging Adapter
1. Insert the double barrel tip of the 12 volt DC charging adapter cable into the battery charger; then plug the battery charger’s power cord into
an AC outlet. The LCD screen will display the following to indicate that the charger is plugged in and ready:
2. Insert the gold-tipped 12 volt DC charging adapter plug into the vehicle’s 12 volt DC accessory outlet. Rotate the adapter slightly to make sure
there is good contact.
3. When the unit is properly connected, the charging process will start automatically. The LCD screen will display the following:
The bars on the battery icon will change from empty to solid (bottom to top) repeatedly.
4. When the battery is completely charged, the unit automatically goes into float charge mode and the LCD screen displays the following:
The bars on the battery icon will change from empty to solid (bottom to top) repeatedly. In this mode, the unit monitors the battery voltage
and charges as necessary to assure the battery maintains full capacity. The unit remains in float charge mode as long as the charger is
connected to the battery and plugged into a functioning AC outlet.
When disconnecting charger, disconnect AC cord, and then remove the 12 volt DC charging adapter from the vehicle accessory outlet.
Using the Quick Start Timer™
The quick start timer™ function can supply up to 8 amps for engine starting.
1. Set up the unit as described in either “Charging with the Supplied Battery Clips”or “Charging Using the 12 Volt DC Charging Adapter.”
2. Press the QST button. The LCD screen will display the following:
The digital display will flash and countdown from “15” to “0.”
3. The digital display will stop flashing when the “0”is reached. At that time the “pump engine”logo ( ) will begin flashing. The vehicle is
ready to start.
4. Crank the engine using manufacturer’s guidelines, typically in 3 to 5 second bursts. The function requires a resting/cooling period between
attempts. The charger must be reset (disconnected first from the AC outlet, then the battery, then reconnected following the appropriate
directions). Wait 4 to 5 minutes before a second attempt at starting the engine, if needed.
After the engine starts, follow the steps outlined in the appropriate section (either “Charging with the Supplied Battery Clips” or “Charging Using
the 12 Volt DC Charging Adapter”) when disconnecting.

 Loading...