STANLEY is a registered trademark of The Stanley Works or its affiliates and are used under license by GXi Outdoor Power LLC.
No part of this publication can be printed or copied without written permission.
8 of 16 Rev. 5/2010
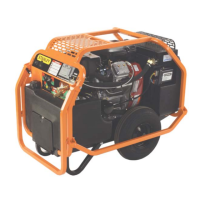
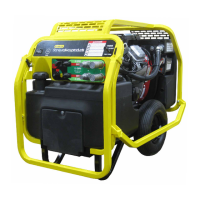
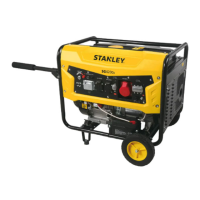
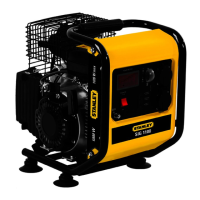
Models: G5000S & G8000S
Commissioning the Battery
WARNING
Lead acid storage batteries contain sulfuric acid which can cause
serious injuries. The battery also gives off explosive gases. Keep
sparks, flames and cigarettes away. Provide adequate ventilation
when charging or using batteries. Battery posts, terminals and
related accessories contain lead and lead compounds. Avoid spills
of electrolyte and wash hands thoroughly after handling.
Use gloves and safety glasses when handling and installing lead
acid batteries.
If you get electrolyte in your eyes, flush your eyes with clean wa-
ter for 15 minutes and seek medical attention. Keep out of reach of
children.
The battery is an optional feature. The battery is used to start a
generator equipped with an electric starter. Not all generators are
sold with batteries. Please verify with your retailer if you believe
the battery is missing.
FOR YOUR SAFETY AND CONVENIENCE, THE
BATTERY WAS SHIPPED SEALED AND
PRE-CHARGED.
The battery is ready to be connected to the generator.
To connect the battery, use an adjustable wrench or 8 mm socket to
secure the BLACK wire to the negative (-) terminal and the RED
wire to the positive (+) terminal. Do not allow the wrench to con-
tact any other part of the generator when tightening the battery
terminals.
Approximate assembly time is 5
minutes.
Supplied with your generator:
1. Two(2) foot assemblies with two (2)
13 mm nuts.
2. Two (2) wheel axle assemblies.
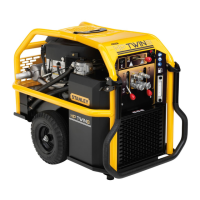
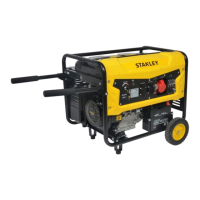
Wheel Kit Assembly
Two pre-assembled, retractable, handle bars, one on
each side of the generator frame. Twist to lock /
unlock. Pull or push to extend / retract.
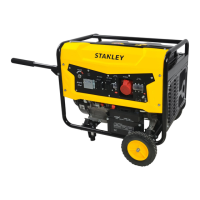
Insert each foot assembly through
holes in the frame. Tighten nut with
13mm wrench or socket.
Step
1
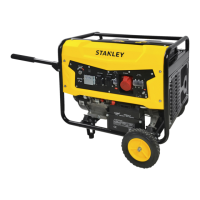
Pre-assembled wheel / axle
assembly.
Insert each axle and tighten the
bolt to secure in place using a 13
mm wrench or socket.
Battery Terminals
Battery
Step
2