7 / 12
10
11
S W 57
M 50
W 55
S W 57
S W 45
M 4
12
13
SW
10a
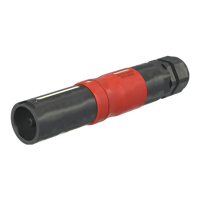
Montage Assembly
(ill. 10)
Distanzhülsen-Hälften über Metallteil
im vorgesehenen Einstich zusammen-
fügen�
(ill. 10)
Place together the half shells of the
distance tube over the metal part in
the groove�
(ill. 10a)
Der O-Ring in der vorgesehene Nut
leicht eindrücken�
(ill. 10a)
Insert the O-ring carefully in the
groove�
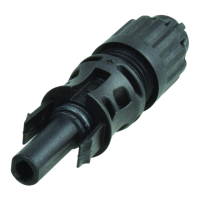
(ill. 11)
Den Kontakteinsatz und die Distanz-
hülsen-Hälften in das Isolationsteil ein-
führen und drehen bis die Schlüssel-
weiten (SW), ill� 10 übereinstimmen�
Kontakteinsatz bis zum Anschlag fest
eindrücken�
(ill. 11)
Slip the contact insert together with
the half shells of the distance tube
into the insulation and turn until the
at surfaces (A/F), ill. 10 coincide.
Press in and turn the contact insert
until it properly latches�
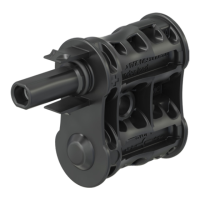
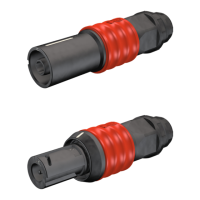
(ill. 12)
Kabelverschraubung mit dem ent-
sprechenden Drehmoment auf die Iso-
lation festschrauben� Danach mit dem
Drehmomentschlüssel die Hutmutter
festschrauben�
Anzugsdrehmoment:
M40 = 14.5Nm
M50 = 20Nm
(ill. 12)
Screw cable gland on to the insula-
tor and tighten with the appropriate
torque� Then screw on the cap nut by
means of the torque wrench�
Tightening torque:
M40 = 14.5Nm
M50 = 20Nm
Hinweis:
Beim Anziehen der Kabelver-
schraubung ist darauf zu achten,
dass die Kräfte gleichmässig auf
fünf Schlüsselächen der Hutmutter
verteilt werden.
Note:
When tightening the cable gland,
take care that the forces are evenly
distributed over ve faces of the nut.
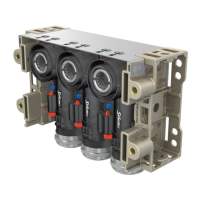
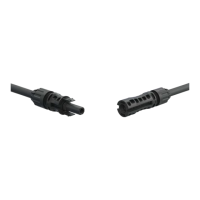
Montage der Schutzdeckel Fitting the protective cover
(ill. 13)
Zur Befestigung der Schutzdeckel am
Steckverbinder mittels der Gummi-
schlaufe� Dazu das Ende des Gummis
durch die Öse ziehen�
(ill. 13)
To attach the cap to the connector
with the cord, form a loop and push
the end of the cord through the eyelet�
 Loading...