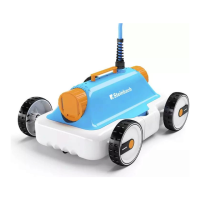
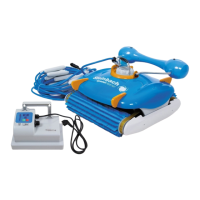
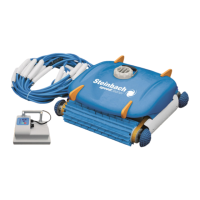
Installing the buoyancy aids
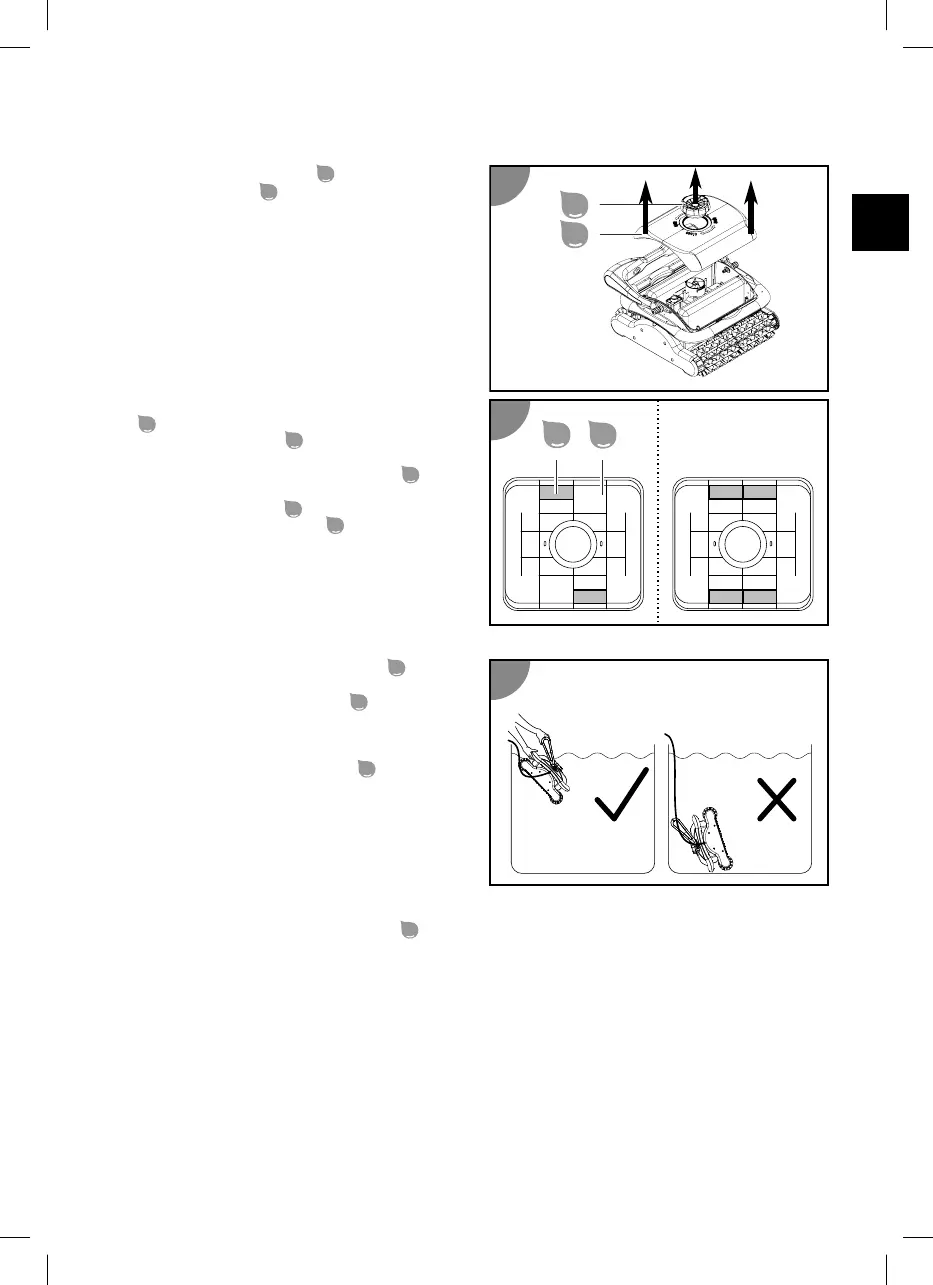
1. Unscrew the fixing screw
.
2. Take the top part
off.
3. Stick two of the self-adhesive buoyancy aids
diagonally opposite each other on the
inside of the top part
.
Should the device still not float sufficiently,
stick on two additional buoyancy aids
next
to the ones already installed.
4. Replace the top part
and screw it down
again with the fixing screw
.
The buoyancy aids are installed.
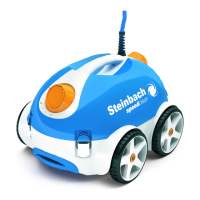
Placing the device in the pool
1. Completely unroll the floating cable
and
place it next to the pool without twisting.
2. Hold the device by the handle
and lower it
slowly into the water (tipped slightly forward)
until all the air has escaped.
3. Let the device sink to the bottom while you
slowly feed more floating cable
to lower the
device in a controlled manner.
Make sure that the device lands on the bottom
of the pool on its underside and that cleaning
can start without obstruction towards the
center of the pool.
The device is in the pool.
Connecting the control unit
1. Only let as much of the floating cable
into the water so that the device can reach all the spots in
the pool.
29
 Loading...