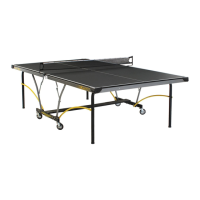
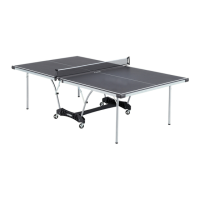
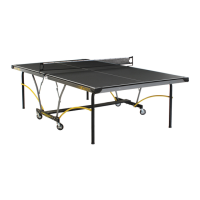
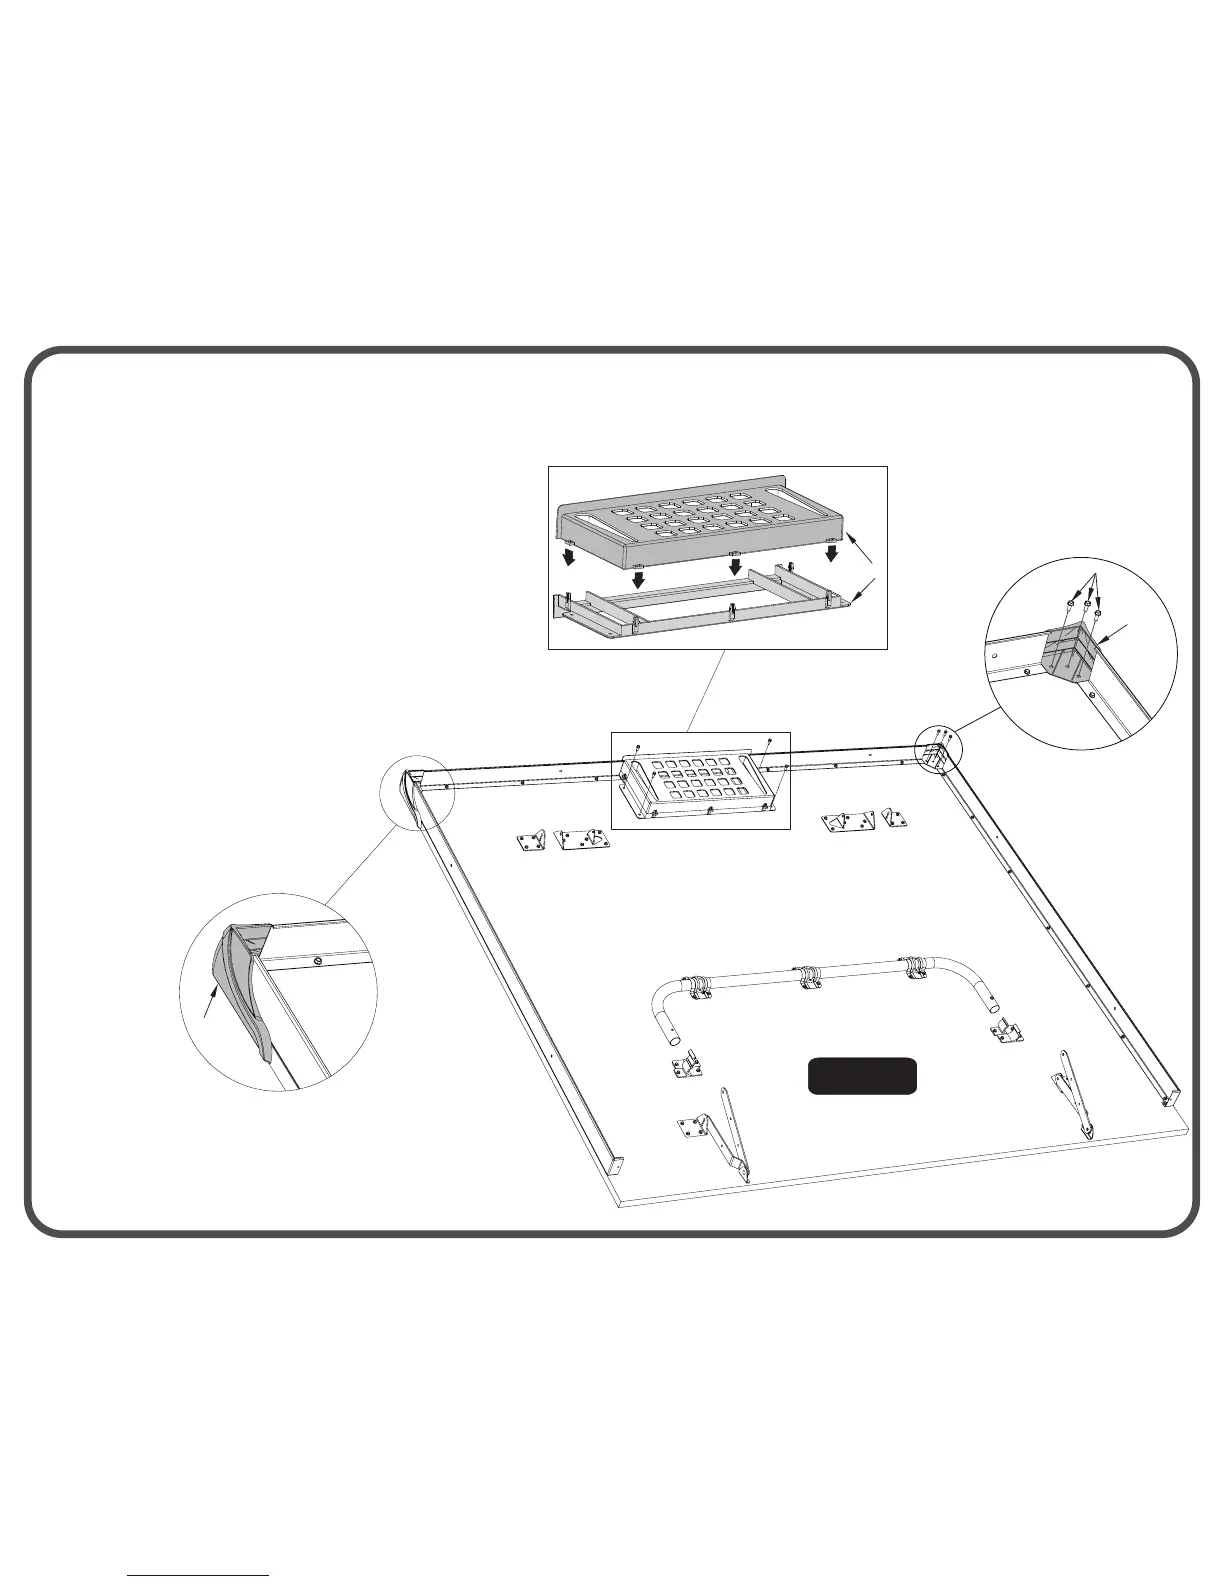
Figure 9
9
Detail H
5
Detail G
40
40
4
Detail J
18. Repeat steps 5 through 17 for other
table top assembly.
17. Lay Corner Caps #40 on table as shown in Figure 9.
Secure to bottom of table with three Screws (#5). See
Detail H & Detail G.
16. Line up holes in Storage Tray (#4) with Indentations in
table top and attach it to the bottom of the table with
four (#5) screws as shown in Figure 9.
15. If Storage Tray (#4) is not pre-assembled snap the top
and bottom sections together as shown in Detail J.
NOTE: Prepare an area for the assembly of the second table top
half. If necessary, move the first table top half aside with the aid of a
helper. Be sure to place it in a location where it won't be disturbed
or damaged. If setting on its side, be sure to place the bottom edge
no less than 12 inches away form the wall. Also be sure to place
carpet or pieces of the shipping carton down to protect
table top edges. If floor is not carpeted, brace table
top half with a heavy object to keep it from sliding.
*NO
TE: Legs not
shown for clarity.
NOTE: If Storage Tray (#4) is not pre-
assembled snap the top and bottom
sections together as shown in Detail J.
 Loading...