37
DEFRNLITESPTNOSVFIDAPLSLSKHU EN
0478 216 9907 C - EN
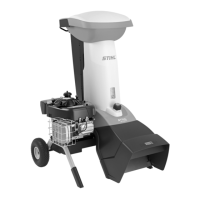
7.2 Installing wheels and chassis
● Attach left and right wheels (G)
with wheel pin (R), washer (L1),
washer (L2) and nut (K1) to
wheel carrier (C).
● Press wheel caps (H) onto wheels.
● Place wheel carrier as shown on firm
and level ground and fit basic unit (B)
into position.
● Insert flat head bolts (N) on the left side
and screw on lock nuts (K2), but do not
tighten them yet.
Install Torx screw (M) on the right side
(1 - 2Nm).
● Tighten nuts (K2) (10 - 12Nm).
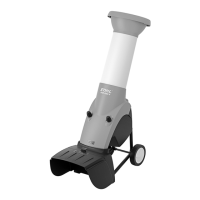
7.3 Installing the discharge flap
● Set garden shredder on its back.
● Insert strip (F) into ejection chute
extension. Install screws (J) (1 - 2Nm).
● Lift garden shredder into upright
position.
● Position discharge flap (D) on ejection
chute extension. Ensure that the ribs (1)
inside the flaps on the left and right are
correctly located in the guide groove of
the ejection chute extension (2) when
attaching.
● Press in pins (S) on left and right.
7.4 Opening and closing the
discharge flap
Opening the discharge flap:
● For shredding, fold the discharge
flap (D) upwards and allow the tab (1)
to engage in the ejection chute
extension.
Closing the discharge flap:
● For transport or space-saving storage,
lift the tab (1) slightly and fold away the
discharge flap (D) downwards.
7.5 Installing the blade disc
● Fit protective cap (W), lower spacing
ring (V), blade disc (I), upper spacing
ring (U), deflector (T) and retaining
washer (P) onto blade mounting and
insert screw (O).
● Use installation tool (X) to counterhold
the blade disc. Screw in screw (O)
using combination spanner (Z) and
tighten to a torque of 52 - 60 Nm.
7.6 Removing the blade disc
● Use installation tool (X) to
counterhold the blade disc.
● Loosen screw (O) with combination
spanner (Z).
● Remove screw (O), retaining
washer (P), deflector (T), upper
spacing ring (U) and blade disc (I).
7.7 Installing the feed chute
● Insert closure screws (Q) in the slot of
the feed chute and screw in fully,
applying pressure.
● Attach feed chute (A) to hinge (1) in
basic unit and pivot forwards.
● Tighten both closure screws (Q)
simultaneously.
7.8 Removing the feed chute
● Loosen both closure screws (Q)
until they turn freely. They remain
on the feed chute
● Pivot feed chute (A) to the rear and
remove.
7.9 Fuel and engine oil
Engine oil
Please consult the engine instruction
manual for the type of engine oil to be used
and the oil capacity. Check the oil filling
level at regular intervals (Ö see engine
instruction manual). Avoid exceeding or
falling below the correct oil level.
4
5
6
Observe the installation sequence
and tightening torque of 52 - 60 Nm
.
Ensure correct position of upper
spacing ring (U) to both blades
when installing.
7
8
9
The closure screws (Q) must be
securely fastened to the feed chute
following initial assembly.
Top up engine oil before initial start
(Ö engine instruction manual)!
10
11
12

 Loading...