►
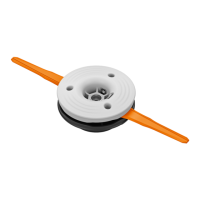
B: Press the special wrench (3) into
the recesses. The special wrench auto‐
matically jumps to scale 9.
►
C: Remove the special wrench.
►
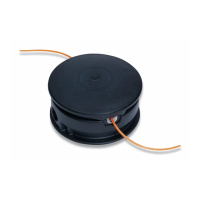
D: Check the length of the mowing
lines.
►
E: Attach the cover (2).
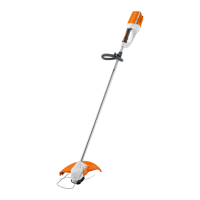
► Mount the mowing head.
► Switch the trimmer on.
►
F: Hold the trimmer.
► Repeat the next two steps maximum of
4 times:
► Run the trimmer at full speed until
the speed remains constant.
► Release the trigger switch. The
engine will settle down to idle speed.
► Switch the trimmer off.
►
G1: If the mowing lines reach to the
cutting blade and have not been cut
several times: the adjustment of the
mowing head is completed.
►
G2: If the mowing lines reach to the
cutting blade and have cut several
times:
► Remove the mowing head.
►
H: Press in the tabs and remove
the cover.
►
I: Press the special wrench into
the recesses and turn it one scale
counterclockwise.
►
J: Remove the special wrench.
►
K: Attach the cover.
► Mount the mowing head.
► Switch the trimmer on.
►
Continue with
F.
If you have difficulties, please contact an
authorized STIHL servicing dealer.
Replacing the mowing lines (
K - R)
INSTRUCCIONES
IMPORTANTES DE
SEGURIDAD
Solo para uso con motoguadañas de
STIHL. Compruebe la compatibilidad en el
manual de la motoguadaña.
STIHL recomienda el uso de piezas de
repuesto y accesorios originales STIHL.
0457-363-0171-A. VA0.M21.
7
 Loading...