Do you have a question about the Stinger HEIGH10 UN1810E-LR1 and is the answer not in the manual?
Instructions on how to safely remove the original stereo unit and fascia panel.
Guidance on preparing the dashboard by cutting specific panels for the new stereo.
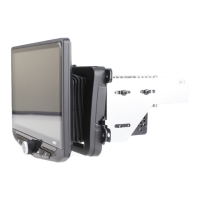
Steps for assembling the HEIGH10 unit with its mounting brackets and chassis.
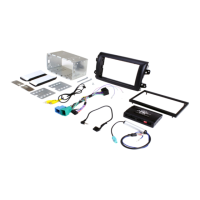
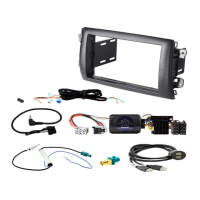
Instructions for fitting the aftermarket fascia plate and integrating OEM components.
Detailed steps for connecting all necessary harnesses and interfaces for the HEIGH10 unit.
Instructions on attaching the supplied brackets to the HEIGH10 unit chassis.
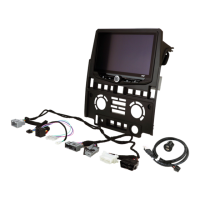
Guidance on carefully detaching and affixing the heater display panel to the aftermarket panel.
Instructions for securely affixing the HEIGH10 screen to the aftermarket panel using screws.
Instructions for securely affixing the assembled HEIGH10 chassis to the aftermarket panel.
Instructions for attaching the air vents to the top panel of the aftermarket fascia.
Guidance on attaching the top fascia panel to the main section using screws and clips.
Information on accessing the full installation video via QR code.
Details for technical assistance and general inquiries via phone and email.
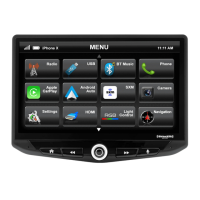
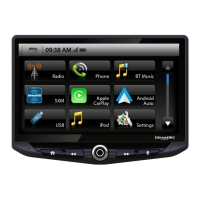
| Display Size | 10.1 inches |
|---|---|
| Resolution | 1024 x 600 |
| Touchscreen | Yes |
| Bluetooth | Yes |
| Apple CarPlay | Yes |
| Android Auto | Yes |
| Built-in Amplifier | Yes |
| RAM | 2 GB |
| Wi-Fi | Yes |
| GPS | Yes |
| USB Ports | 2 |
| Rear Camera Input | Yes |
| Steering Wheel Control Compatibility | Yes |
| Inputs | USB |
| Outputs | RCA |
| SiriusXM Ready | Yes |
| Navigation | Optional |
| Expandable Storage | USB |