1. Simultaneously press and hold down the ▲ up and ▼ down controls.
2. Wait approximately 3 seconds for the awning to move briefly up.
3. Release the button, for example ▼.
4. Push and release the button (released at pint 3) three times within 3 seconds from when
the awning performed the brief raising movement.
5. Then release the other button.
Note: Cancellation can be made at any time; if cancellation has been correctly performed the motor will turn in both directions briefly inter-
rupting the operation.
24
www.stobag.com
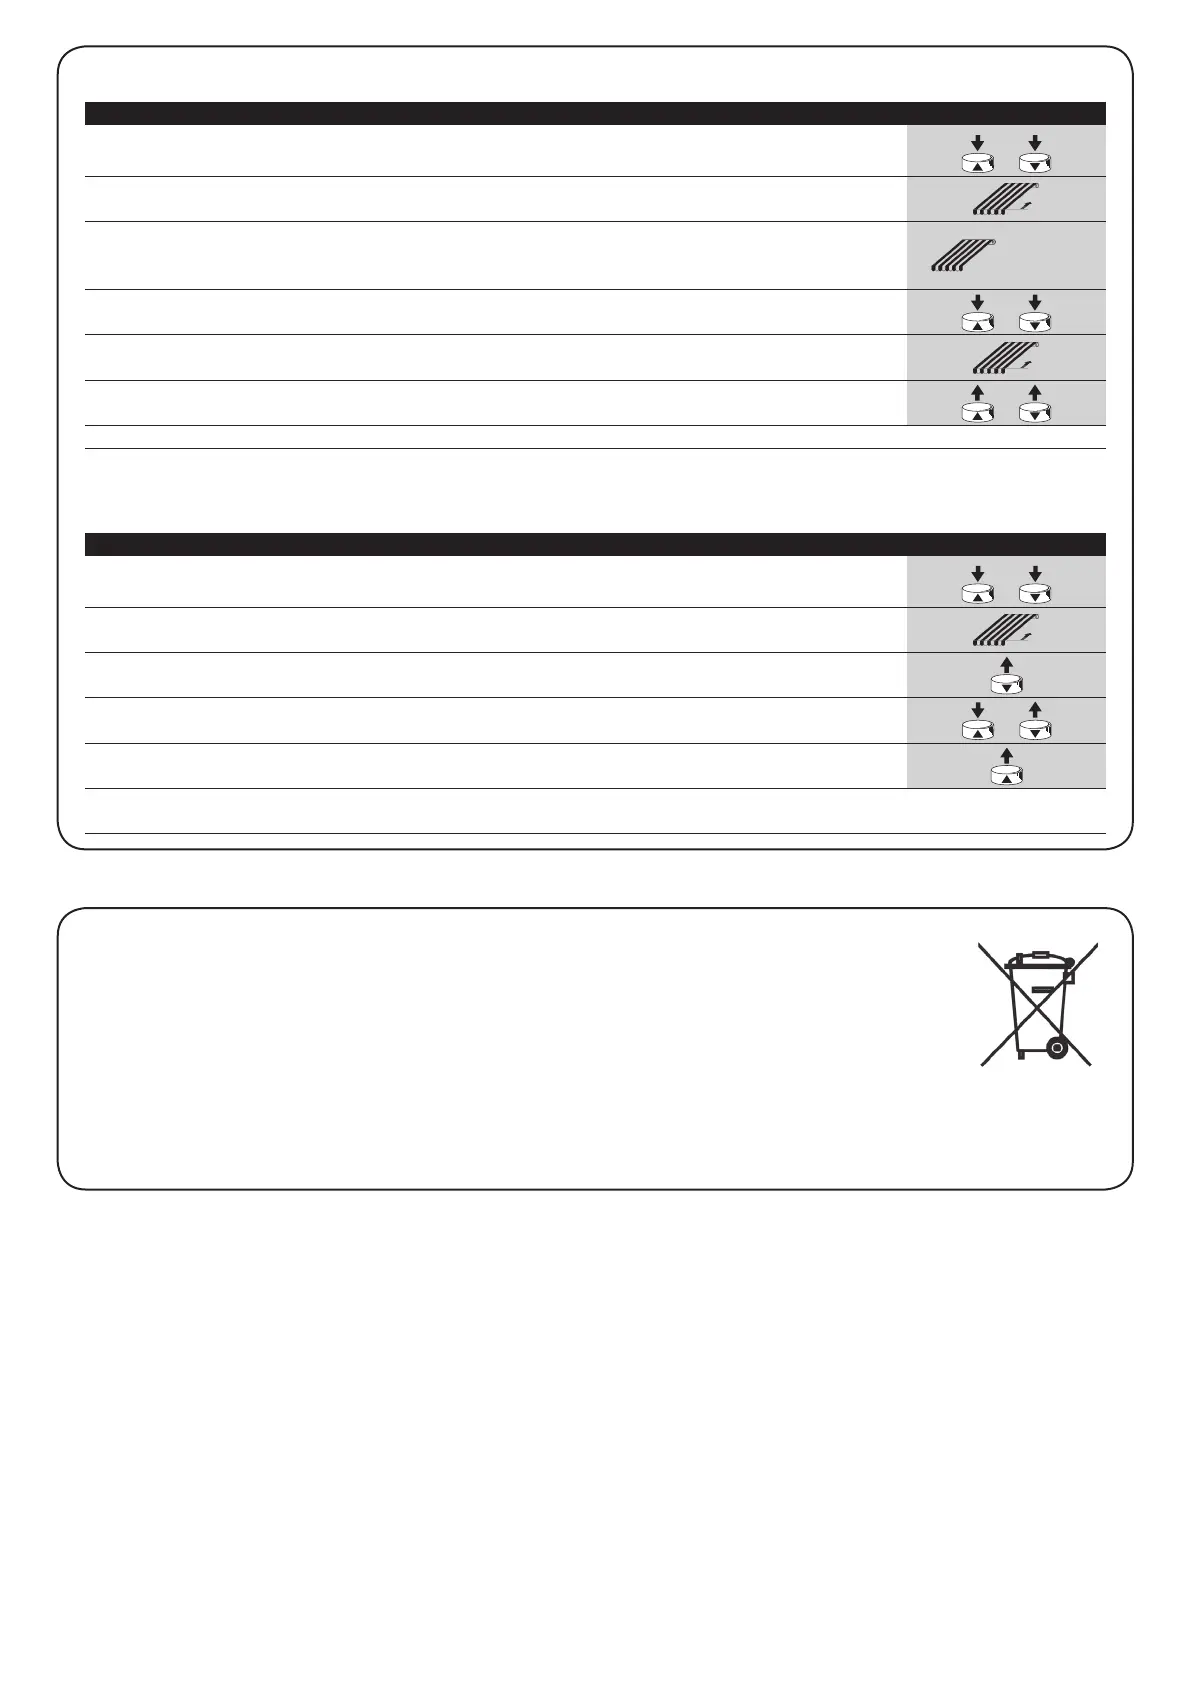
If you wish to totally cancel the memory, proceed as follows:
Table “A5” Total cancellation of the memory Example
x3
3s
As for the installation, the disposal of the product at the end of its
effective life, must be performed by qualified personnel.
This product is made of various types of material, some of which can
be recycled while others must be disposed of. Enquire about the
recycling or disposal systems available for this product category in
compliance with regulations locally in force.
Warning: some parts of the product may contain polluting or haz-
ardous substances that, if incorrectly disposed of, could have a dam-
aging effect on the environment or on the health of individuals.
As indicated by the symbol in figure, this
product must not be disposed of in house-
hold waste. Perform “separated collection”
for disposal in compliance with regulations
locally in force, or return the product to the
manufacturer when purchasing a replace-
ment.
Heavy fines may be imposed by local laws for the illegal disposal of
this product.
5) Disposal
If you wish to cancel the FRT fabric tightening function, proceed as follows:
Table “A4” Erasing the “2” position (fig. 9) Example
3s
Short stop
3s
1. Simultaneously press and hold down the ▲ and ▼ controls.
2. Wait approximately 3 seconds for the awning to move briefly up.
3. Push the ▲ or ▼ button to move the awning to position 1.
When the awning is in position 1 it automatically stops for an instant (0.2s);
release the button before the awning starts again.
4. Simultaneously press and hold down the ▲ and ▼ controls.
5. Wait approximately 3 seconds for the awning to move briefly up.
6. Release the ▲ and ▼ controls.
Note: If position “2” is cancelled, the awning will move between positions “0” and “1” that remain memorised.