Strasbaugh Installation
Version 4.0 - February 1998; Update 11/06/01 2 - 15 U
ELECTRICAL
Related Engineering Drawings
• 217946EK
Small Electrical Subpanel (physical layout of
main machine circuit breaker)
• 217946E1
Electrical Schematic
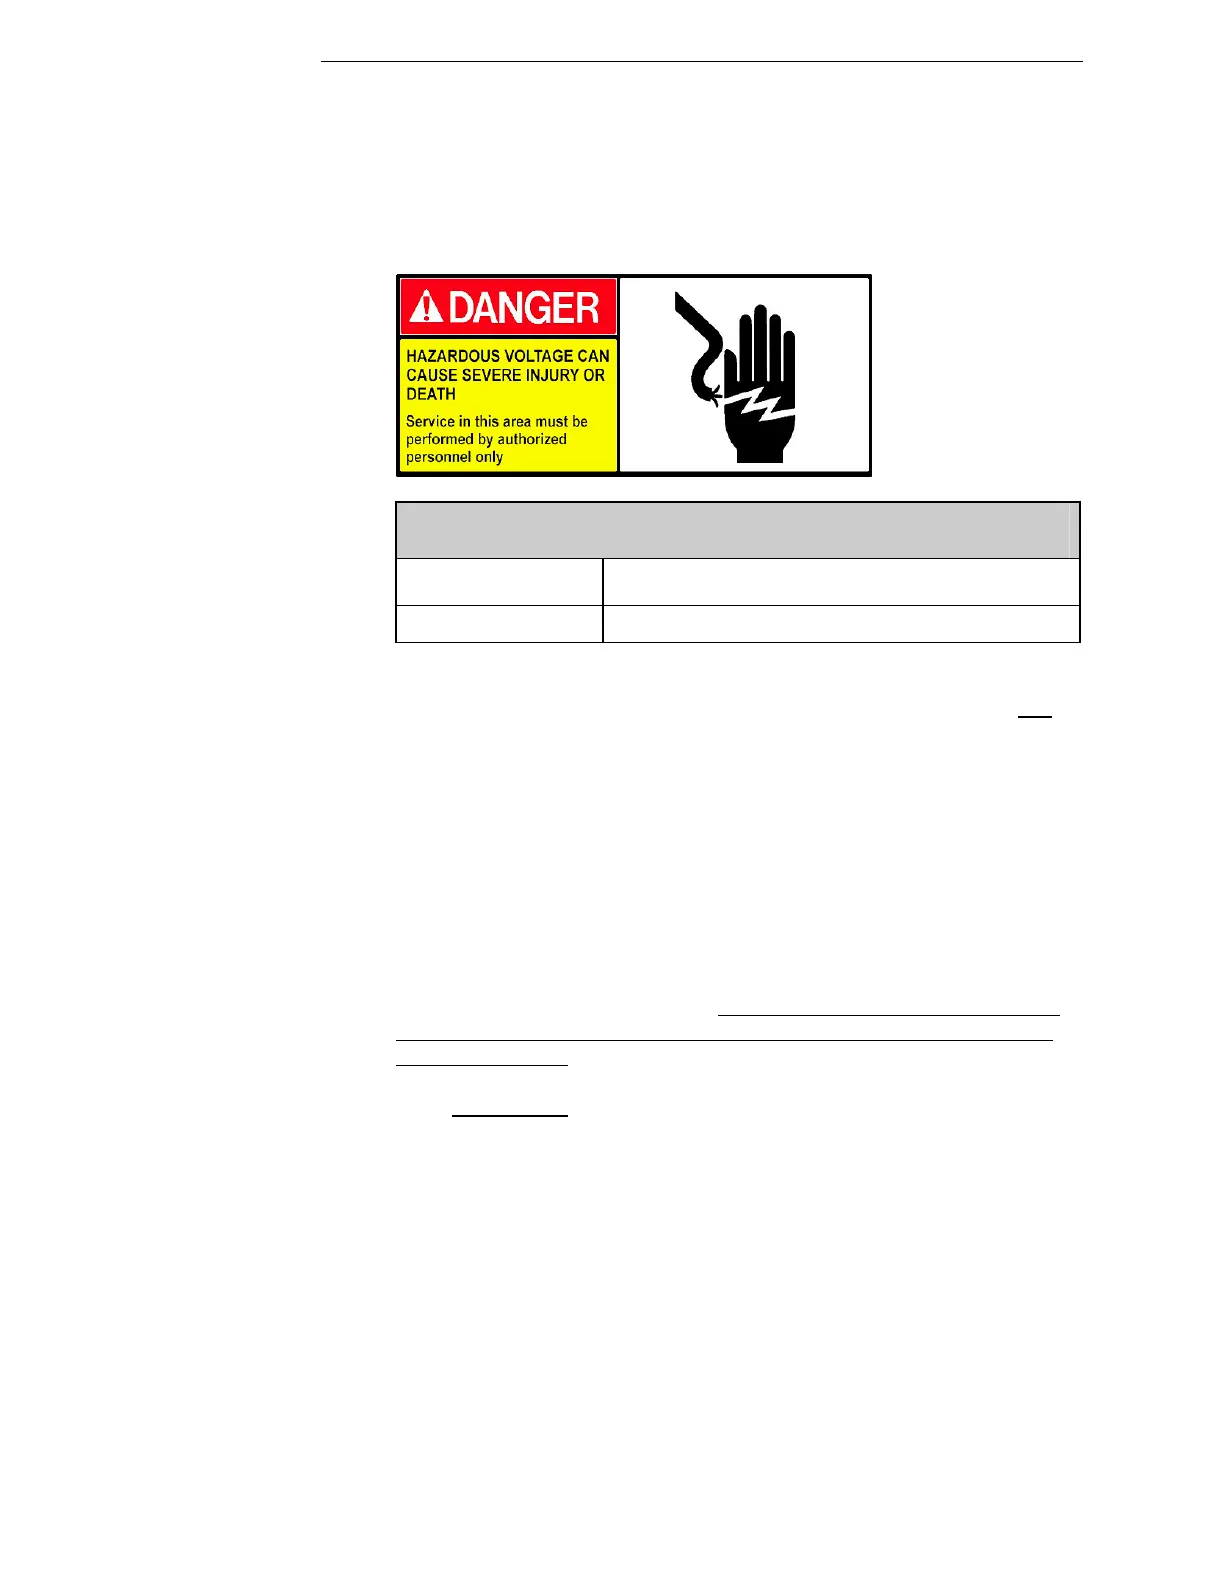
WARNING: DO NOT attempt to turn on the main machine power
switch until ALL machine utilities are connected and
all
shipping brackets and tie wraps are removed.
The electrical supply is connected to the main machine circuit breaker (1).
The circuit breaker (mounted on the disconnect box door handle assembly) is
labeled as 1CB (104843) in the engineering drawings.
The door handle (2) shown trips the lever of the disconnect box door handle
assembly to enable the circuit breaker.
A hole must be drilled in the left side electrical cabinet in order to pass the wires
through the cabinet to the circuit breaker. The location for this hole is left to the
discretion of the customer. However, before drilling the hole, verify that there
are no wires or components inside the enclosure which may interfere with the
supply wire conduit.
Using rigid conduit, connect the electrical service (208 volts/3 phase/60 Hertz)
to either the main machine circuit breaker (CB1). The minimum size power
input cable is 6 AWG for the Model 6DS-SP.
In addition to connecting the three power wires, connect a facilities ground wire
to the back panel ground bus. The ground bus is a galvanized bus bar located to
the left of the main machine circuit breaker and to the right of transformer 3T.
 Loading...