41
INSTALLATION GUIDE
● The conguration of the Wildlife Camera should be done when in “TEST” mode. The “ON” mode
is only used when the installation is complete and ready for real-world use.
● If you observe a red ash when you take photos, please turn the switch from “TEST” to “ON”.
● To change the menu language rst enter settings mode (slide mode switch to “TEST”) then click
on the menu button and go to language to select the desired language.
● After you turn the switch from “TEST” to “ON”, you will observe a countdown from 10 seconds to
0 seconds then the screen will shut down. This is completely normal. You can walk in front of the
Camera to check if it takes photos and videos.
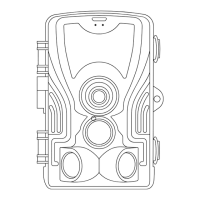
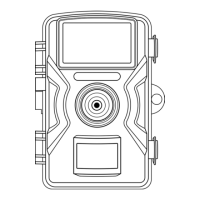
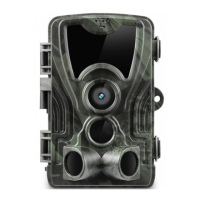
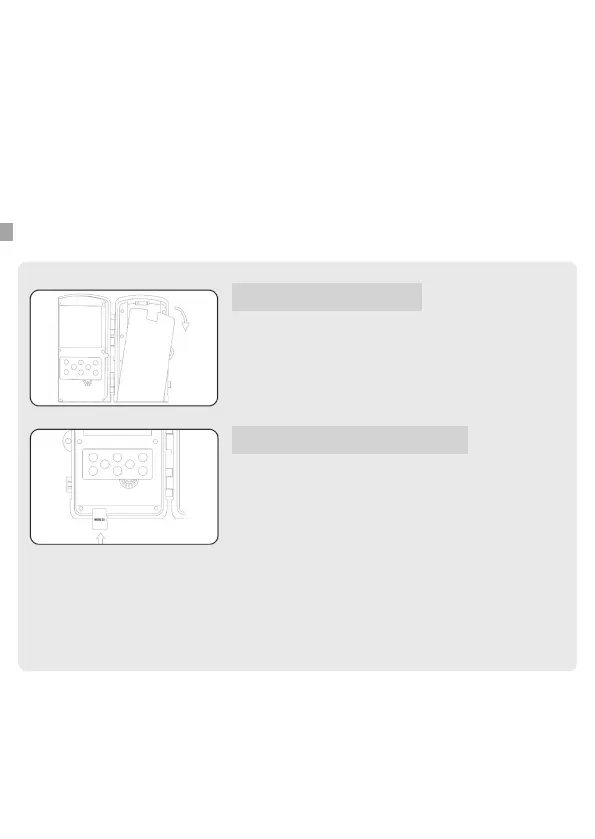
① Battery installation
② Memory card installation
Open the battery cover and insert 8* AA batteries. Make
sure the batteries are correctly placed (pos+ / neg-).
Do not insert any batteries when using a DC power
adapter. This will cause permanent damage to the
Camera!
Insert the micro SD memory card in the designated slot
with the contacts (gold plating) facing away. The micro
SD card should slide in freely with little resistance.
Continue pressing the card inward until you hear a
click. The microSD card is now locked in place and
ready for use.
Choose a microSD C10 card (Class 10: minimum write
speed of 10MB/s) from a reputable brand and use it on
the Camera after formatting. It cannot be guaranteed
that an ordinary dirt cheap unbranded card will work
properly.
 Loading...